
Step 2: Resource Creation and Preparation

Last updated: 2025-08-08 16:37:29
This article introduces the directions to create a new RabbitMQ cluster in the TDMQ for RabbitMQ console.
Prerequisites
Operation Steps
1. Log in to the TDMQ for RabbitMQ console.
2. Select Cluster in the left sidebar > Cluster List, click Create Cluster, go to purchase page, and select the instance specification to purchase.
Parameter | Required or Not | Description |
Cluster type | Yes | Select Serverless Cluster. |
Billing Mode | Yes | TDMQ RabbitMQ Serverless Cluster provides annual and monthly packages and billing by hour. |
Region | Yes | Select a region with resources close to those of the client deployment to reduce network delay and improve access speed. Cloud products in different regions are not interconnected on a private network and cannot be changed after purchase. Please select carefully. RabbitMQ Serverless uses a multi-AZ underlying architecture by default. |
Cluster Specifications | Yes | Currently only support Professional Edition. |
TPS specification | Yes | Select the TPS specification based on business traffic demand, and subsequently make quick configuration changes in the console. |
Queue count | No | The minimum adjustable value is the number of queues provided for free. Each TPS specification has a complimentary Queue limit. If it cannot meet your needs, you can buy extra Queue count. Subsequently in the console, you can also increase or decrease the number of queues in the cluster. |
VPC | Yes | Bind the newly purchased cluster access point domain name to the prepared VPC within the same region. |
Cluster Name | Yes | Enter cluster name, 3-64 characters, only comprised of digits, letters, "-", and "_". |
Tag | No |
3. After confirming the cluster information is correct, check I have read and agree to the "TDMQ for RabbitMQ Terms of Service", then click Purchase Now.
4. Complete payment on the order payment page, then wait 3-5 minutes to see the created cluster on the cluster list page.
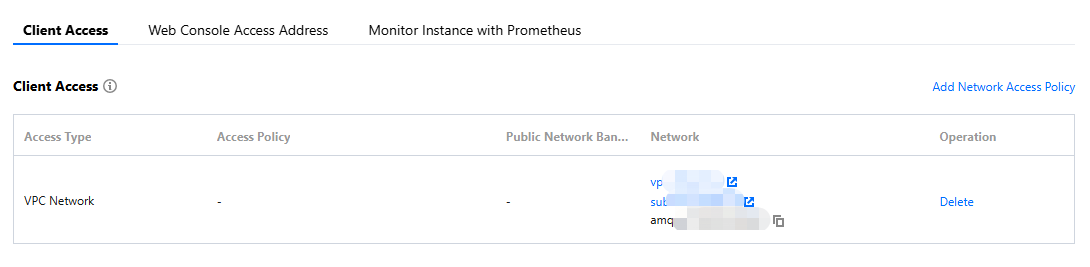
5. Click the "ID" of the created cluster to enter the basic information page. In the client access module, obtain and record the server connection information, subsequently used to connect to the cluster for sending/receiving messages.
Was this page helpful?
You can also Contact Sales or Submit a Ticket for help.
Yes
No
Feedback