Managing Inter-VPC Firewalls
Last updated: 2023-11-28 20:41:56
After an inter-VPC firewall is created, you can manage its instances separately.
Viewing an Instance
1. Log in to the Cloud Firewall console, and select Firewall toggle > Inter-VPC toggle in the left sidebar.
2. On the page displayed, click Firewall instance to view the created firewall and its deployed firewall instances.
Notes
Specification: The maximum amount of bandwidth and maximum number of rules for the current firewall instance. For more details, see NAT Firewall Toggle.

Viewing Associated Toggles
To filter associated firewall toggles, click Toggles on the firewall instance page.

Configuring Firewall Instances
1. On the firewall instance page, locate the target inter-VPC firewall and select Operation > Configure instance.

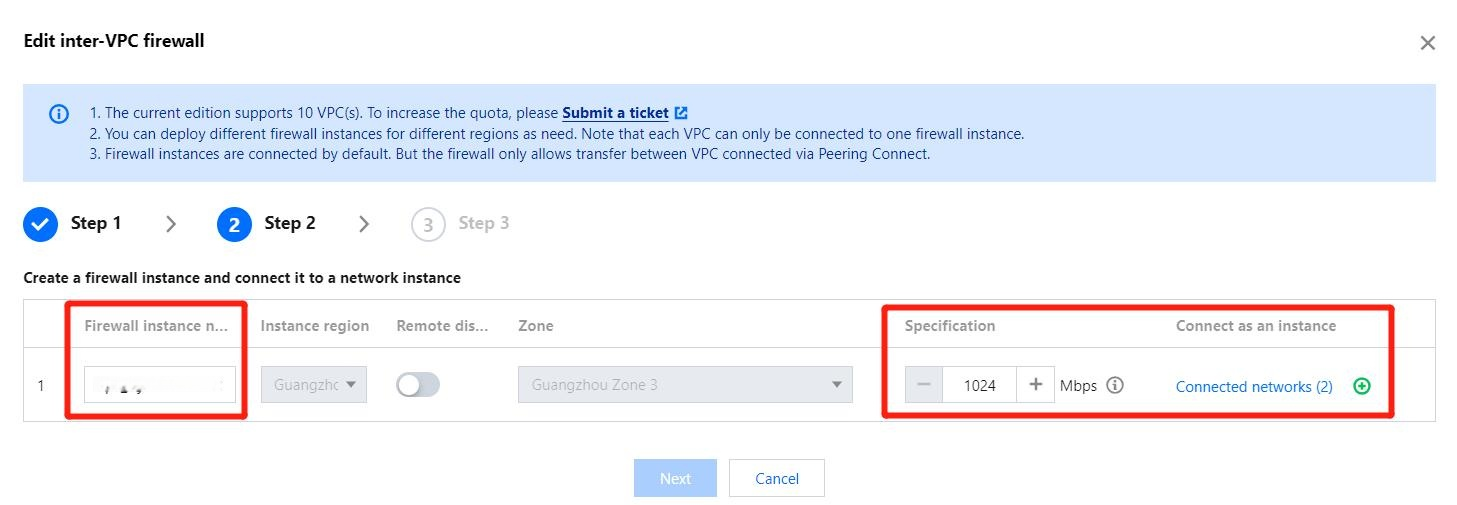
2. Modify the name, specification and connected network instances initially configured when the firewall instance is created, and add new instances as needed.

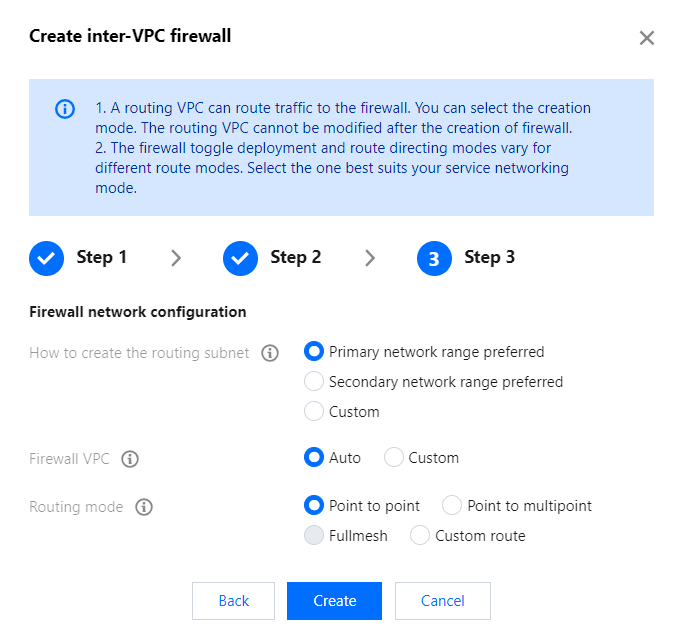
3. When new VPCs are added to the inter-VPC firewall, its network configuration applies automatically. To create a custom forwarding subnet, add the corresponding subnet CIDR manually.
Important
The firewall network configuration cannot be changed.

Terminating Inter-VPC Firewalls
On the firewall instance page, locate the target inter-VPC firewall and select Operation > Terminate firewall. It will then be terminated after your confirmation.
Important
If Custom route is set, you need to restore the route manually.

Was this page helpful?
You can also Contact Sales or Submit a Ticket for help.
Yes
No
Feedback

