Creating Network ACLs
2. Click Security -> Network ACL in the directory on the left to go to the management page.
3. Select the region and VPC at the top of the list and click +New.
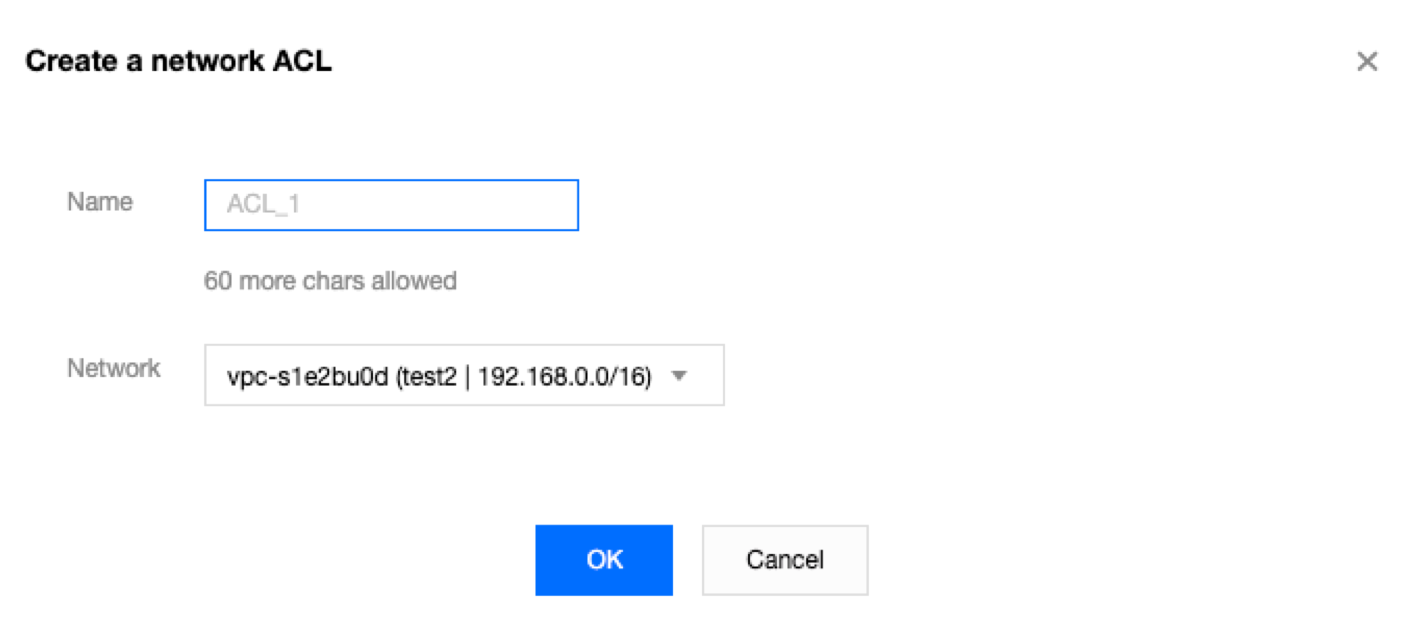
4. Enter its name in the pop-up window, select the VPC it belongs to, and click OK.
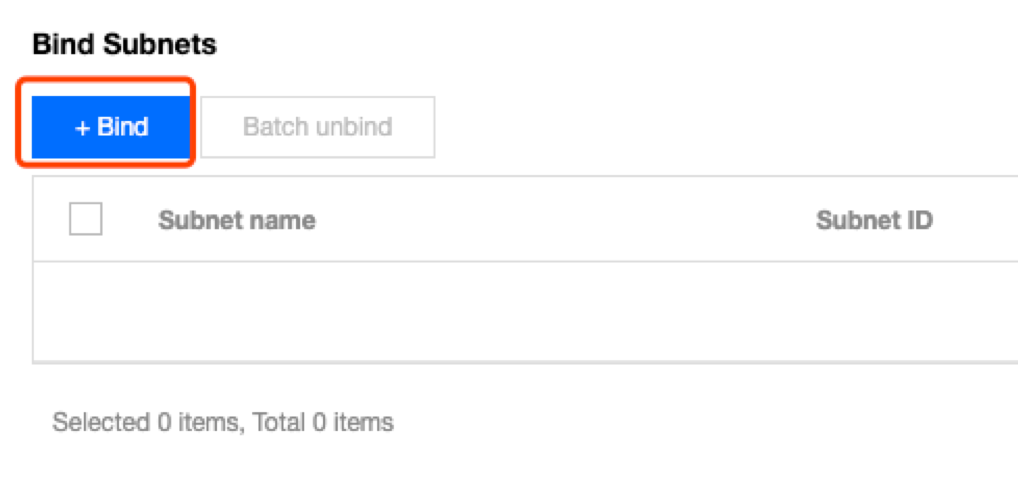
5. On the list page, click the ID of the corresponding ACL to go to its details page, where you can add ACL rules and associate ACL rules with subnets.
Adding Network ACL Rules
2. Click Security -> Network ACL in the directory on the left to go to the management page.
3. Look in the list for the network ACL to be modified, and click its ID to go to the details page.
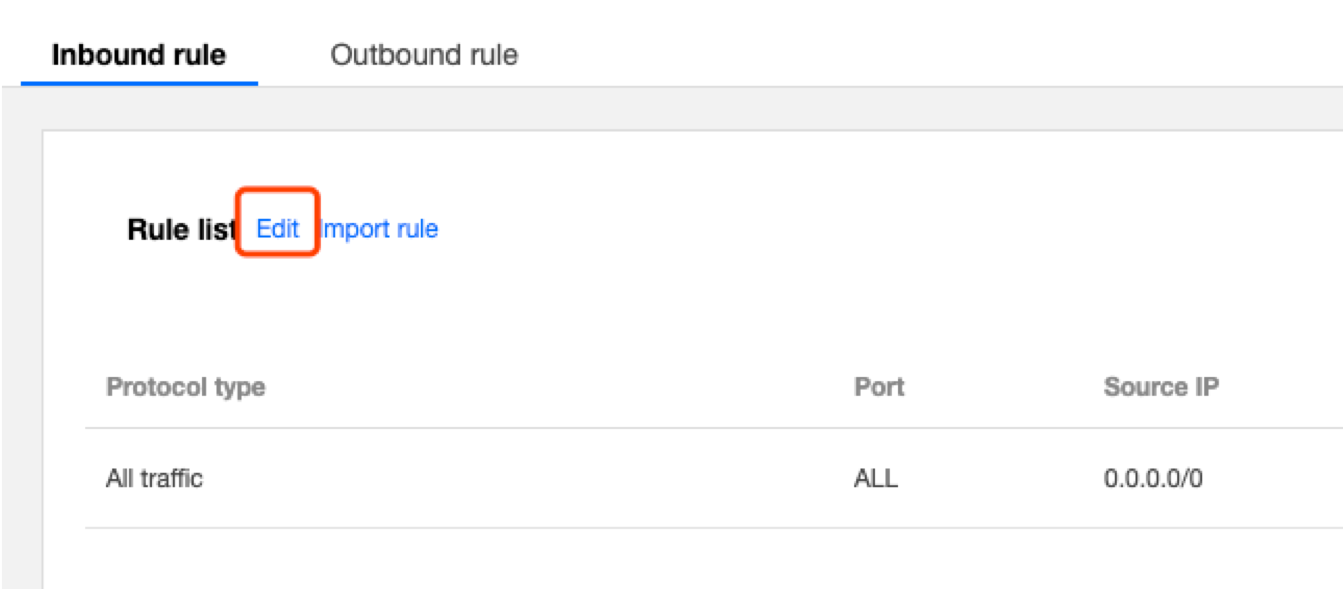
4. To add an outbound/inbound rule, click Outbound Rules or Inbound Rules -> Edit -> New Line, select the protocol type, enter the port and source IP address, and select the policy.
Protocol type: indicates protocol types that an ACL rule allows or rejects, for example, TCP and UDP.
Port: indicates the source port of traffic, which can be a single port or a port segment, for example, port 80 or ports 90 to 100.
Source IP address: indicates the source IP address or IP range of traffic that supports the IP range or CIDR block, for example, 10.20.3.0
or 10.0.0.2/24
.
Policy: allows or rejects the access request.
5. Click Save.
Deleting Network ACL Rules
2. Click Security -> Network ACL in the directory on the left to go to the management page.
3. Look in the list for the network ACL to be deleted, and click its ID to go to the Basic Information page.
4. Click the Inbound Rules tab or the Outbound Rules tab to go to the Rules List page.
5. Click Edit. The process for deleting inbound rules is the same as for deleting outbound rules. The deletion of inbound rules is used as the example here.
6. In the list, select the row of the rule to be deleted and click Delete in the operation column.
Note:
This ACL rule is now grayed out. If you deleted it by accident, you can click Recover the deleted rule in the operation column to restore the rule.
7. Click Save to save the previous operation.
Note:
The deletion or restoration of the ACL rule only takes effect after you save the operation.
Associating Network ACLs with Subnets
2. Click Security -> Network ACL in the directory on the left to go to the management page.
3. Look in the list for the network ACL to be associated, and click its ID to go to the details page.
4. On the Basic Information page, click Add Association in the Associated Subnets module.
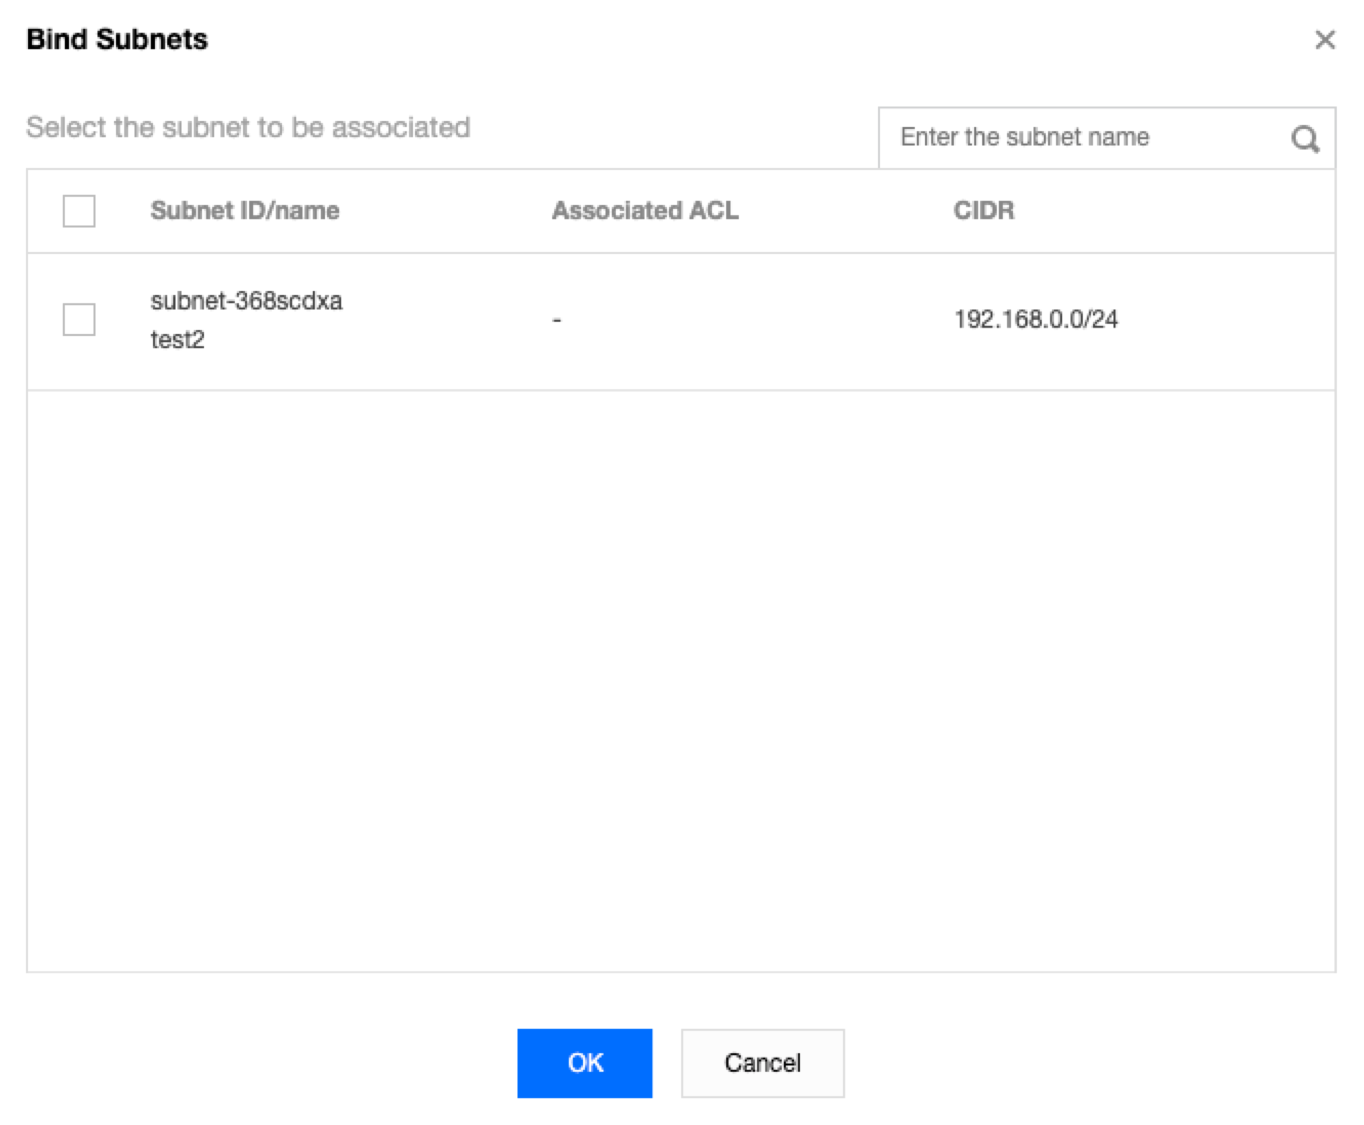
5. Select the subnet to be associated from the pop-up window and click OK.
Disassociating Network ACLs from Subnets
2. Click Security -> Network ACL in the directory on the left to go to the management page.
3. Look in the list for the network ACL to be disassociated, and click its ID to go to the details page.
4. There are different methods for disassociating ACLs from subnets:
Method 1: look for the subnet that is to be disassociated in the Associated Subnets module on the Basic Information page and click Disassociate.
Method 2: place a check next to the subnets that are to be disassociated in the Associated Subnets module on the Basic Information page, and click Batch Disassociate.
5. Click OK in the pop-up window.
Deleting Network ACLs
2. Click Security -> Network ACL in the directory on the left to go to the management page.
3. Select the region and the VPC.
4. In the list, look for the network ACL to be deleted, click Delete, and then confirm the deletion. The network ACL and all of its rules will be deleted.
Note:
If the Delete option is grayed out, such as for the network ACL testEg
in the following figure, it indicates that the network ACL is currently associated with a subnet. You will need to disassociate it from the subnet first before you can delete it.
Was this page helpful?