3. Run the python manage.py runserver command locally to start the bootstrap file. Below is the sample code:
$ python manage.py runserver
July 27, 2021 - 11:52:20
Django version 3.2.5, using settings 'helloworld.settings'
Starting development server at http://127.0.0.1:8000/
Quit the server with CONTROL-C.
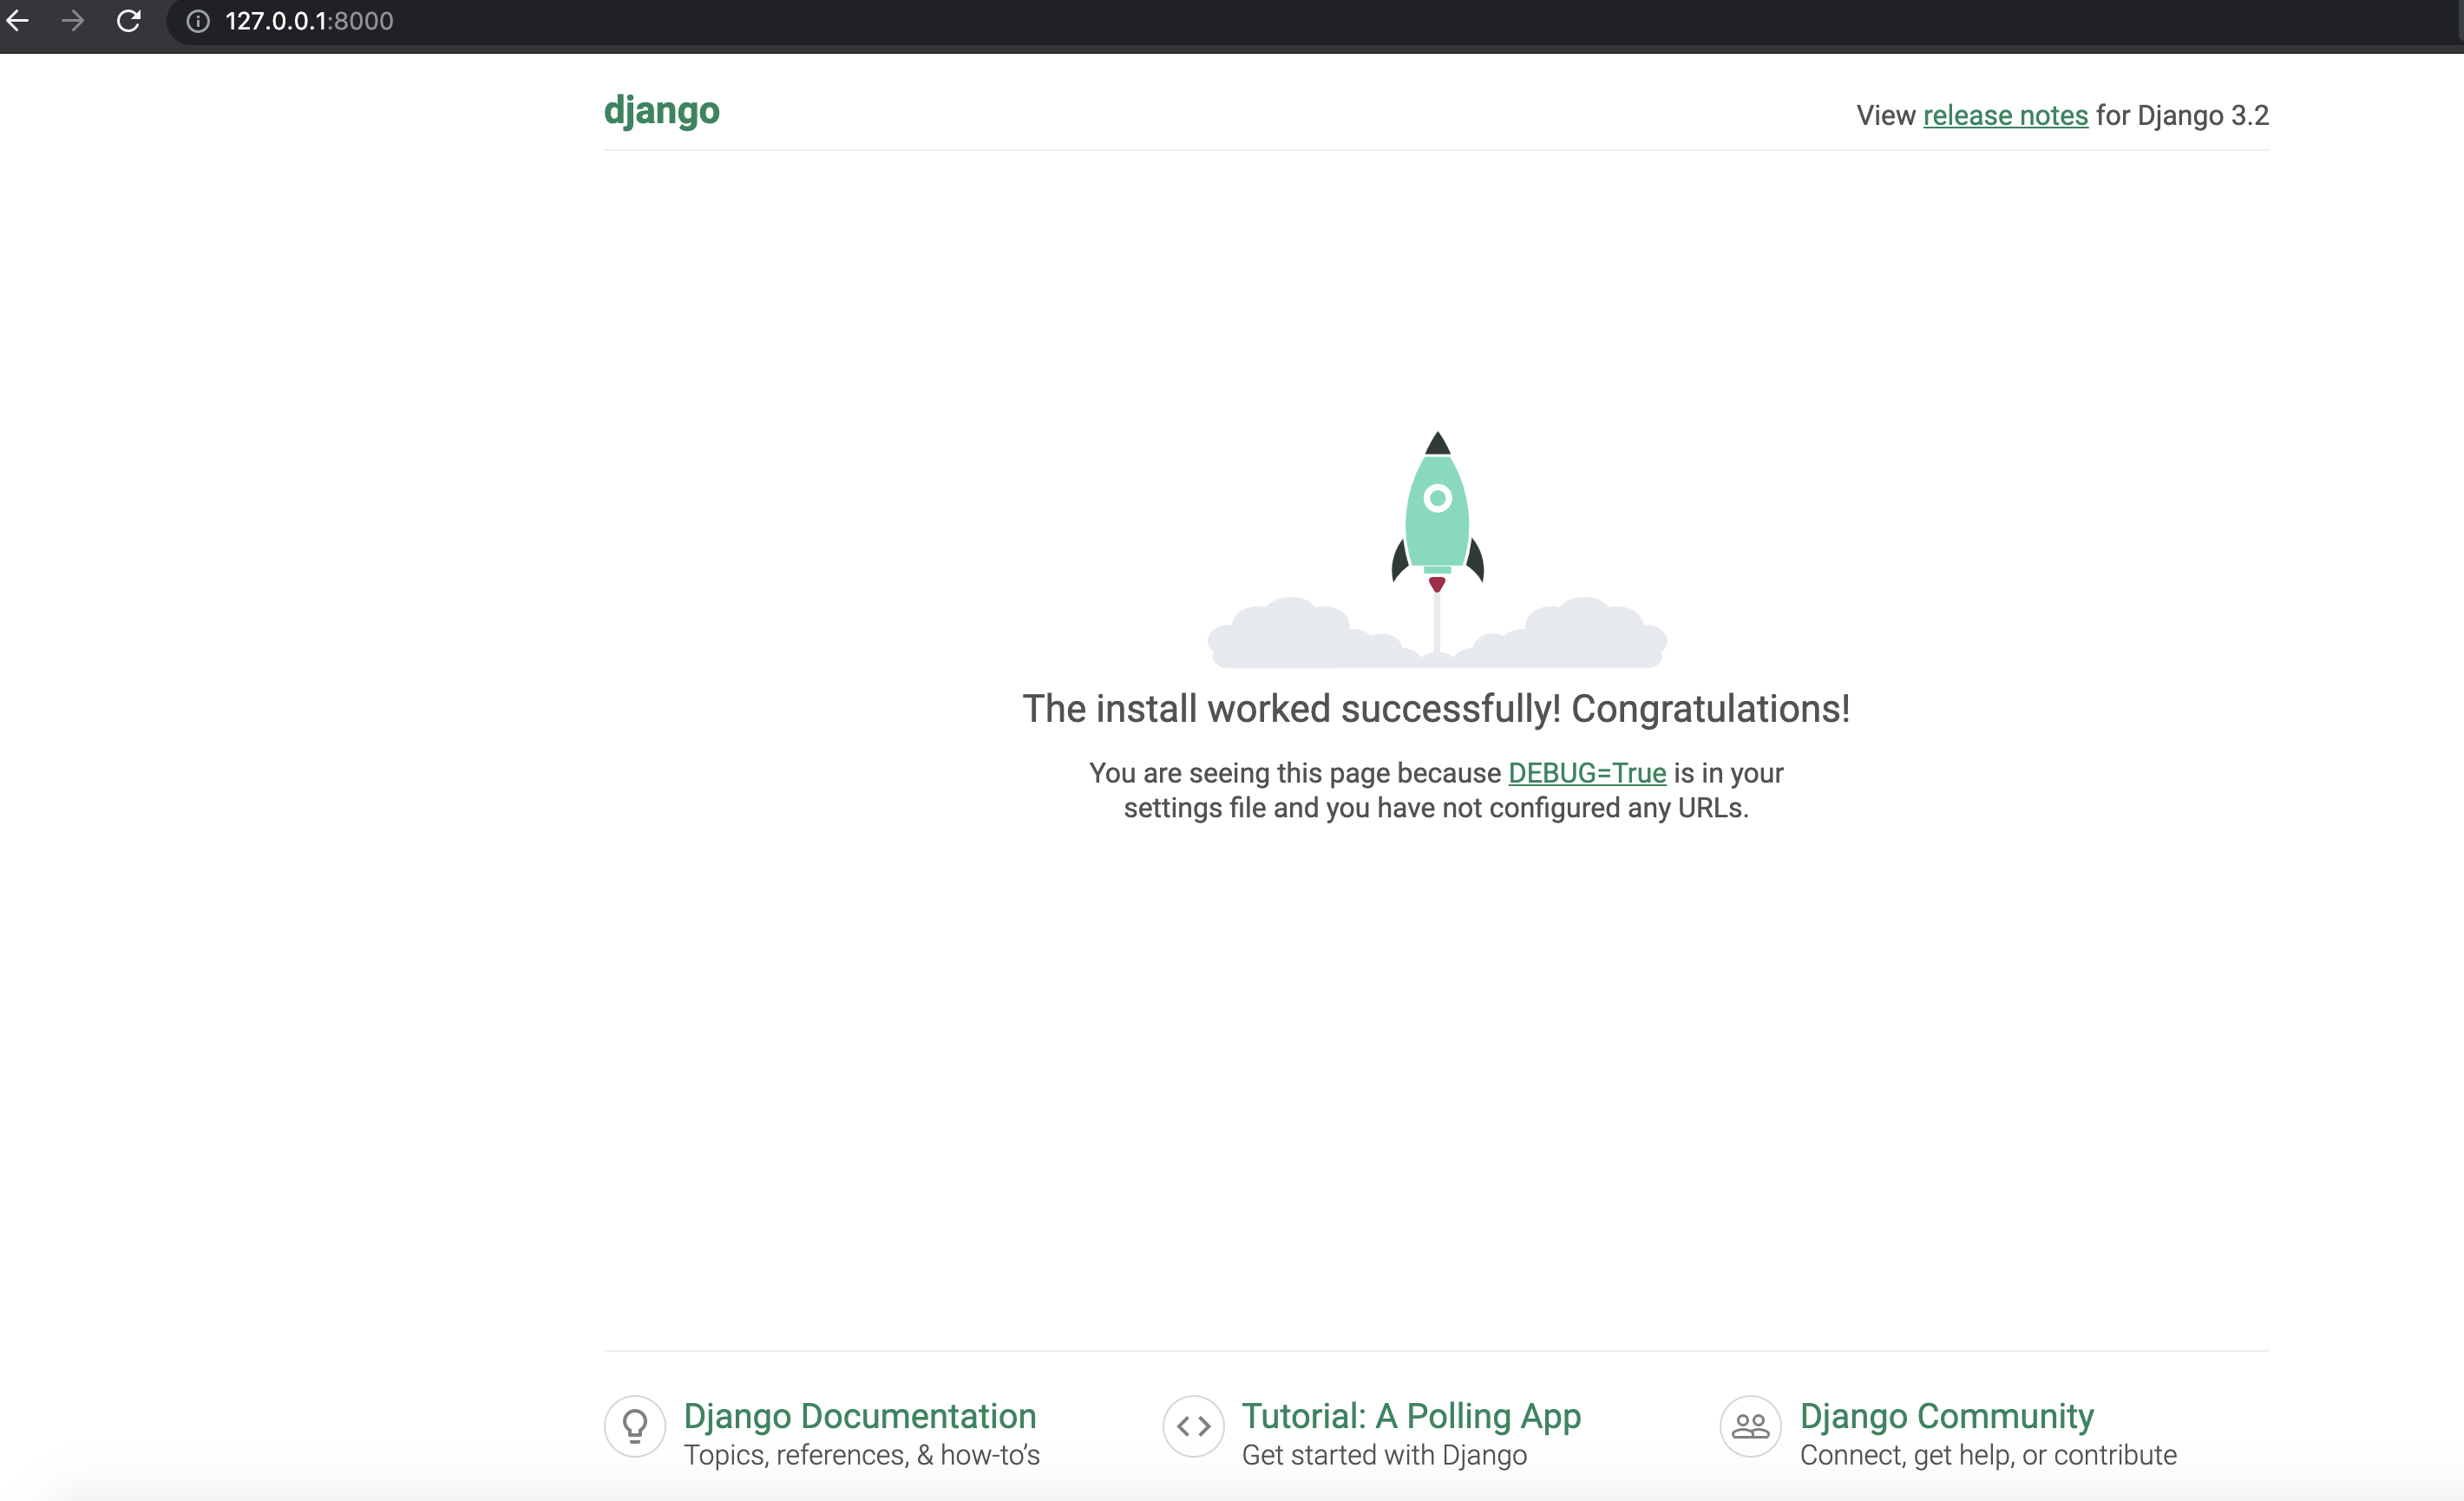
4. Visit http://127.0.0.1:8000 in a browser, and you can access the sample Django project locally as shown below:
Deployment in cloud
Next, perform the following steps to make simple modifications to the locally created project, so that it can be quickly deployed through an HTTP-triggered function. The steps of project transformation for Django are as follows:
1. Install dependencies
1.1 As the Django dependency library is not provided in the standard cloud environment of SCF, you must install the dependencies and upload them together with the project code. Create the requirements.txt file first with the following content:
Django==3.1.3
1.2 Run the following command to install:
pip install -r requirements.txt -t .
Note:
As the initialized default project imports the db.sqlite3 library, install this dependency synchronously or configure comments for the DATABASES field in the setting.py file of the project.
2. Add the scf_bootstrap bootstrap file
The listening port in the HTTP-triggered function must be 9000, so you need to change the listening address and port in the following way: create the scf_bootstrap bootstrap file in the project root directory and add the following content to it (which is used to configure environment variables, specify service bootstrap commands, and make sure that your service can be started normally through this file):
3. After the creation is completed, you need to run the following command to modify the executable permission of the file. By default, the permission 777 or 755 is required for it to start normally. Below is the sample code:
chmod777 scf_bootstrap
Note:
In the SCF environment, only files in the /tmp directory are readable/writable. We recommend you select /tmp when outputting files. If you select other directories, write will fail due to the lack of permissions.
If you want to output environment variables in the log, you need to add the -u parameter before the startup command, such as python -u app.py.
4. After the local configuration is completed, run the following command to start the service (with execution in the scf_bootstrap directory as an example) and make sure that your service can be normally started locally.
Note:
Be sure to change the python path to the local path during local testing.
./scf_bootstrap
5. Log in to the SCF console and click Functions on the left sidebar.
6. Select the region where to create a function at the top of the page and click Create to enter the function creation process.
7. Select Create from scratch and configure the options as prompted:
Function type: Select HTTP-triggered function.
Function name: Enter the name of your function.
Region: Enter your function deployment region, such as Chengdu.
Runtime environment: Select Python 3.6.
Submitting method: Select Local folder and upload your local project.
Function codes: Select the specific local folder where the function code is.
8. Click Complete.
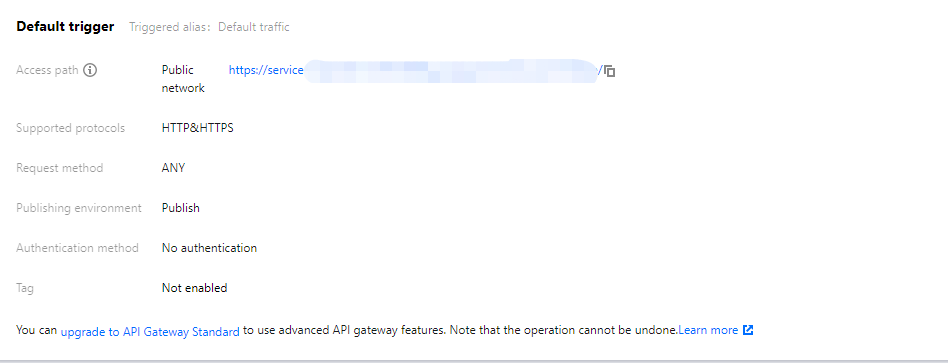
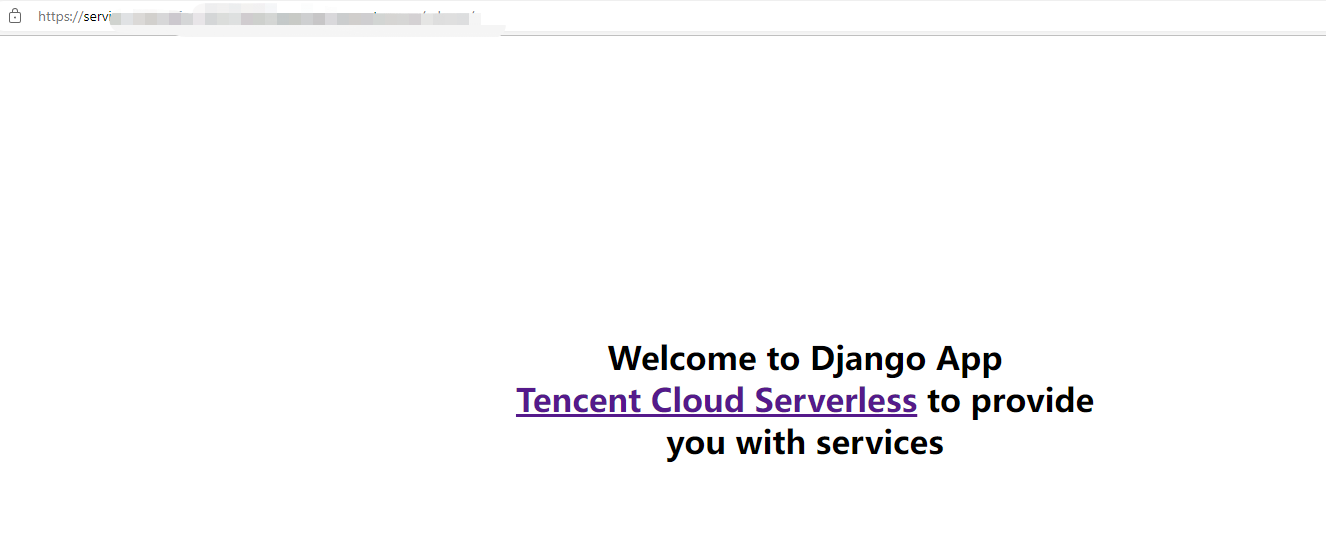
Development management
After the deployment is completed, you can quickly access and test your web service in the SCF console and try out various features of SCF, such as layer binding and log management. In this way, you can enjoy the advantages of low cost and flexible scaling brought by the serverless architecture as shown below: