本文介绍如何快速使用 Terraform 创建腾讯云私有网络 VPC。
步骤1:安装 Terraform
- 前往 Terraform 官网,使用命令行直接安装 Terraform 或下载二进制安装文件。
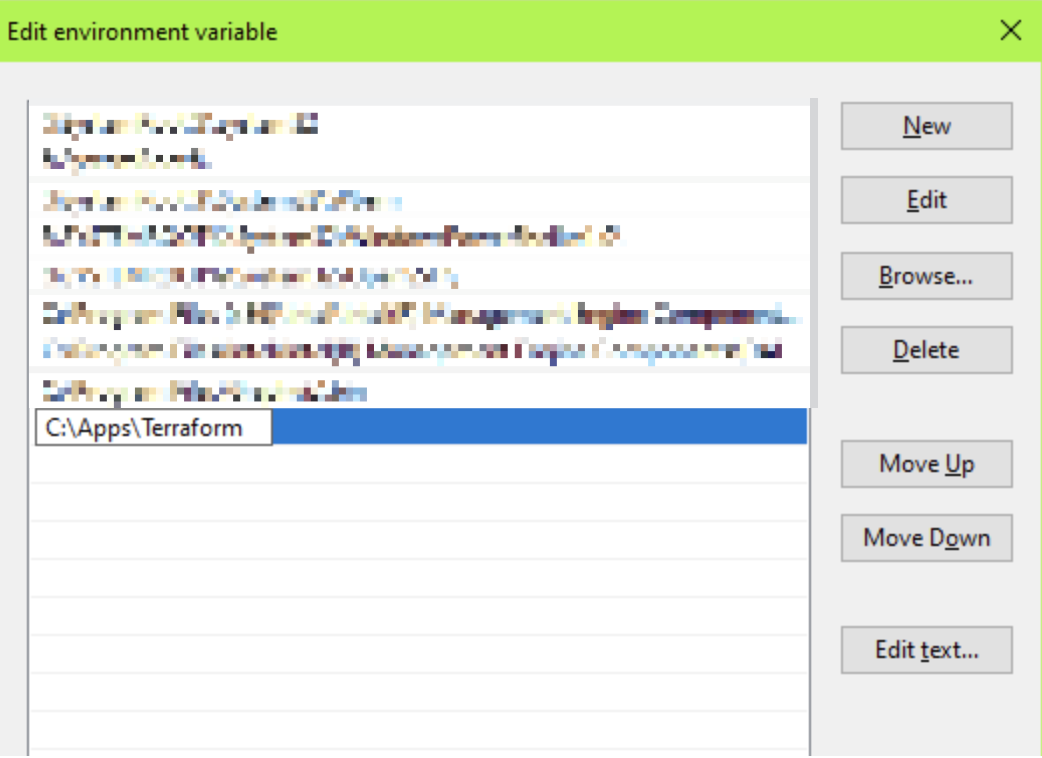
- 解压并配置全局路径。
若您通过命令行安装,则请跳过此步骤。若您通过下载二进制安装文件,则请配置全局路径。- 执行以下命令进行解压,请将 1.x.x 替换为您实际安装 Terraform 版本号。
unzip terraform_1.x.x_linux_amd64.zip - 执行以下命令,将当前目录添加至
~/.profile文件中。echo $"export PATH=\$PATH:$(pwd)" >> ~/.bash_profile - 执行以下命令,使全局路径配置生效。
source ~/.bash_profile
- 执行以下命令进行解压,请将 1.x.x 替换为您实际安装 Terraform 版本号。
- 执行以下命令,查看是否安装成功。
terraform -version
返回信息如下所示(版本号可能存在差异),则表示安装成功。
> Terraform v1.0.10
> on darwin_amd64
> Your version of Terraform is out of date! The latest version
> is 1.1.0. You can update by downloading from https://www.terraform.io/downloads.html
步骤2:获取凭证
在 API密钥管理 页面中创建并复制 SecretId 和 SecretKey。
步骤3:鉴权
您可通过以下两种方式进行鉴权:
在用户目录下创建 provider.tf 文件,输入如下内容:my-secret-id 及 my-secret-key 请替换为 获取凭证 中的 SecretId 和 SecretKey。
provider "tencentcloud" {
   secret_id = "my-secret-id"
   secret_key = "my-secret-key"
}
步骤4:使用 Terraform 创建腾讯云私有网络
创建
provider.tf文件,指定 provider 配置信息。文件内容如下:terraform { required_providers { tencentcloud = { source = "tencentcloudstack/tencentcloud" # 通过version指定版本 # version = ">=1.60.18" } } } provider "tencentcloud" { region = "ap-guangzhou" # secret_id = "my-secret-id" # secret_key = "my-secret-key" }创建
main.tf文件,配置腾讯云 Provider 并创建私有网络 VPC。文件内容如下:resource "tencentcloud_vpc" "foo" { name = "ci-temp-test-updated" cidr_block = "10.0.0.0/16" dns_servers = ["119.29.29.29", "8.8.8.8"] is_multicast = false tags = { "test" = "test" } }执行以下命令,初始化工作目录并下载插件。
terraform init
返回信息如下所示:
Initializing the backend...
Initializing provider plugins...
- Finding latest version of tencentcloudstack/tencentcloud...
- Installing tencentcloudstack/tencentcloud v1.60.18...
- Installed tencentcloudstack/tencentcloud v1.60.18 (signed by a HashiCorp partner, key ID 84F69E1C1BECF459)
Partner and community providers are signed by their developers.
If you'd like to know more about provider signing, you can read about it here:
https://www.terraform.io/docs/cli/plugins/signing.html
Terraform has created a lock file .terraform.lock.hcl to record the provider
selections it made above. Include this file in your version control repository
so that Terraform can guarantee to make the same selections by default when
you run "terraform init" in the future.
Terraform has been successfully initialized!
You may now begin working with Terraform. Try running "terraform plan" to see
any changes that are required for your infrastructure. All Terraform commands
should now work.
If you ever set or change modules or backend configuration for Terraform,
rerun this command to reinitialize your working directory. If you forget, other
commands will detect it and remind you to do so if necessary.
- 执行以下命令,升级 Provider 版本。
terraform init -upgrade
返回信息如下所示:
Initializing the backend...
Initializing provider plugins...
- Finding tencentcloudstack/tencentcloud versions matching ">= 1.60.18"...
- Installing tencentcloudstack/tencentcloud v1.60.19...
- Installed tencentcloudstack/tencentcloud v1.60.19 (signed by a HashiCorp partner, key ID 84F69E1C1BECF459)
Partner and community providers are signed by their developers.
If you'd like to know more about provider signing, you can read about it here:
https://www.terraform.io/docs/cli/plugins/signing.html
Terraform has made some changes to the provider dependency selections recorded
in the .terraform.lock.hcl file. Review those changes and commit them to your
version control system if they represent changes you intended to make.
Terraform has been successfully initialized!
You may now begin working with Terraform. Try running "terraform plan" to see
any changes that are required for your infrastructure. All Terraform commands
should now work.
If you ever set or change modules or backend configuration for Terraform,
rerun this command to reinitialize your working directory. If you forget, other
commands will detect it and remind you to do so if necessary.
- 执行以下命令,查看执行计划,显示将要创建的资源详情。
terraform plan
返回信息如下所示:
Terraform used the selected providers to generate the following execution plan. Resource actions are
indicated with the following symbols:
 + create
Terraform will perform the following actions:
  # tencentcloud_vpc.foo will be created
 + resource "tencentcloud_vpc" "foo" {
     + cidr_block             = "10.0.0.0/16"
     + create_time            = (known after apply)
     + default_route_table_id = (known after apply)
     + dns_servers            = [
         + "119.29.29.29",
         + "8.8.8.8",
       ]
     + id                     = (known after apply)
     + is_default             = (known after apply)
     + is_multicast           = false
     + name                   = "ci-temp-test-updated"
     + tags                   = {
         + "test" = "test"
       }
   }
Plan: 1 to add, 0 to change, 0 to destroy.
─────────────────────────────────────────────────────────────────────────────────────────────────────────────
Note: You didn't use the -out option to save this plan, so Terraform can't guarantee to take exactly these
actions if you run "terraform apply" now.
- 执行以下命令,创建资源。
terraform apply
根据提示输入 yes 创建资源,返回信息如下所示:
Terraform used the selected providers to generate the following execution plan. Resource actions are
indicated with the following symbols:
 + create
Terraform will perform the following actions:
  # tencentcloud_vpc.foo will be created
 + resource "tencentcloud_vpc" "foo" {
     + cidr_block             = "10.0.0.0/16"
     + create_time            = (known after apply)
     + default_route_table_id = (known after apply)
     + dns_servers            = [
         + "119.29.29.29",
         + "8.8.8.8",
       ]
     + id                     = (known after apply)
     + is_default             = (known after apply)
     + is_multicast           = false
     + name                   = "ci-temp-test-updated"
     + tags                   = {
         + "test" = "test"
       }
   }
Plan: 1 to add, 0 to change, 0 to destroy.
Do you want to perform these actions?
 Terraform will perform the actions described above.
 Only 'yes' will be accepted to approve.
  Enter a value: yes
tencentcloud_vpc.foo: Creating...
tencentcloud_vpc.foo: Still creating... [10s elapsed]
tencentcloud_vpc.foo: Creation complete after 13s [id=vpc-07mx4yfd]
Apply complete! Resources: 1 added, 0 changed, 0 destroyed.
执行完毕后,您可以在腾讯云控制台查看创建的资源。
7. (可选)更新资源。
若您将资源配置信息修改为如下所示内容:
resource "tencentcloud_vpc" "foo" {
   name         = "ci-temp-test-updated2"
   cidr_block   = "10.0.0.0/16"
   dns_servers  = ["119.29.29.29", "8.8.8.8"]
   is_multicast = false
    tags = {
       "test" = "test"
   }
}
请执行
terraform plan命令更新计划。返回信息如下所示:tencentcloud_vpc.foo: Refreshing state... [id=vpc-jhmdf9q9] Terraform used the selected providers to generate the following execution plan. Resource actions are indicated with the following symbols: ~ update in-place Terraform will perform the following actions: # tencentcloud_vpc.foo will be updated in-place ~ resource "tencentcloud_vpc" "foo" { id = "vpc-jhmdf9q9" ~ name = "ci-temp-test-updated" -> "ci-temp-test-updated2" tags = { "test" = "test" } # (6 unchanged attributes hidden) } Plan: 0 to add, 1 to change, 0 to destroy. ─────────────────────────────────────────────────────────────────────────────────────────────────────────────────────────────────────────────── Note: You didn't use the -out option to save this plan, so Terraform can't guarantee to take exactly these actions if you run "terraform apply" now.执行
terraform apply命令,应用更新的数据创建资源。返回信息如下:tencentcloud_vpc.foo: Refreshing state... [id=vpc-jhmdf9q9] Terraform used the selected providers to generate the following execution plan. Resource actions are indicated with the following symbols: ~ update in-place Terraform will perform the following actions: # tencentcloud_vpc.foo will be updated in-place ~ resource "tencentcloud_vpc" "foo" { id = "vpc-jhmdf9q9" ~ name = "ci-temp-test-updated" -> "ci-temp-test-updated2" tags = { "test" = "test" } # (6 unchanged attributes hidden) } Plan: 0 to add, 1 to change, 0 to destroy. Do you want to perform these actions? Terraform will perform the actions described above. Only 'yes' will be accepted to approve. Enter a value: yes tencentcloud_vpc.foo: Modifying... [id=vpc-jhmdf9q9] tencentcloud_vpc.foo: Modifications complete after 1s [id=vpc-jhmdf9q9] Apply complete! Resources: 0 added, 1 changed, 0 destroyed.您可根据实际需求,执行以下命令销毁资源。
terraform destroy
返回信息如下所示:
tencentcloud_vpc.foo: Refreshing state... [id=vpc-07mx4yfd]
Terraform used the selected providers to generate the following execution plan. Resource actions are
indicated with the following symbols:
 - destroy
Terraform will perform the following actions:
  # tencentcloud_vpc.foo will be destroyed
 - resource "tencentcloud_vpc" "foo" {
     - cidr_block             = "10.0.0.0/16" -> null
     - create_time            = "2021-12-15 16:20:32" -> null
     - default_route_table_id = "rtb-4m1nmo0e" -> null
     - dns_servers            = [
         - "119.29.29.29",
         - "8.8.8.8",
       ] -> null
     - id                     = "vpc-07mx4yfd" -> null
     - is_default             = false -> null
     - is_multicast           = false -> null
     - name                   = "ci-temp-test-updated" -> null
     - tags                   = {
         - "test" = "test"
       } -> null
   }
Plan: 0 to add, 0 to change, 1 to destroy.
Do you really want to destroy all resources?
 Terraform will destroy all your managed infrastructure, as shown above.
 There is no undo. Only 'yes' will be accepted to confirm.
  Enter a value: yes
tencentcloud_vpc.foo: Destroying... [id=vpc-07mx4yfd]
tencentcloud_vpc.foo: Destruction complete after 7s
Destroy complete! Resources: 1 destroyed.

 是
是
 否
否
本页内容是否解决了您的问题?