- 动态与公告
- 产品简介
- 购买指南
- 快速入门
- 开发指南
- 操作指南
- 实践教程
- API 文档
- History
- Introduction
- API Category
- Making API Requests
- Message APIs
- Cluster APIs
- Namespace APIs
- Topic APIs
- CMQ Message APIs
- CMQ Management APIs
- UnbindCmqDeadLetter
- RewindCmqQueue
- ModifyCmqTopicAttribute
- ModifyCmqSubscriptionAttribute
- ModifyCmqQueueAttribute
- DescribeCmqTopics
- DescribeCmqTopicDetail
- DescribeCmqSubscriptionDetail
- DescribeCmqQueues
- DescribeCmqQueueDetail
- DeleteCmqTopic
- DeleteCmqSubscribe
- DeleteCmqQueue
- CreateCmqTopic
- CreateCmqSubscribe
- CreateCmqQueue
- Other APIs
- Environment Role APIs
- TDMQ for RabbitMQ APIs
- RocketMQ APIs
- DescribeRocketMQVipInstanceDetail
- DescribeRocketMQMsg
- ModifyRocketMQTopic
- ModifyRocketMQNamespace
- ModifyRocketMQGroup
- ModifyRocketMQCluster
- DescribeRocketMQTopics
- DescribeRocketMQNamespaces
- DescribeRocketMQGroups
- DescribeRocketMQClusters
- DescribeRocketMQCluster
- DeleteRocketMQTopic
- DeleteRocketMQGroup
- DeleteRocketMQCluster
- CreateRocketMQTopic
- CreateRocketMQNamespace
- CreateRocketMQGroup
- CreateRocketMQCluster
- TDMQ for RocketMQ APIs
- Production and Consumption APIs
- Data Types
- Error Codes
- SDK 文档
- 常见问题
- TDMQ 政策
- 服务等级协议
- 通用参考
- 联系我们
- 词汇表
操作场景
本文以 Spring Boot Starter 接入为例介绍实现消息收发的操作过程,帮助您更好地理解消息收发的完整过程。
前提条件
操作步骤
步骤1:添加依赖
在项目中引入 Pulsar Starter 相关依赖。
<dependency><groupId>io.github.majusko</groupId><artifactId>pulsar-java-spring-boot-starter</artifactId><version>1.0.7</version></dependency><!-- https://mvnrepository.com/artifact/io.projectreactor/reactor-core --><dependency><groupId>io.projectreactor</groupId><artifactId>reactor-core</artifactId><version>3.4.11</version></dependency>
步骤2:准备配置
在配置文件 application.yml 中添加 Pulsar 相关配置信息。
server:port: 8081pulsar:# 命名空间名称namespace: namespace_java# 服务接入地址service-url: http://pulsar-w7eognxxx.tdmq.ap-gz.public.tencenttdmq.com:8080# 授权角色密钥token-auth-value: eyJrZXlJZC....# 集群名称tenant: pulsar-w7eognxxx
步骤3:生产消息
在 ProducerConfiguration.java 中配置生产者
package com.tencent.cloud.tdmq.pulsar.config;import io.github.majusko.pulsar.producer.ProducerFactory;import org.springframework.context.annotation.Bean;import org.springframework.context.annotation.Configuration;/*** 生产者相关配置* 1.topic要提前在控制台中完成创建* 2.消息类型需要实现Serializable接口* 3.如果一个topic不能绑定不同的数据类型*/@Configurationpublic class ProducerConfiguration {@Beanpublic ProducerFactory producerFactory() {return new ProducerFactory()// topic1 生产者.addProducer("topic1")// topic2 生产者.addProducer("topic2");}}
编译并运行生产消息程序 MyProducer.java。
package com.tencent.cloud.tdmq.pulsar.service;import io.github.majusko.pulsar.producer.PulsarTemplate;import org.apache.pulsar.client.api.MessageId;import org.apache.pulsar.client.api.PulsarClientException;import org.springframework.beans.factory.annotation.Autowired;import org.springframework.stereotype.Service;import java.nio.charset.StandardCharsets;import java.util.concurrent.CompletableFuture;@Servicepublic class MyProducer {/*** 1.发送消息的topic是在生产者配置中已经声明的topic* 2.PulsarTemplate类型应于发送消息的类型一致* 3.发送消息到指定topic时,消息类型需要与生产者工厂配置中的topic绑定的消息类型对应*/@Autowiredprivate PulsarTemplate<byte[]> defaultProducer;public void syncSendMessage() throws PulsarClientException {defaultProducer.send("topic1", "Hello pulsar client.".getBytes(StandardCharsets.UTF_8));}public void asyncSendMessage() {String msg = "Hello pulsar client.";CompletableFuture<MessageId> completableFuture = defaultProducer.sendAsync("topic1", msg.getBytes(StandardCharsets.UTF_8));// 通过异步回调得知消息发送成功与否completableFuture.whenComplete(((messageId, throwable) -> {if( null != throwable ) {System.out.println("delivery failed, value: " + msg );// 此处可以添加延时重试的逻辑} else {System.out.println("delivered msg " + messageId + ", value:" + msg);}}));}/*** 顺序消息需要使用顺序类型topic来完成,顺序类型的topic支撑全局顺序和局部顺序两种类型,根据实际情况选择合适的类型即可*/public void sendOrderMessage() throws PulsarClientException {for (int i = 0; i < 5; i++) {defaultProducer.send("topic2", ("Hello pulsar client, this is a order message" + i + ".").getBytes(StandardCharsets.UTF_8));}}}
注意:
发送消息的 Topic 是在生产者配置中已经声明的 Topic。
PulsarTemplate 类型应与发送消息的类型一致。
发送消息到指定 Topic 时,消息类型需要与生产者工厂配置中的 Topic 绑定的消息类型对应。
步骤4:消费消息
编译并运行消费消息程序 MyConsumer.java。
package com.tencent.cloud.tdmq.pulsar.service;import io.github.majusko.pulsar.annotation.PulsarConsumer;import io.github.majusko.pulsar.constant.Serialization;import org.apache.pulsar.client.api.SubscriptionType;import org.springframework.stereotype.Service;/*** 消费者配置*/@Servicepublic class MyConsumer {@PulsarConsumer(topic = "topic1", // 订阅topic名称subscriptionName = "sub_topic1", // 订阅名称serialization = Serialization.JSON, // 序列化方式subscriptionType = SubscriptionType.Shared, // 订阅模式,默认为独占模式consumerName = "firstTopicConsumer", // 消费者名称maxRedeliverCount = 3, // 最大重试次数deadLetterTopic = "sub_topic1-DLQ" // 死信topic名称)public void firstTopicConsume(byte[] msg) {// TODO process your messageSystem.out.println("Received a new message. content: [" + new String(msg) + "]");// 如果消费失败,请抛出异常,这样消息会进入重试队列,之后可以重新消费,直到达到最大重试次数之后,进入死信队列。前提是要创建重试和死信topic}/*** 顺序类型的消息可借助顺序类型的topic来完成,支持全局顺序和局部顺序两种类型*/@PulsarConsumer(topic = "topic2", subscriptionName = "sub_topic2")public void orderTopicConsumer(byte[] msg) {// TODO process your messageSystem.out.println("Received a order message. content: [" + new String(msg) + "]");}/*** 监听死信topic,处理死信消息*/@PulsarConsumer(topic = "sub_topic1-DLQ", subscriptionName = "dead_sub")public void deadTopicConsumer(byte[] msg) {// TODO process your messageSystem.out.println("Received a dead message. content: [" + new String(msg) + "]");}}
说明:
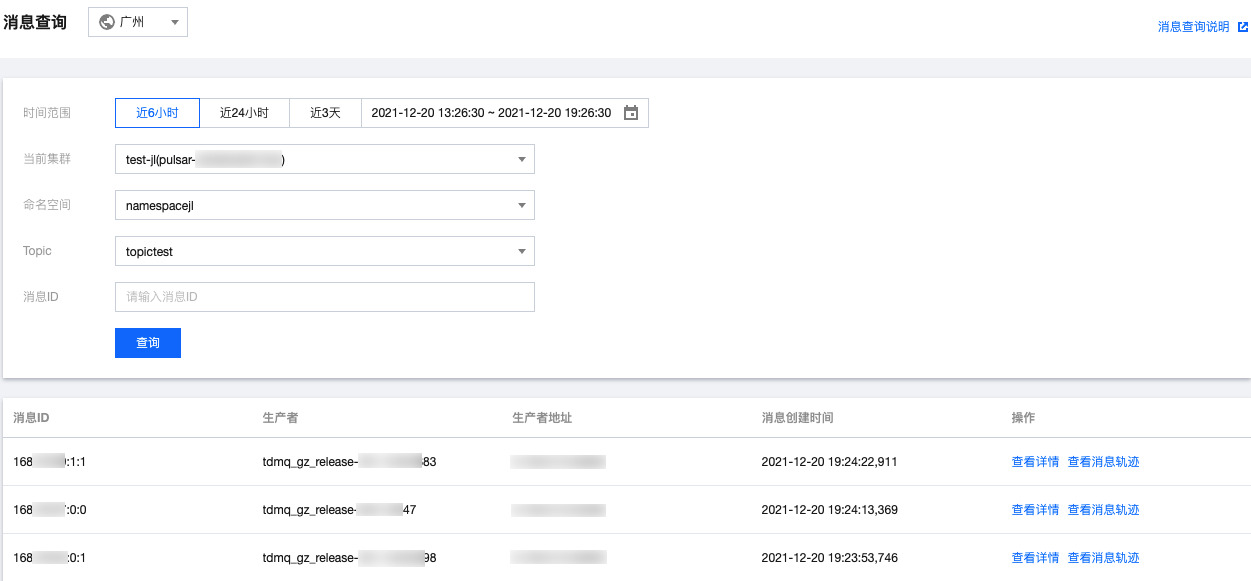
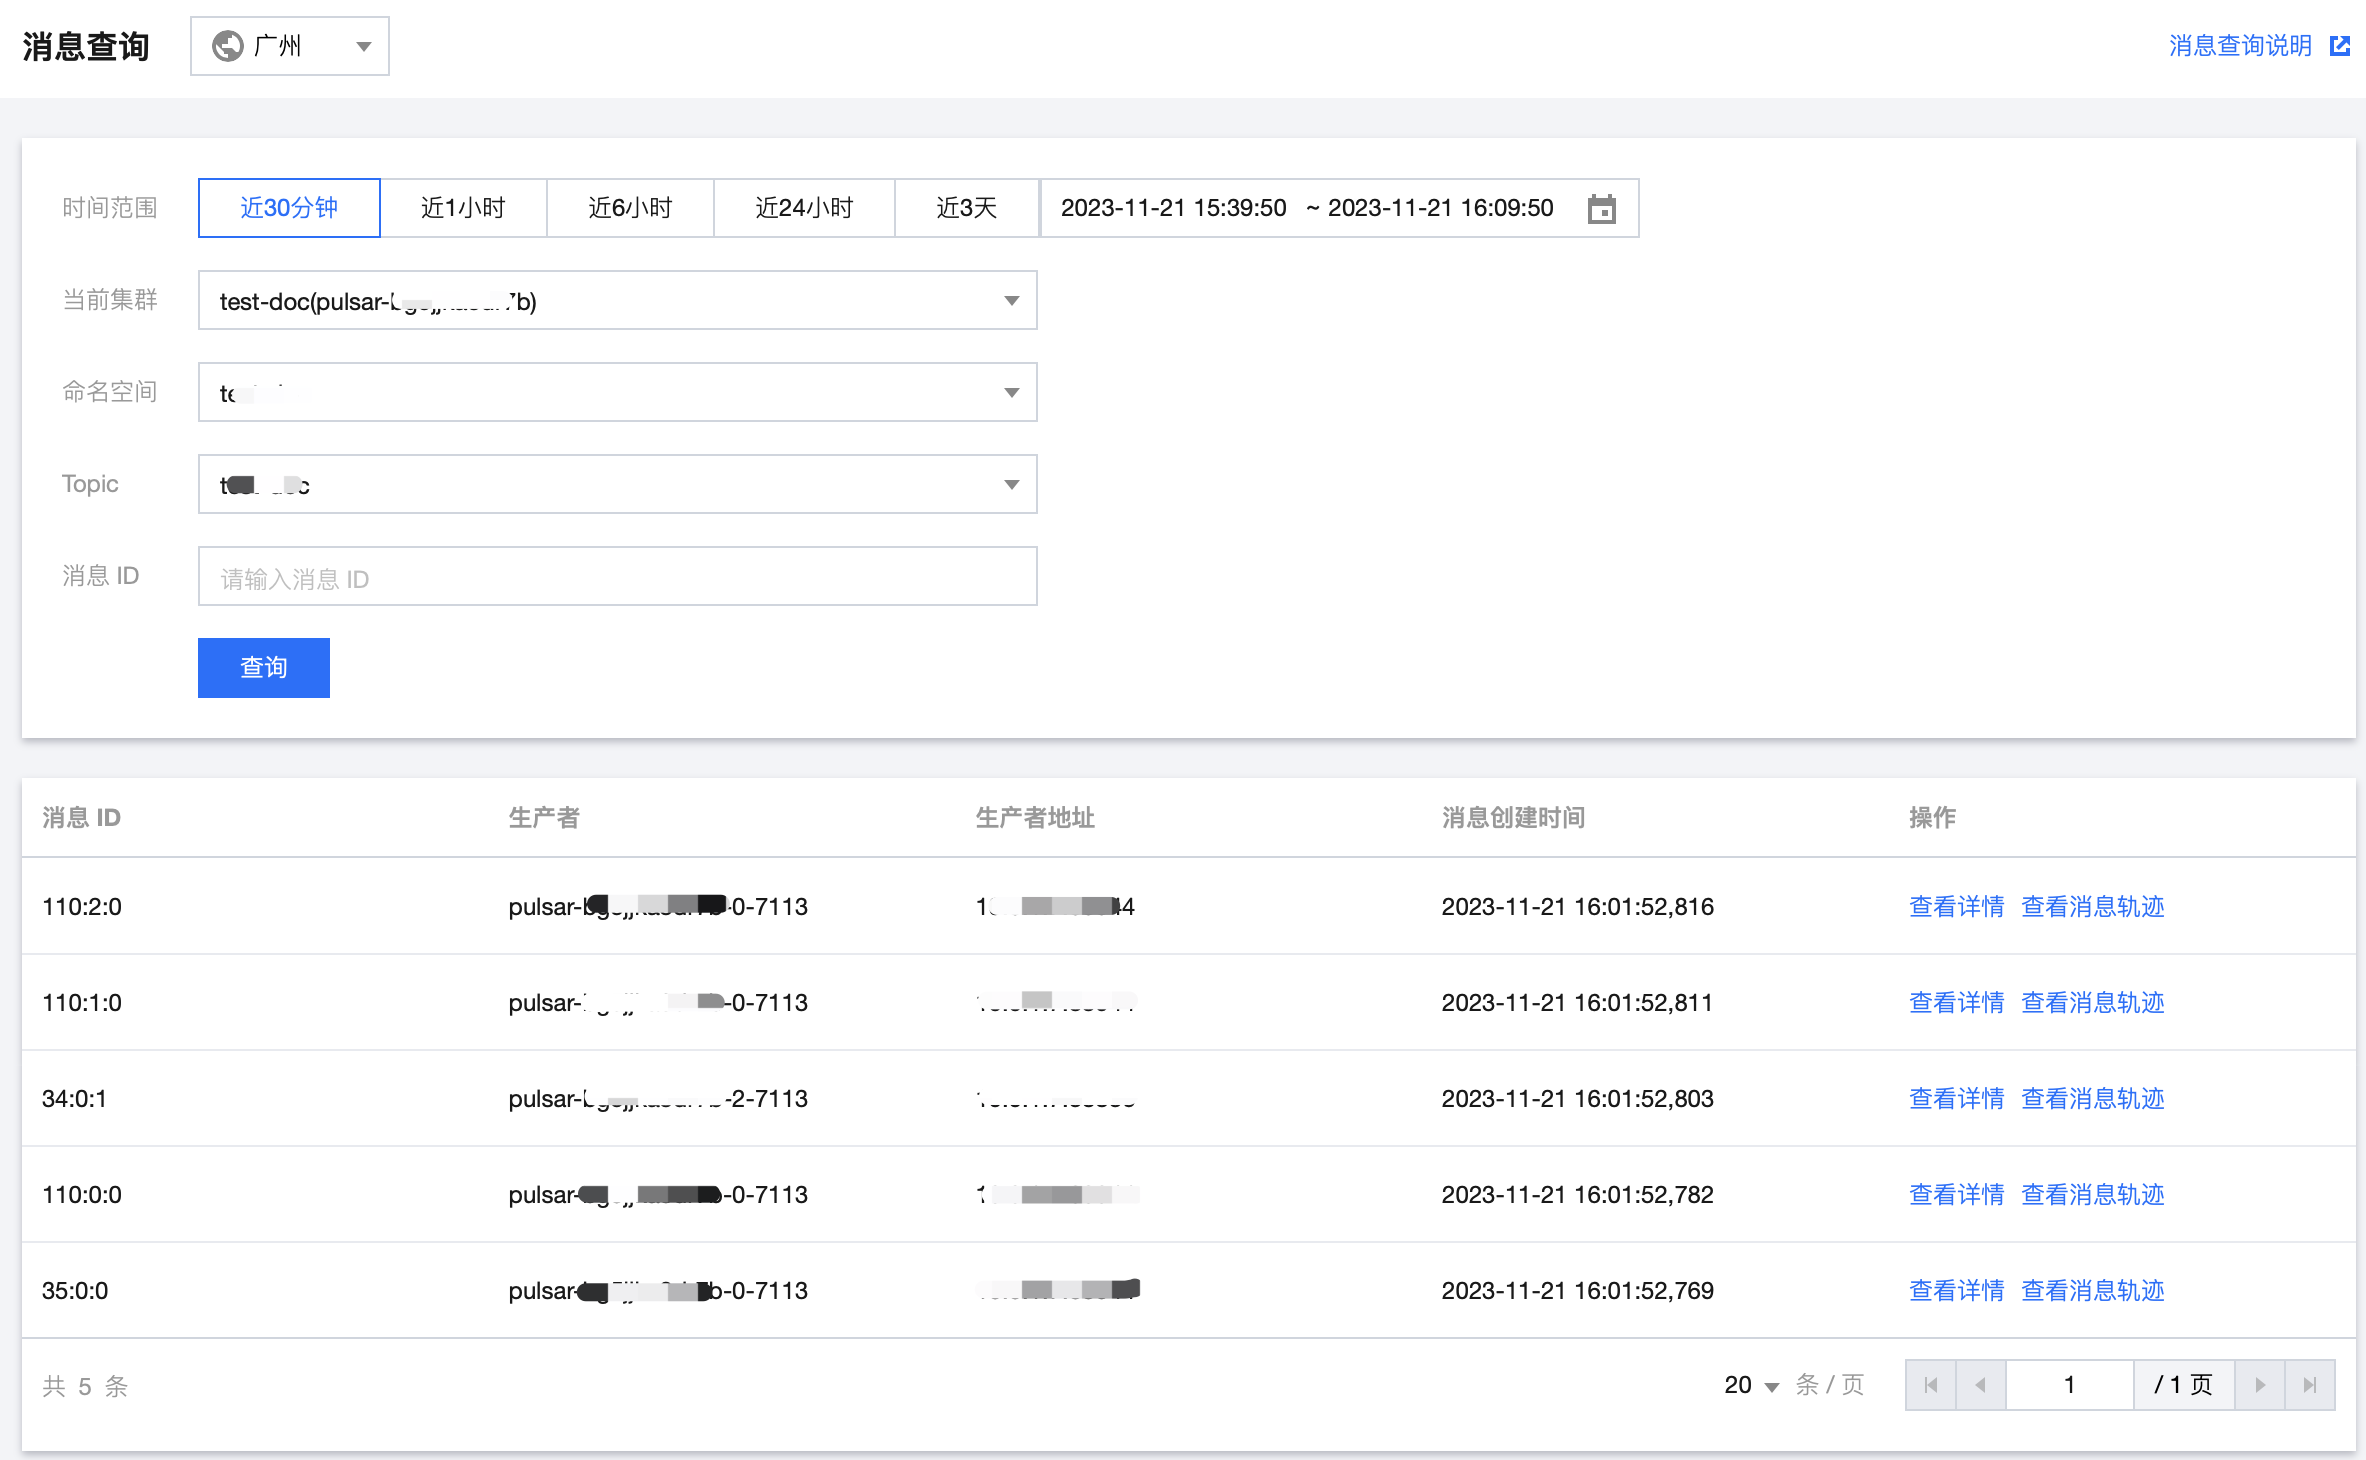
步骤5:查询消息


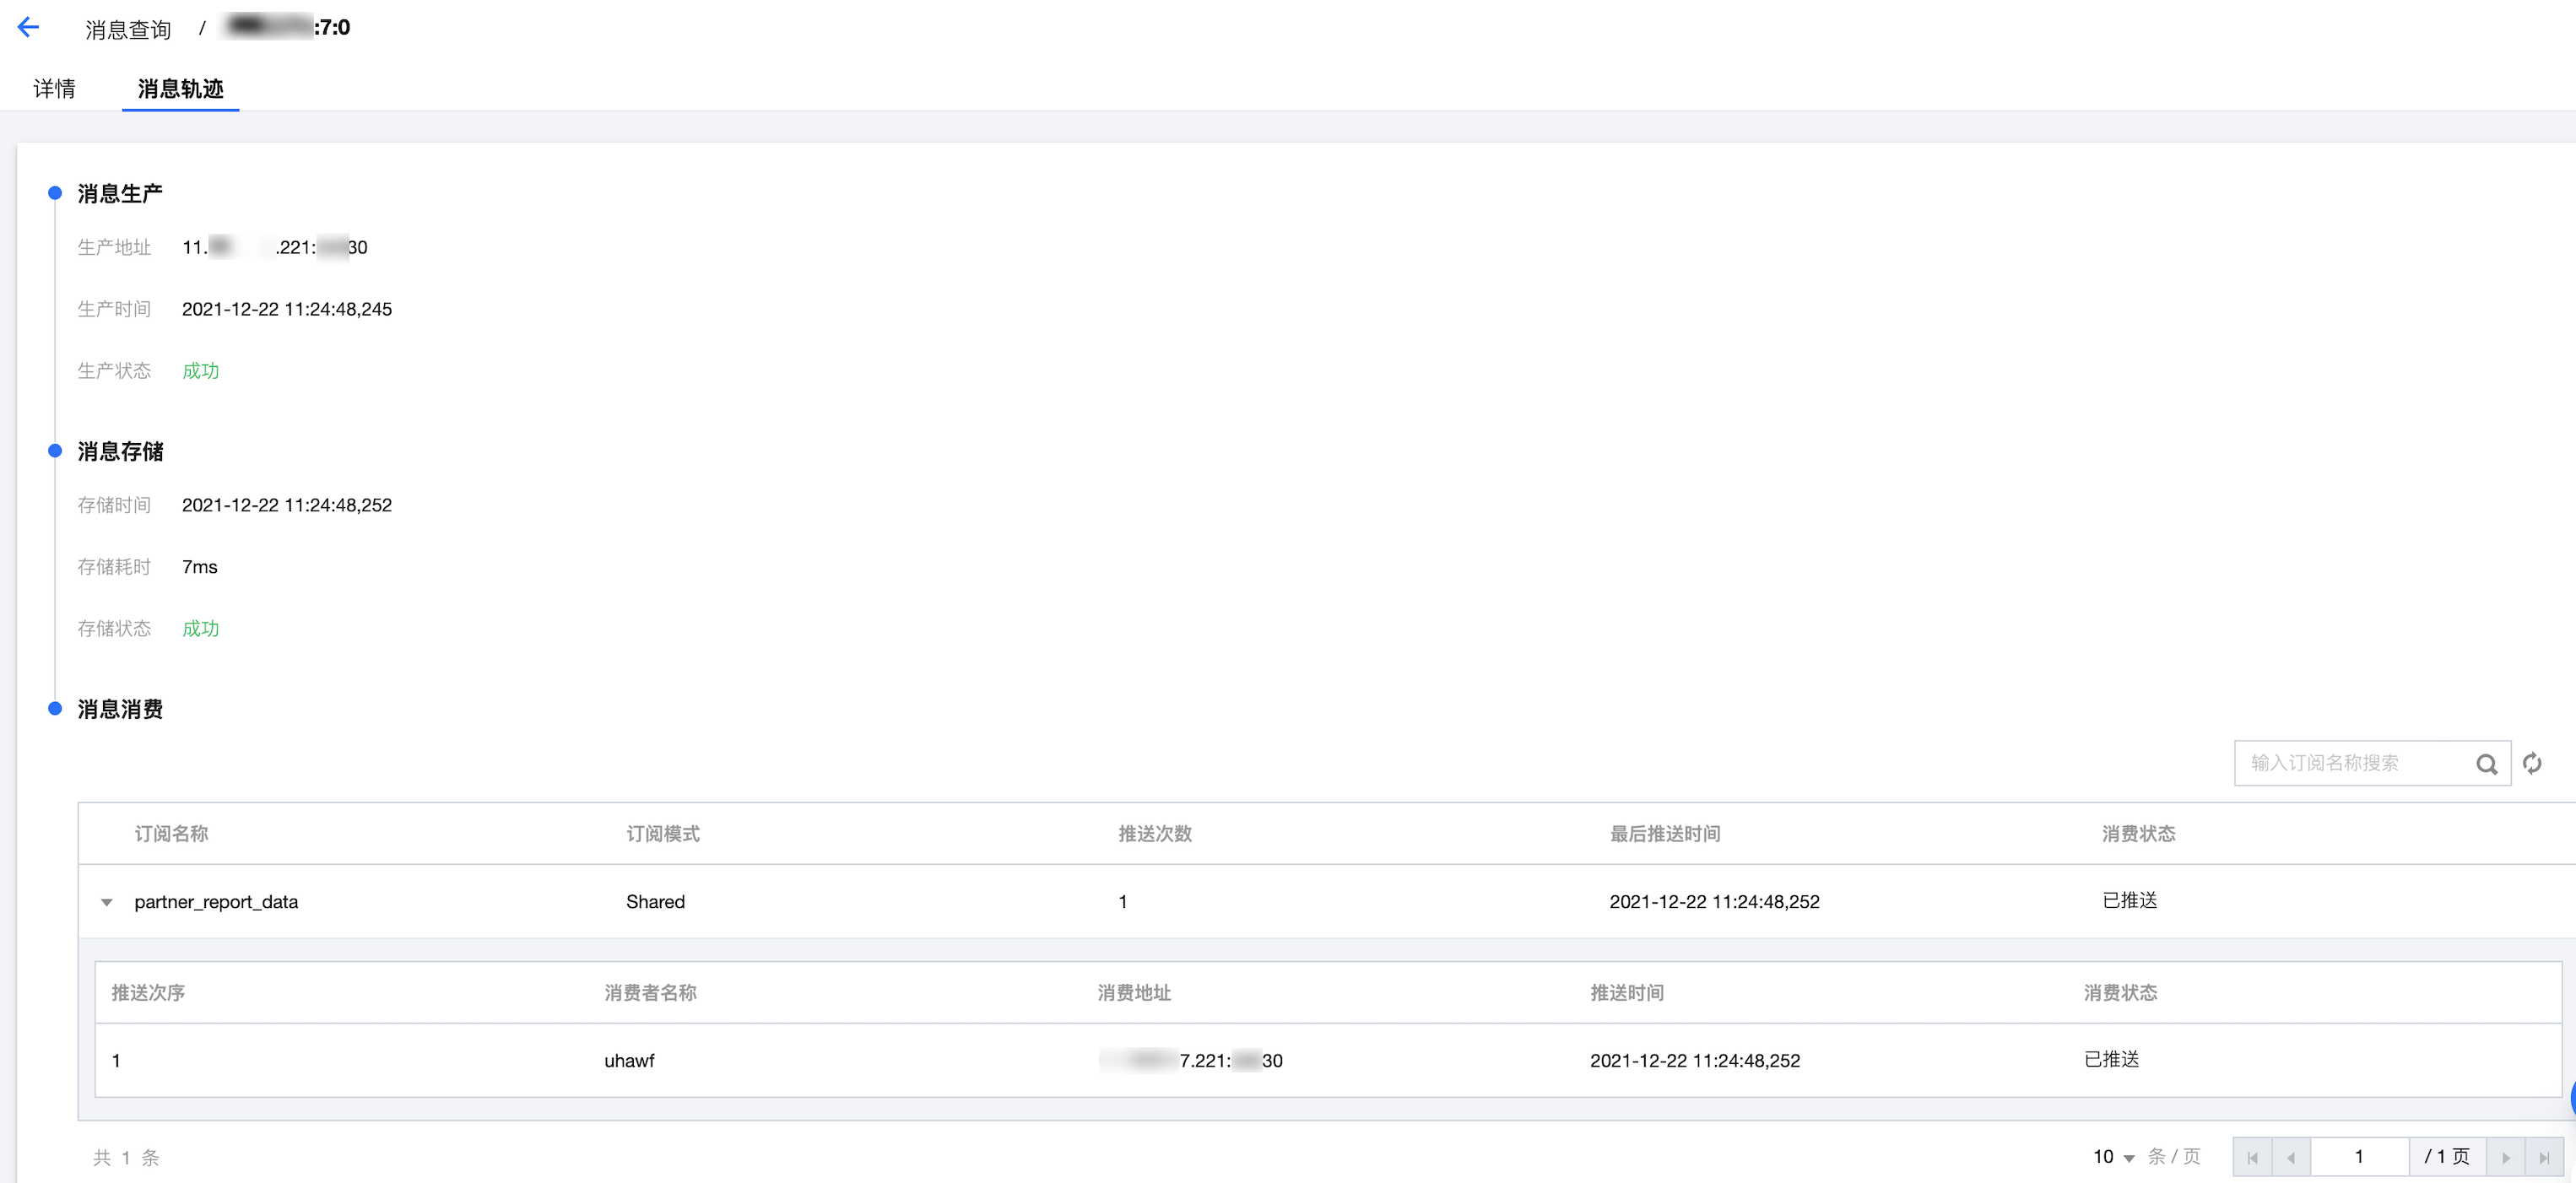
消息轨迹如下:


说明:
步骤6:查看消费情况


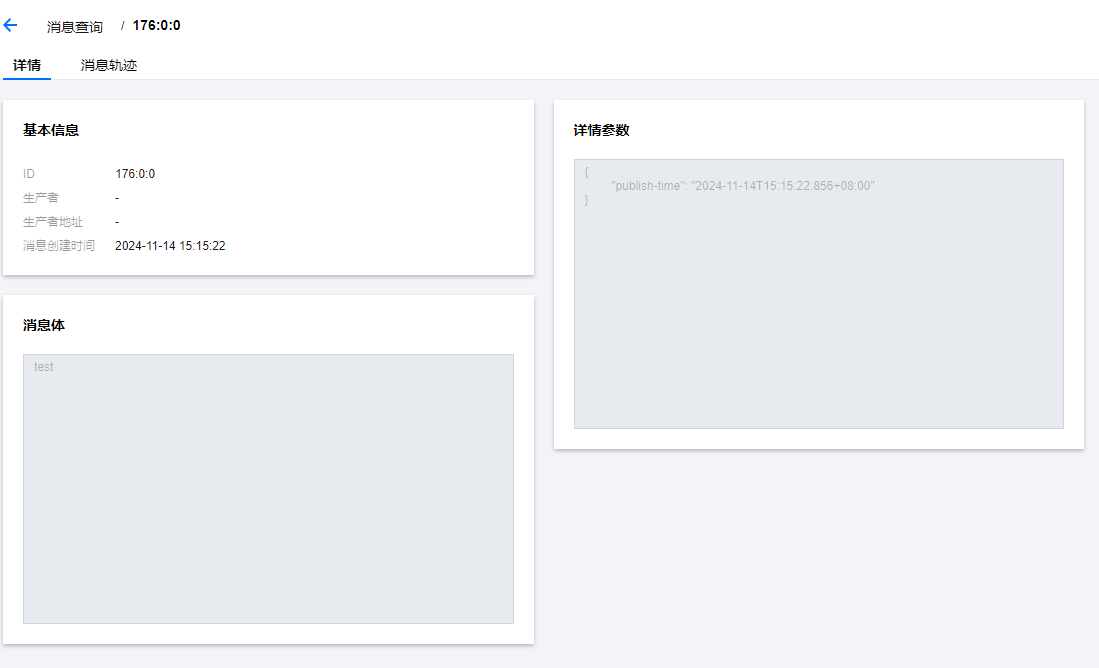
消息详情如下:


 是
是
 否
否
本页内容是否解决了您的问题?