- Release Notes and Announcements
- Product Introduction
- Purchase Guide
- Getting Started
- Operation Guide
- Practical Tutorial
- IPsec VPN
- Connect via Direct Connect or VPN Connection to Interconnect the Primary and Replica Links for Redundant Communication (Auto-Switch)
- Hybrid Cloud Primary/Secondary Communication (DC and VPN)
- Connecting IDC to CCN
- Local Gateway Configurations
- Connecting IDC to a Single Tencent Cloud VPC for Primary/Secondary Disaster Recovery
- Dedicated Private Network Traffic Encrypted Via a Private Network VPN Gateway
- Establishing a VPN Connection between Tencent Cloud and Azure China
- Establishing Connection Between IDC and Cloud Resources (Dynamic BGP)
- SSL VPN
- IPsec VPN
- API Documentation
- FAQs
- Troubleshooting
- Service Agreement
- Contact Us
- Glossary
This document explains how to use a third-party IDP (Okta) and SSL VPN to implement access control. This will enhance the security of your businesses.
Note:
Currently, the SSO authentication feature grayscale, is only available in the São Paulo region. If needed, you can Submit a Ticket.
Supports mainstream third-party IDPs based on SAML2.0, such as Okta.
Operation Process
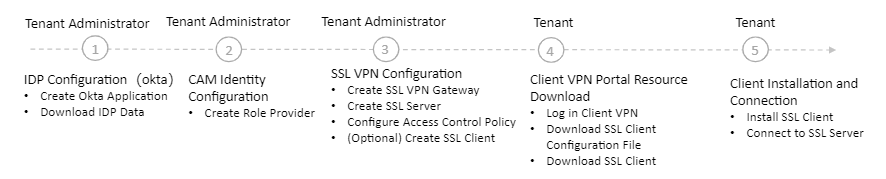
Step 1: (Tenant Admin) IDP Configuration (Okta)
Okta is a third-party IDP system. This node only introduces key parameter configuration. For specific directions of Okta, see the Okta official website or the Okta Single Sign-On.
Configure the trust relationship between Okta and Tencent Cloud to trust each other through this directions.
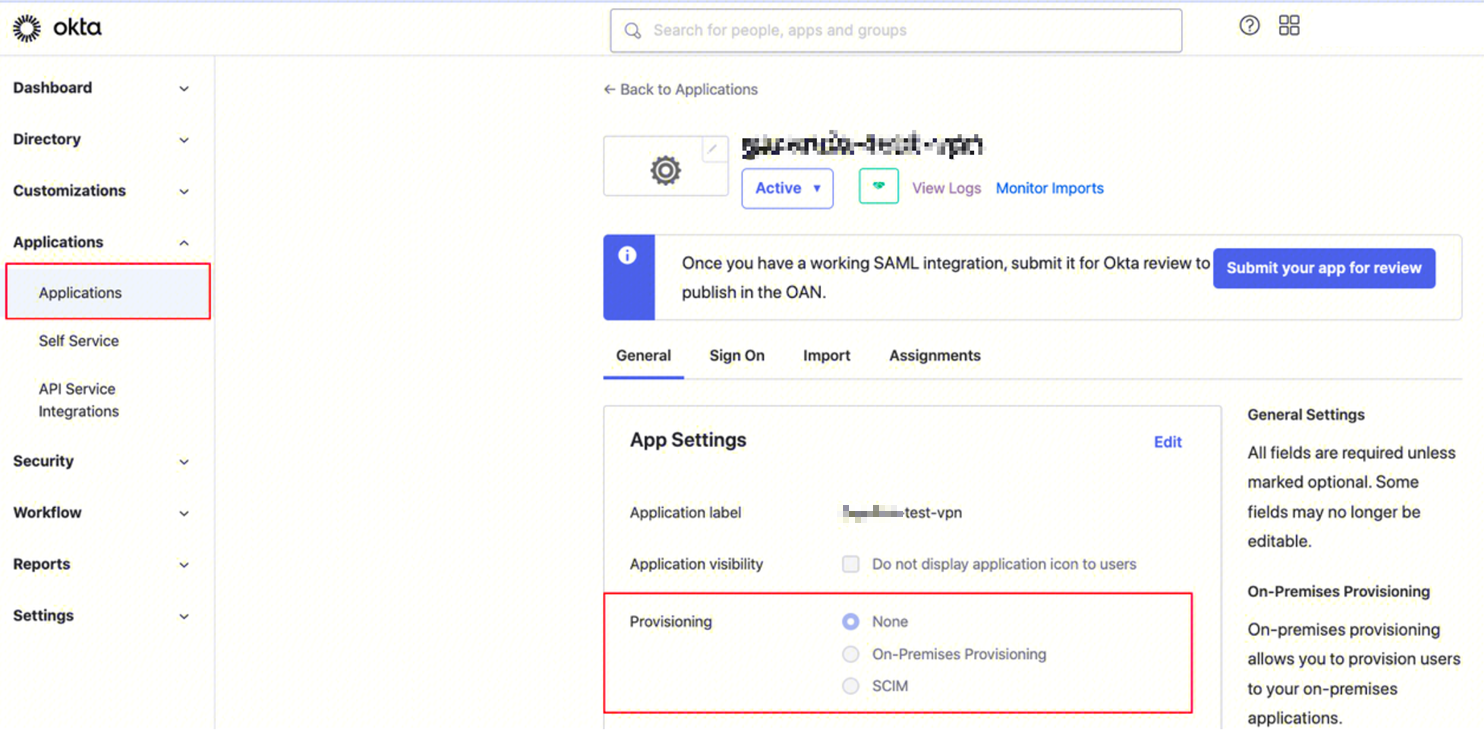
1. Log in to the Okta official website, and create an Okta application.
2. Go to the Applications page. Click on the application name, and click Edit on the General tab.
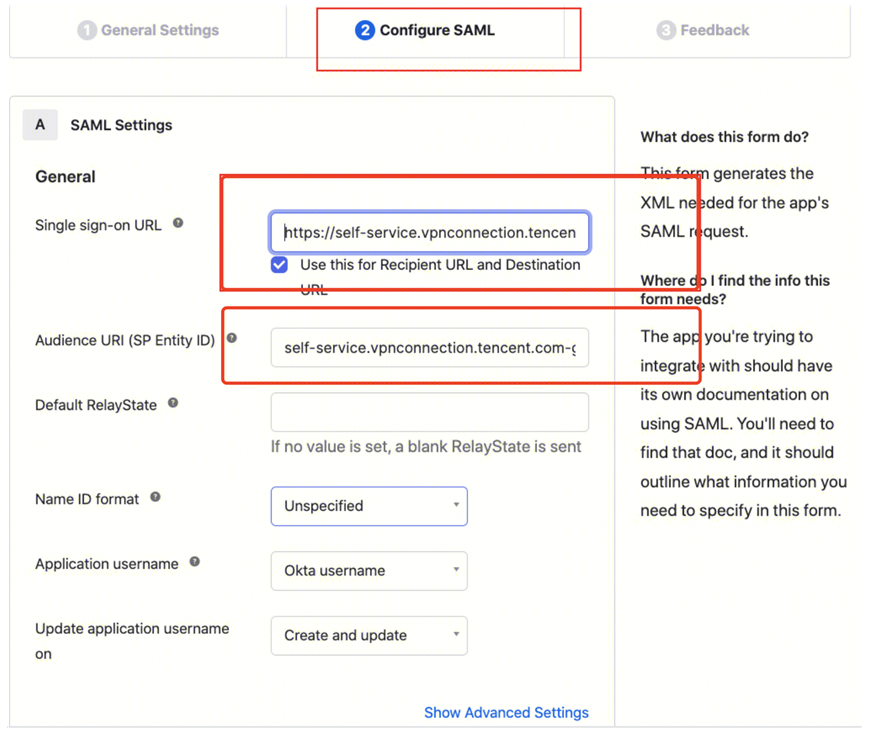
3. On the Configure SAML page, configure the Single Sign-On URL and Audience URL (SP Entity ID).
Note:
Single Sign-On URL:
https://self-service.vpnconnection.tencent.com/api/auth/sso-v2/saml. This is a fixed value.Audience URI (SP Entity ID): Tencent Cloud Client VPN Self-Service Portal.
4. On the SAML/Configure SAML page, fill in the ATTRIBUTE STATEMENTS under GENERAL with the following information.
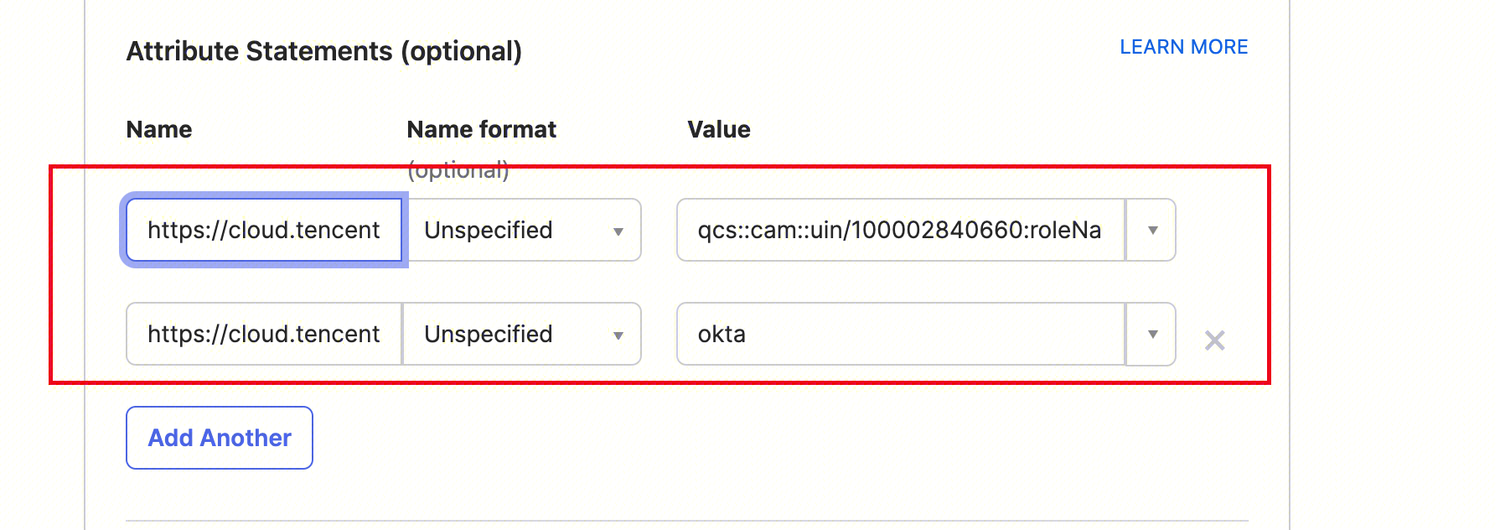
Name | Value |
https://cloud.tencent.com/SAML/Attributes/Role | qcs::cam::uin/{AccountID}:roleName/{RoleName},qcs::cam::uin/{AccountID}:saml-provider/{ProviderName} |
https://cloud.tencent.com/SAML/Attributes/RoleSessionName | okta |
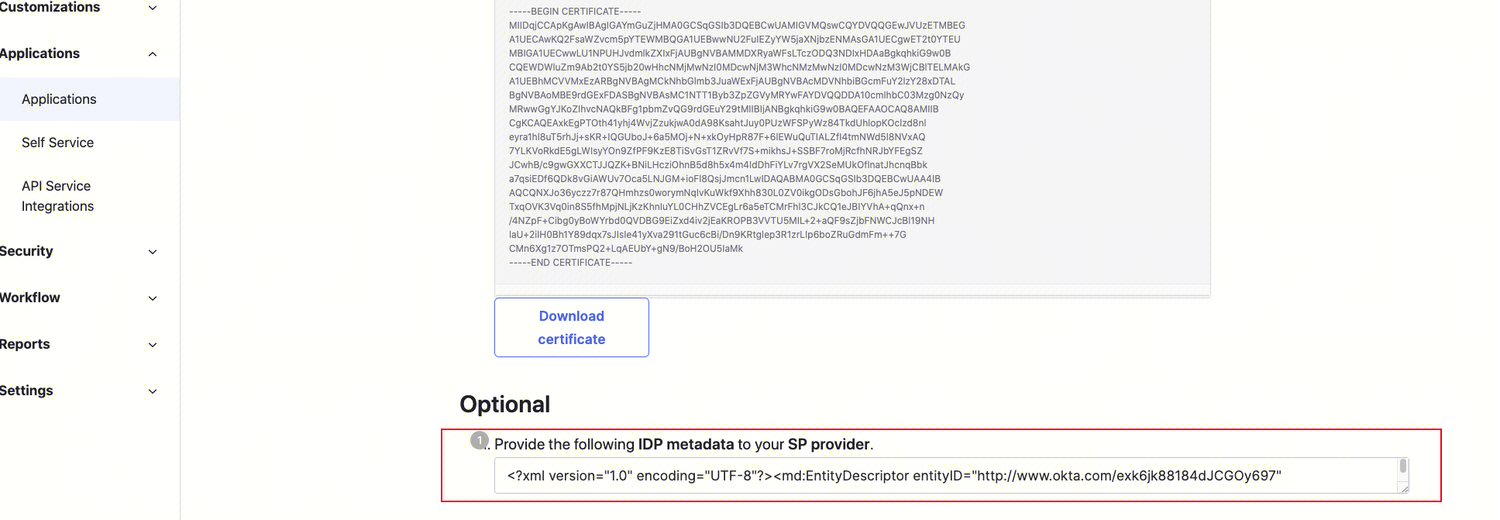
5. Go to the Sign on tab to generate and download the IDP's SAML-Metadata file.
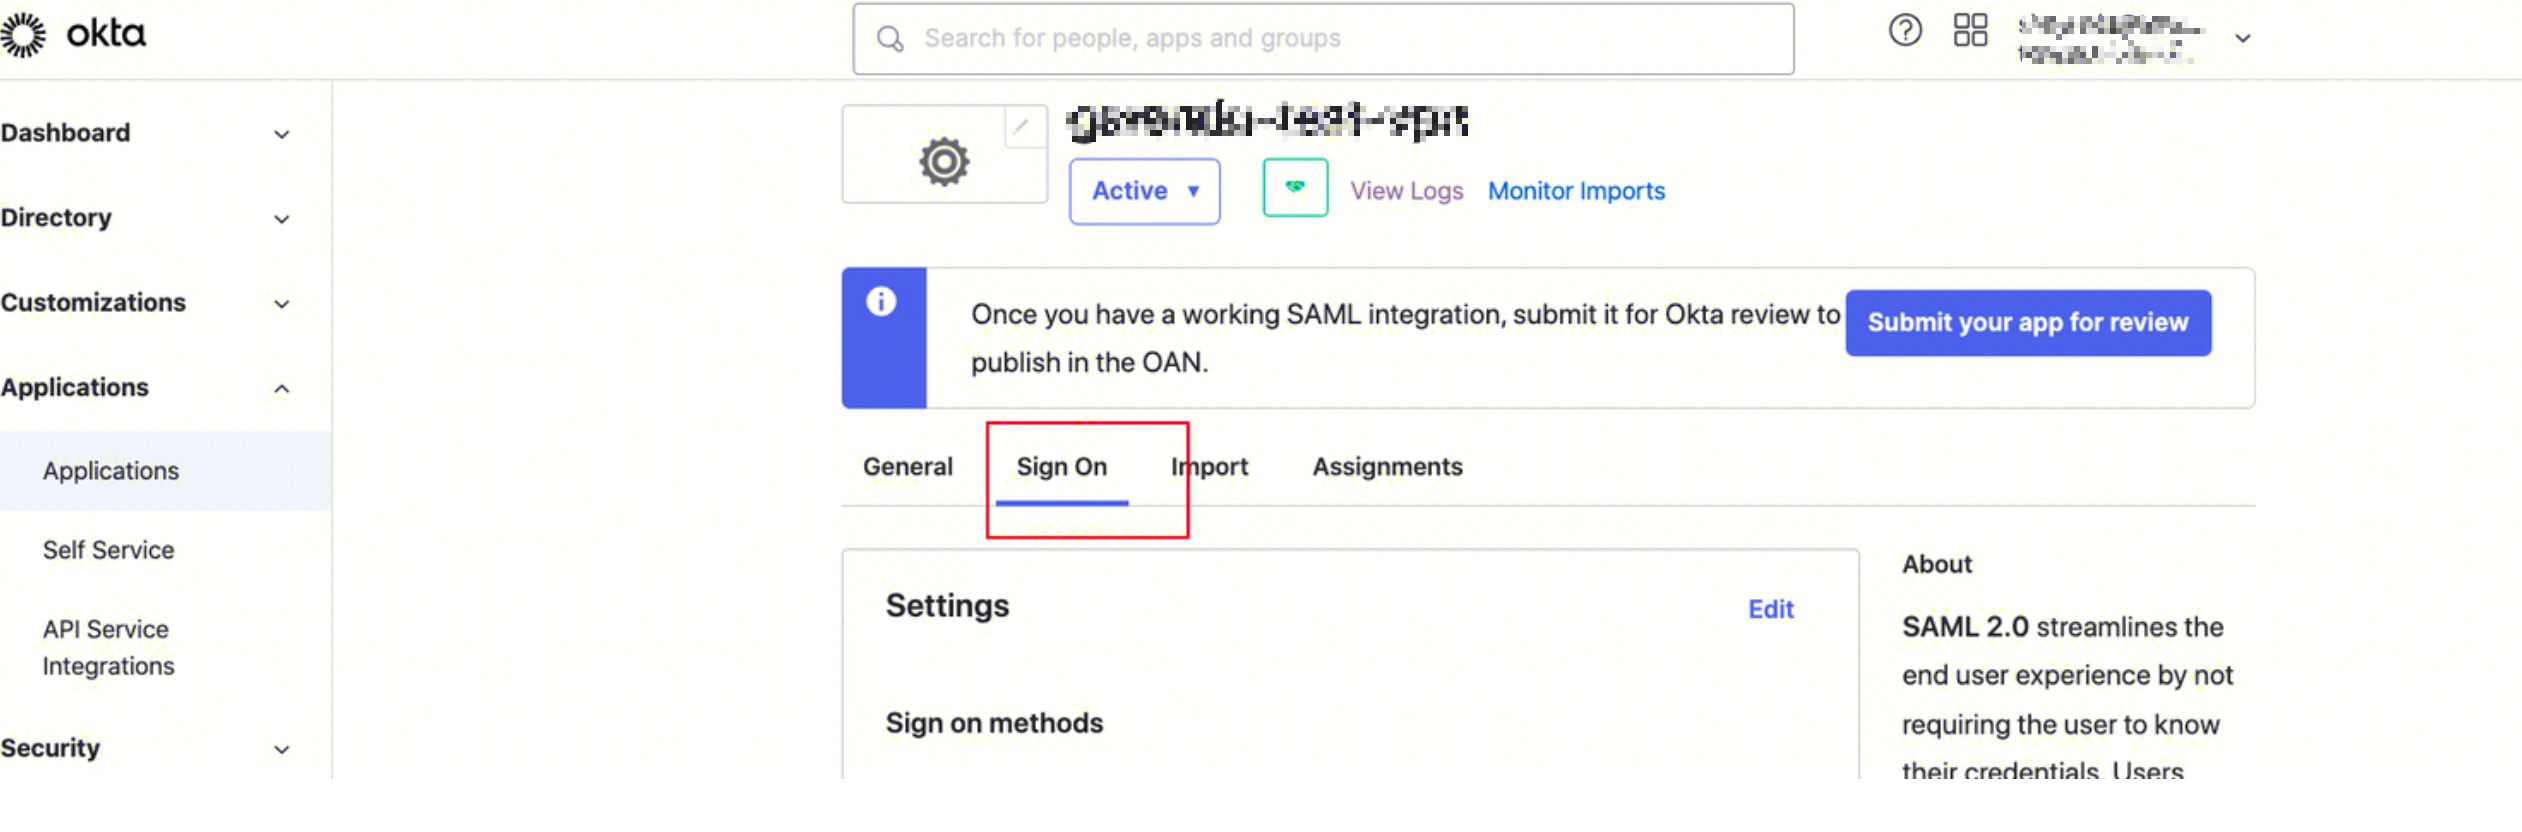
Click View SAML setup instructions.
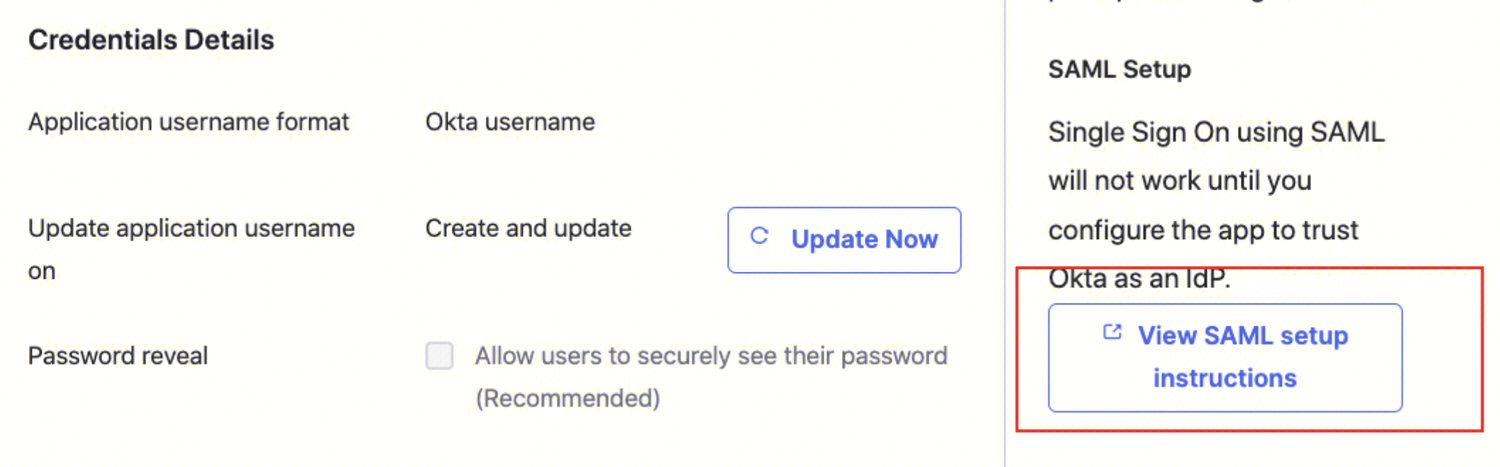
Click Download certificate, the downloaded file needs to be uploaded during the Tencent Cloud CAM identity configuration.
Step 2: (Tenant Admin) Creating a SAML IdP
1. Log in to the CAM Console. Go to the Identity Providers > Role-based SSO page. Click Create IdP.
2. On the Create Identity Providers page, choose the provider type as SAML and configure the provider information. Click NEXT.
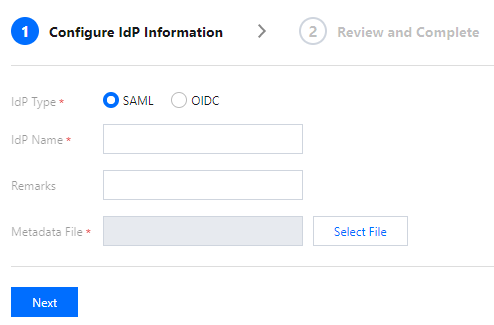
Identity Provider Name: Enter the identity provider name.
Remark Info: Enter your memo information for the current identity providers.
Metadata Documentation: Refers to the file downloaded in Step 1: (Tenant Admin) IDP Configuration (Okta). You need to upload the SAML-Metadata documentation downloaded in the IDP configuration to the Metadata Documentation. If Metadata Documentation content validation is successful, a successful upload is allowed.
Step 3: (Tenant Admin) VPN Resource Configuration
1. Log in to VPC Console. Choose VPN Connections > VPN Gateway in the left sidebar to enter the management page.
2. On the VPN Gateway Management page, click New. On the pop-up Create VPN Gateway page, configure the SSL VPN gateway according to the interface parameters.
1. Choose VPN Connections > SSL VPN Server in the left sidebar to enter the management page.
2. On the SSL VPN server management page, click Create. In the pop-up Create SSL VPN Server dialog box, configure the SSL VPN server according to the interface parameters.
Authentication Method: By default, this method allows the SSL VPN server to be fully accessed by SSL clients.
Identity Provider: The current provider is Tencent Cloud CAM. For more details, see Cloud Access Management usage instructions.

Step 4: (Tenant) Downloading the SSL Client Configuration File and SSL Client on the Client VPN Portal
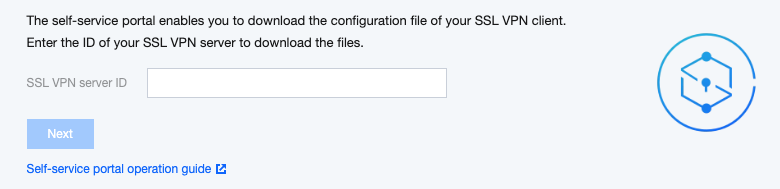
1. Access the Tencent Cloud Client VPN Self-Service Portal through your local browser.
2. Enter the created SSL VPN Server ID in the input box on the row where the SSL VPN Server ID is located. Click Next to begin SSO authentication.
If you do not have or are unsure of the SSL VPN server ID, you can contact the tenant administrator to obtain it.
3. After clicking **Proceed to Authentication (SAML)**, you will need to complete the authentication procedure specified by your administrator.
If you do not have an account or encounter any problems during the authentication log-in process, contact your tenant administrator. Once you complete the authentication and successfully logged in, you will automatically log in to your business system.
4. In the Download SSL Client Configuration File section, find the client configuration file you need to download and click Download.
Step 5: (Tenant) SSL Client Installation and Connection
Note:
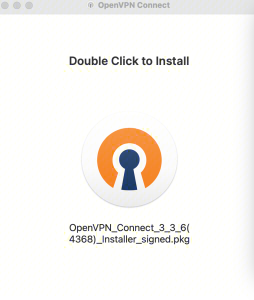
Use version 3.4.0 or later for the OpenVPN client.
1. Decompress the installation package locally and double-click the installer to install the client as prompted.
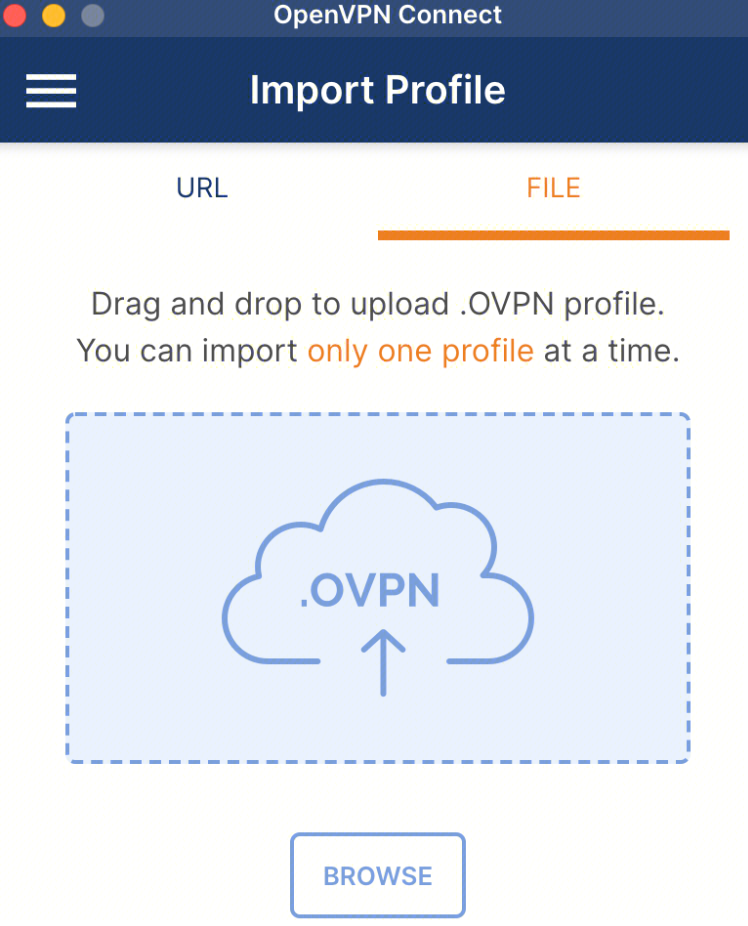
2. After completing the SSL client installation, select the FILE page in the Import Profile menu to upload the downloaded SSL client configuration file (in .ovpn format).
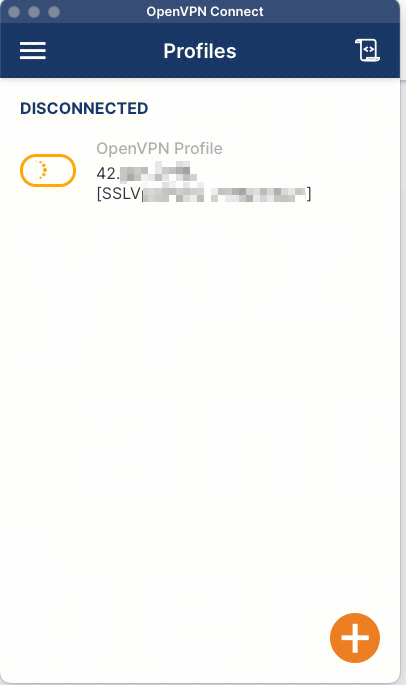
3. After successful upload, select connect to establish the connection.
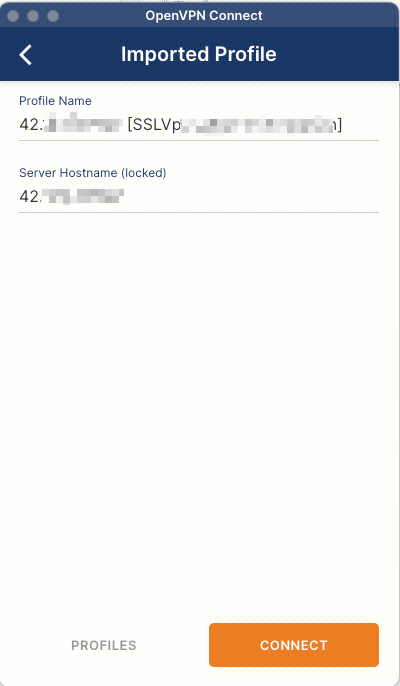
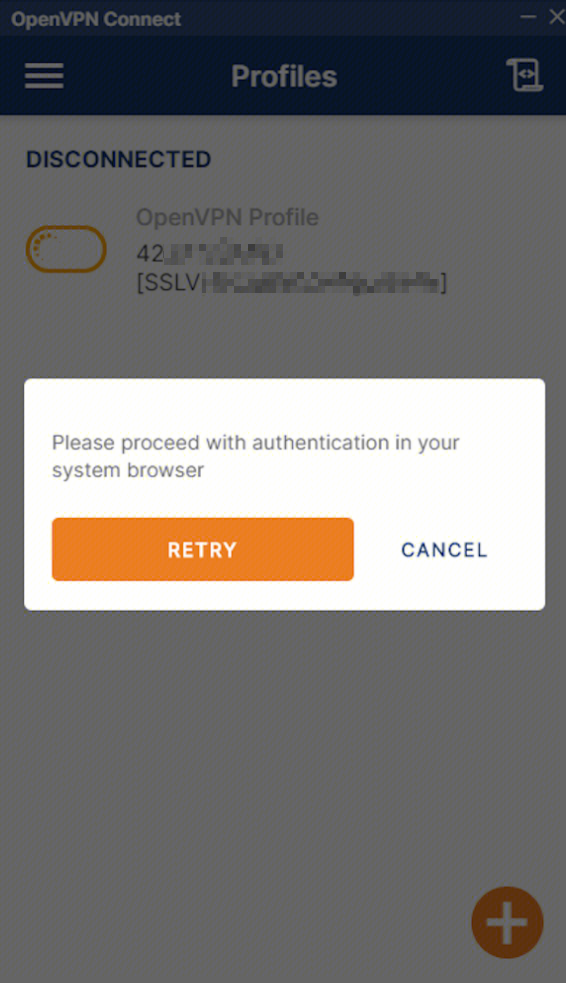
4. Profiles connecting. Wait.
5. Verify the log-in information.
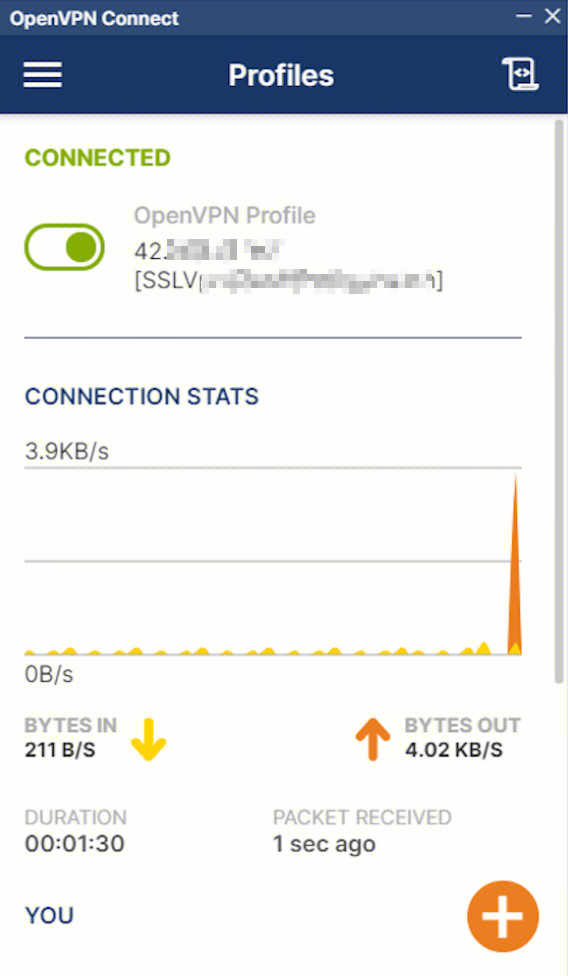
6. The connection is successful.

 Yes
Yes
 No
No
Was this page helpful?