This document introduces how to configure alarms in Tencent Cloud Observability Platform (TCOP). When a Web Application Firewall (WAF) exception occurs, you can be promptly notified.
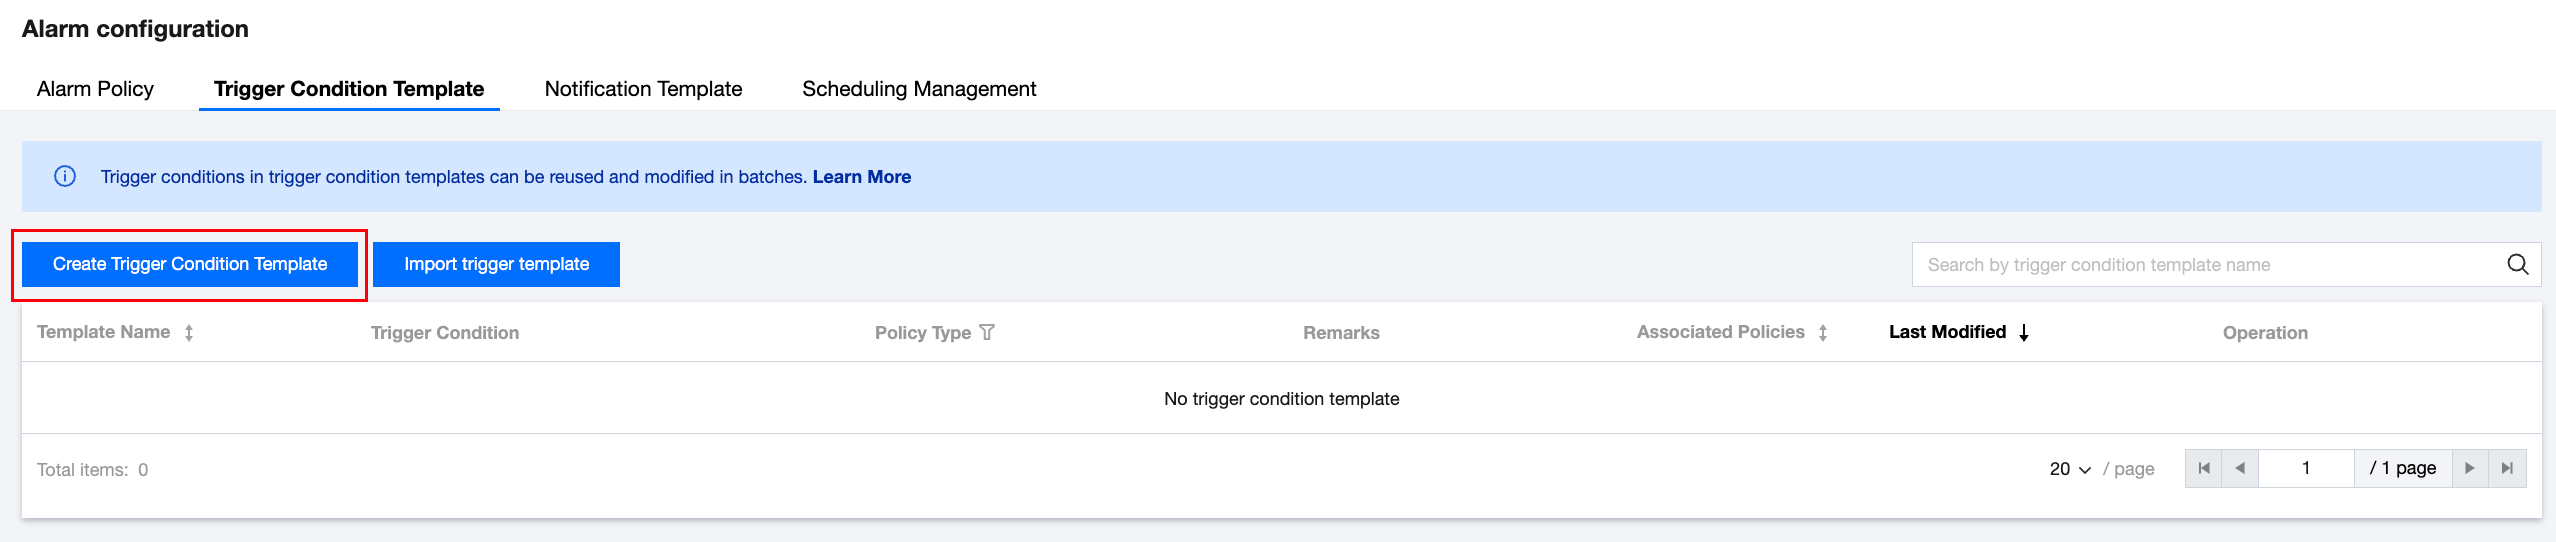
1. Log in to the TCOP Console, and click Alarm Management > Alarm configuration > Trigger Condition Template in the left sidebar.
2. On the trigger condition template page, click Create Trigger Condition Template , and the creation window pops up.
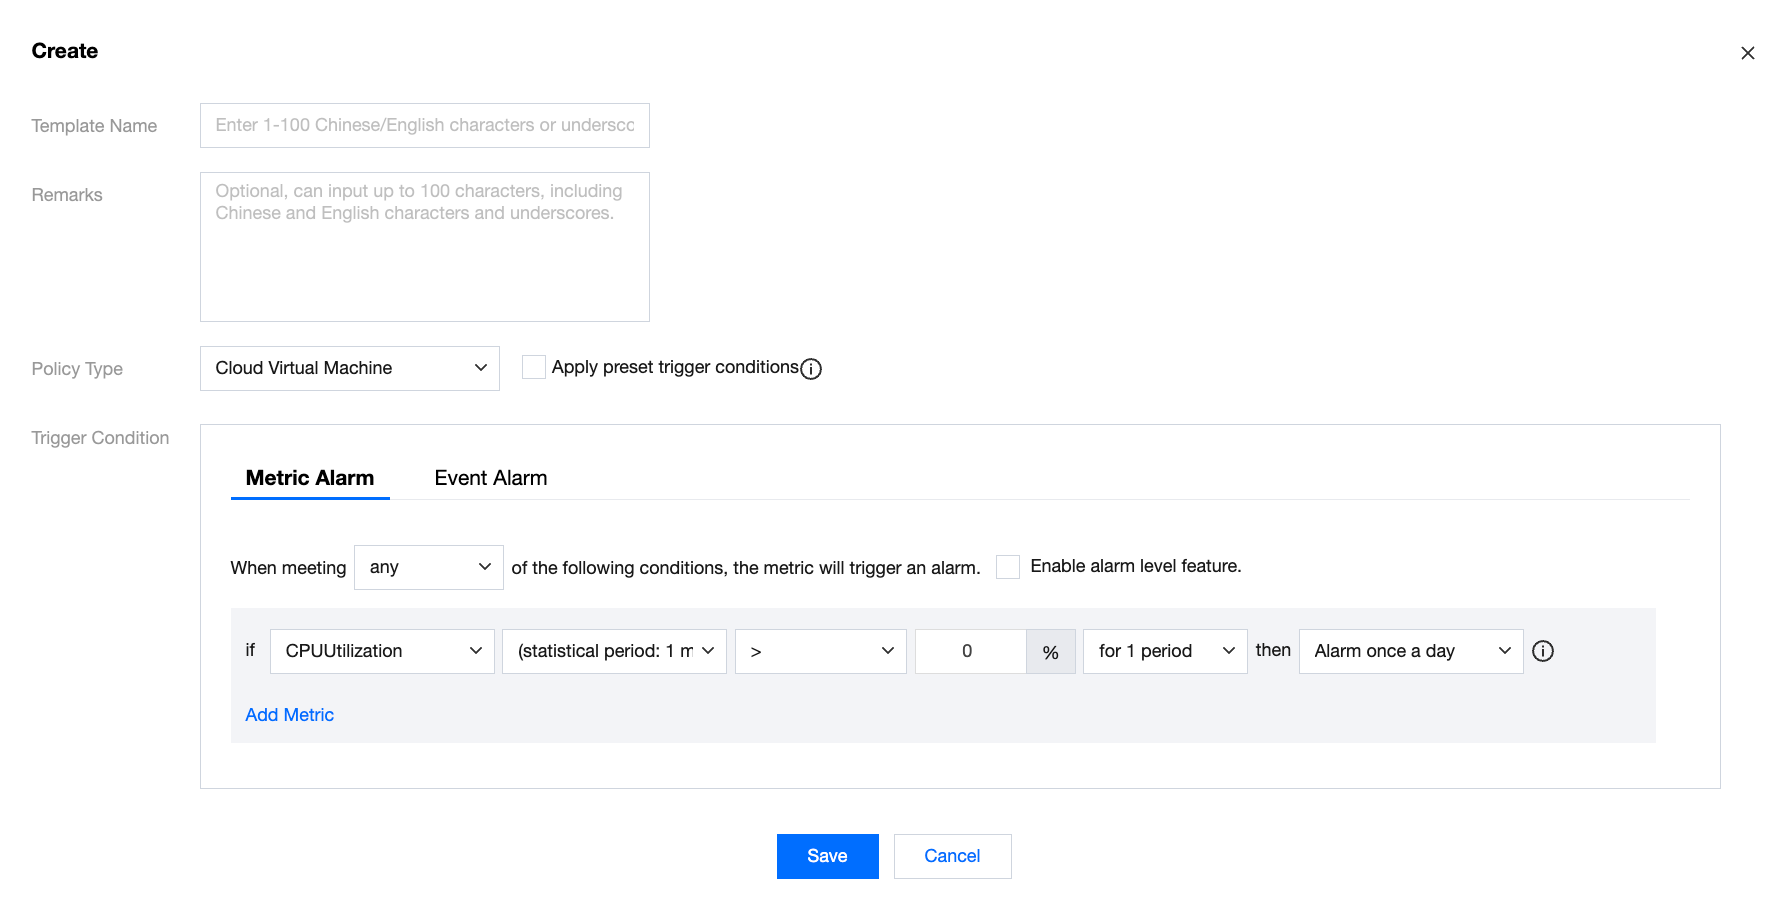
3. In the pop-up window, configure the necessary content, and then click Save to successfully create the trigger condition template.
Parameter Description:
Template Name: Enter the template name.
Remarks: Enter template remarks.
Policy Type: Select WAF.
Apply Preset Trigger Conditions: Select this option to enable the preset trigger conditions for the corresponding monitoring item in TCOP.
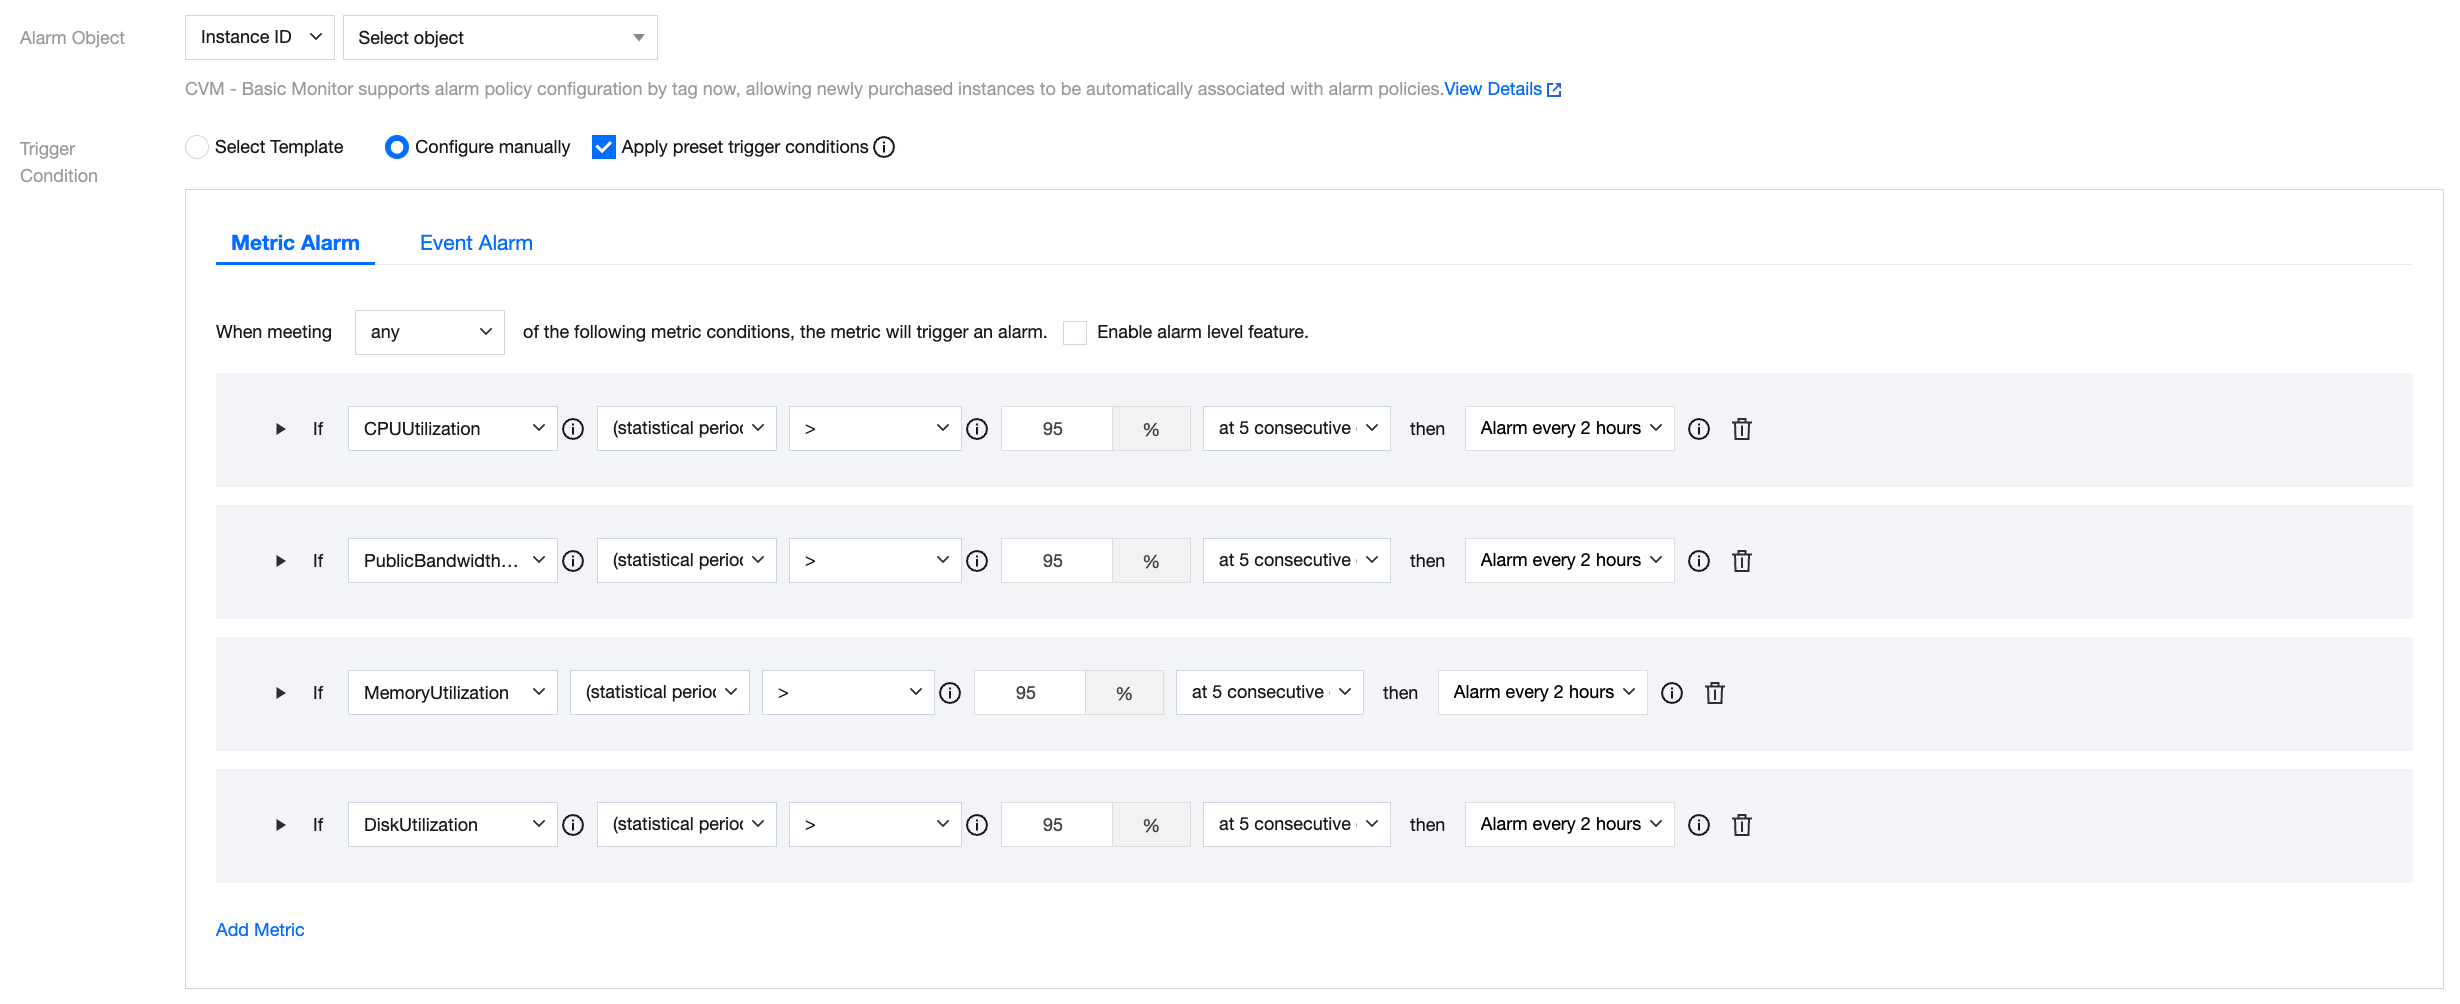
Trigger Condition:
It supports metric alarm and event alarm. Click Add Metric below to set multiple alarms.
WAF can monitor a range of conditions, including the number of accesses, number of web attacks, number of CC attacks, upstream and downstream bandwidth, QPS, number of bot attacks, percentage of web attacks, percentage of bot attacks, and percentage of CC attacks.
Step 2: Configuring a Notification Template
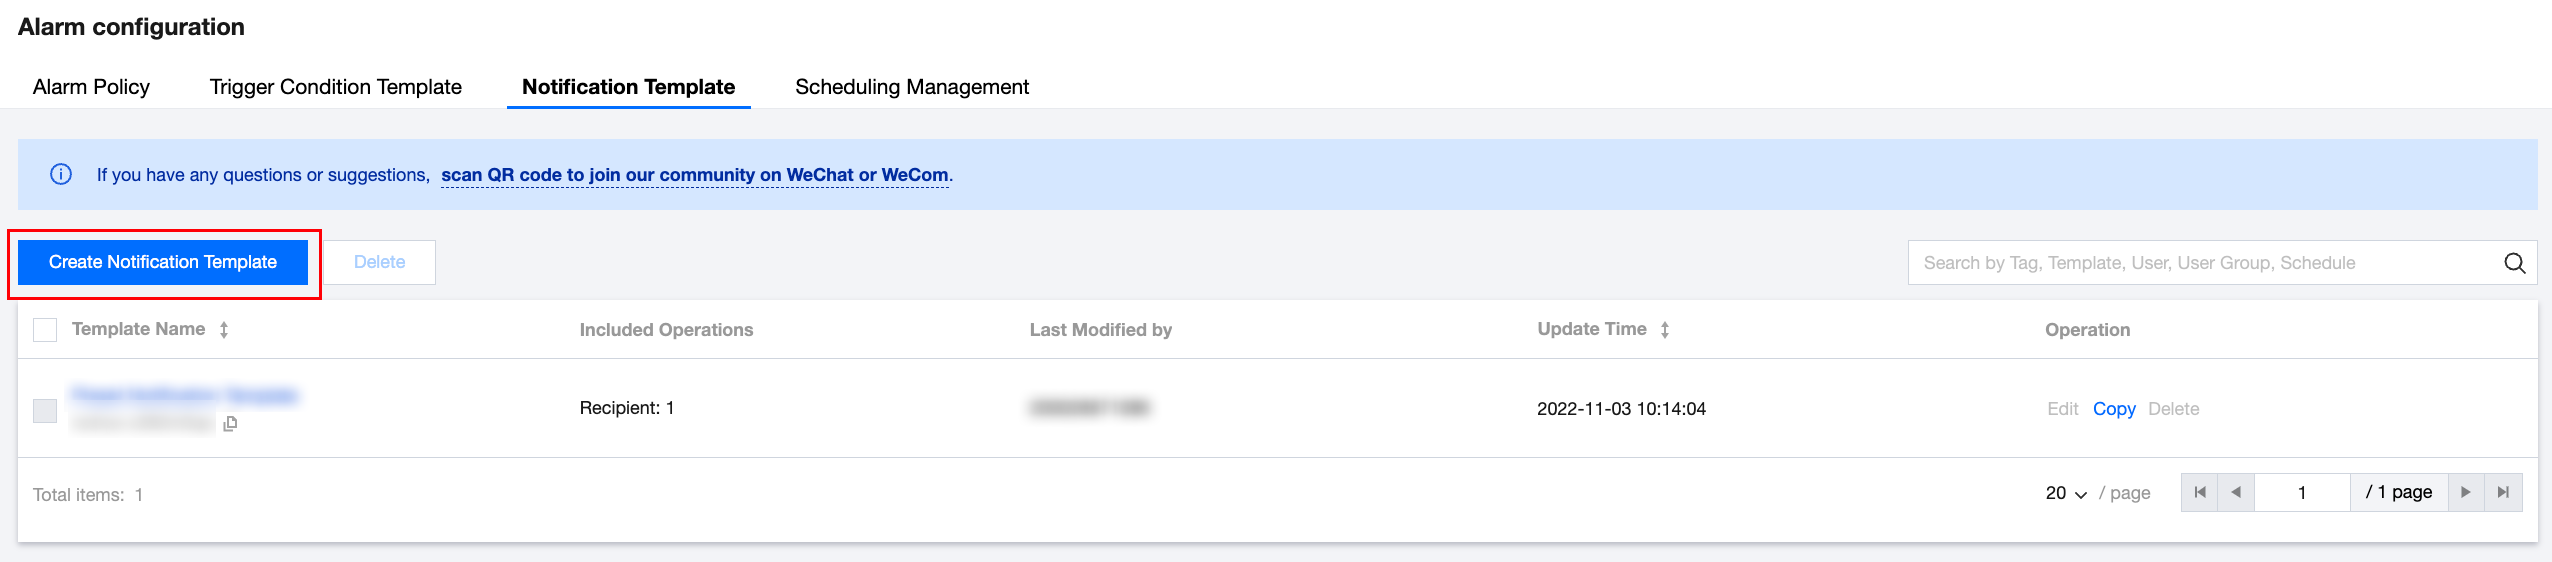
1. Log in to the TCOP Console, and click Alarm Management > Alarm configuration > Notification Template in the left sidebar.
2. On the notification template page, click Create Notification Template to enter the create notification template page.
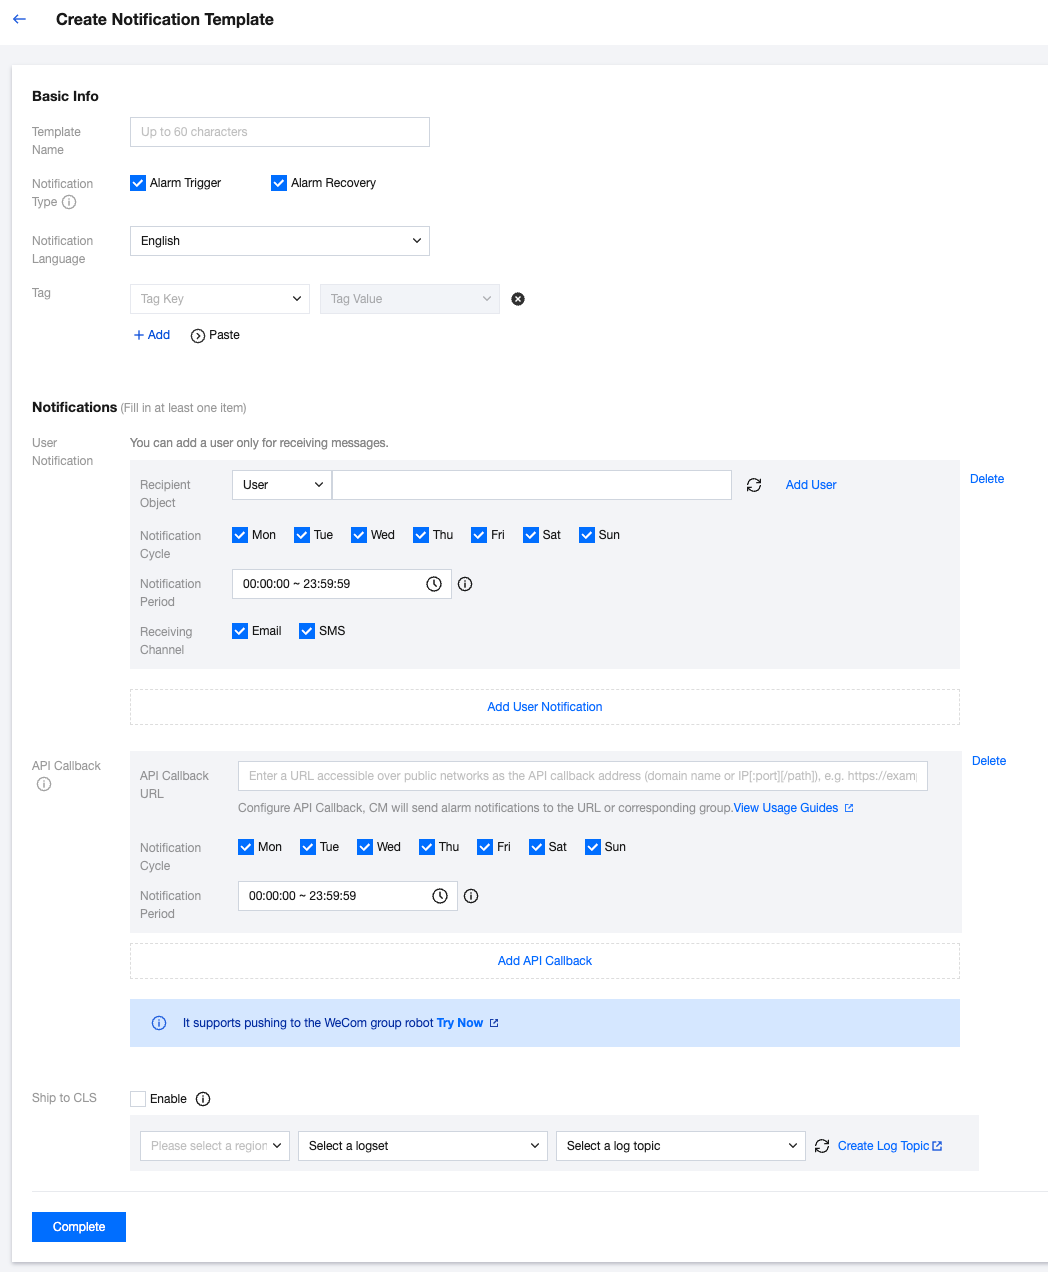
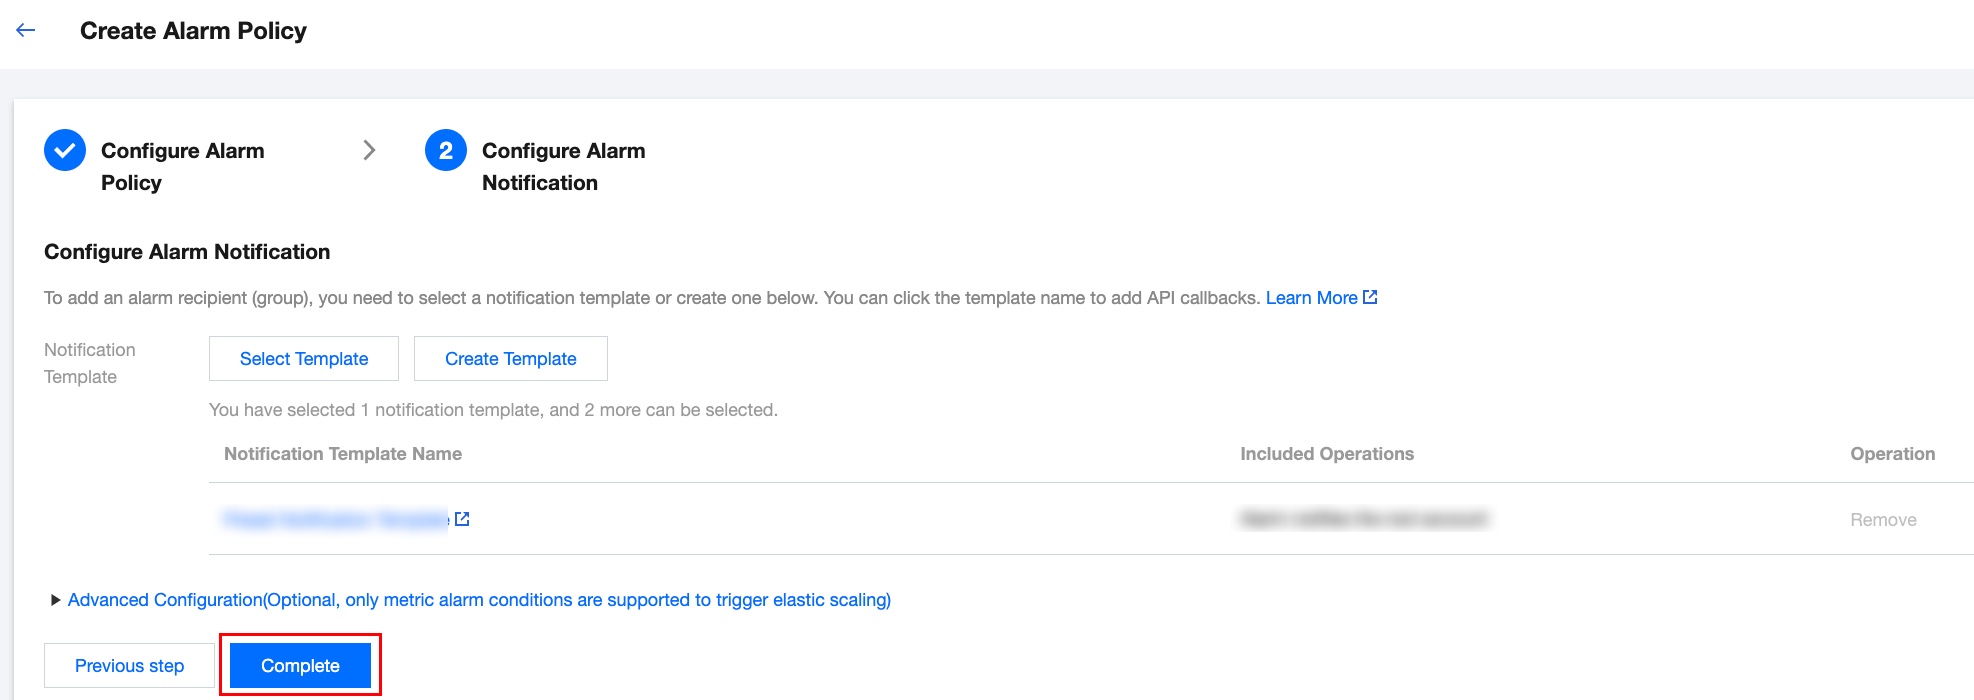
3. On the create notification template page, complete the required settings and click Complete to successfully create the notification template.
Parameter Description:
Template Name: Enter the customized template name.
Notification Type:
Alarm trigger: A notification will be sent when an alarm is triggered.
Alarm recovery: A notification will be sent when an alarm is recovered.
Notification Language: Select Chinese or English.
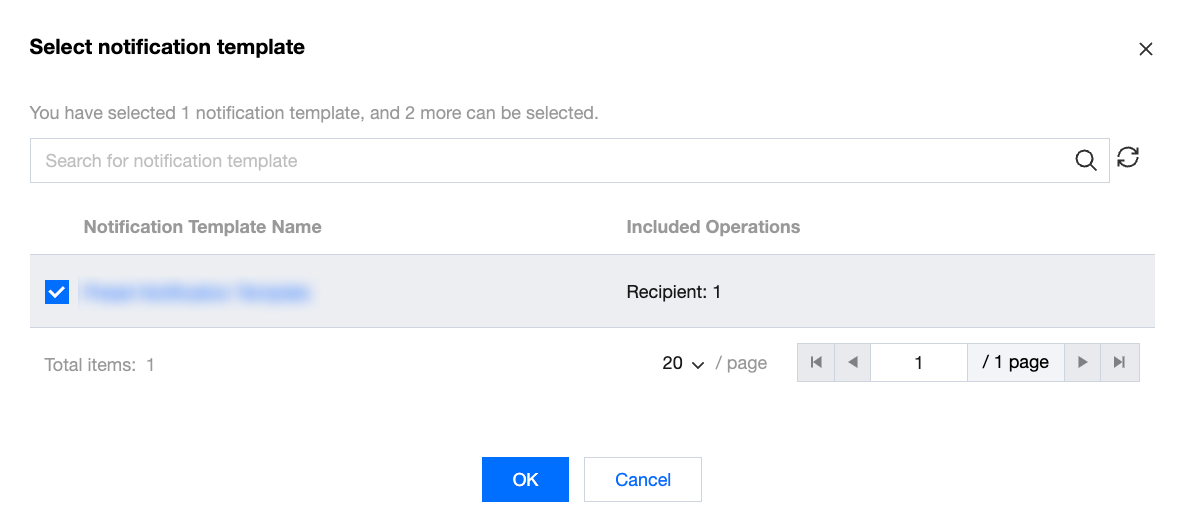
User Notification:
Recipient object: Select a recipient group or recipient.
Notification period: Define the time period for receiving alarms.
Receiving channel: Email, SMS, WeChat, and phone call are supported.
API Callback: Enter publicly accessible URLs as callback API addresses. You can provide up to 3 alarm callback addresses. TCOP will push alarm information to these addresses promptly. If the HTTP returns code 200, the verification is successful. For more information on alarm callback fields, see Alarm Callback Description.
Ship to CLS: After it is enabled, alarms will be shipped to the specified log topics of CLS in real time.
Step 3: Configuring an Alarm Policy
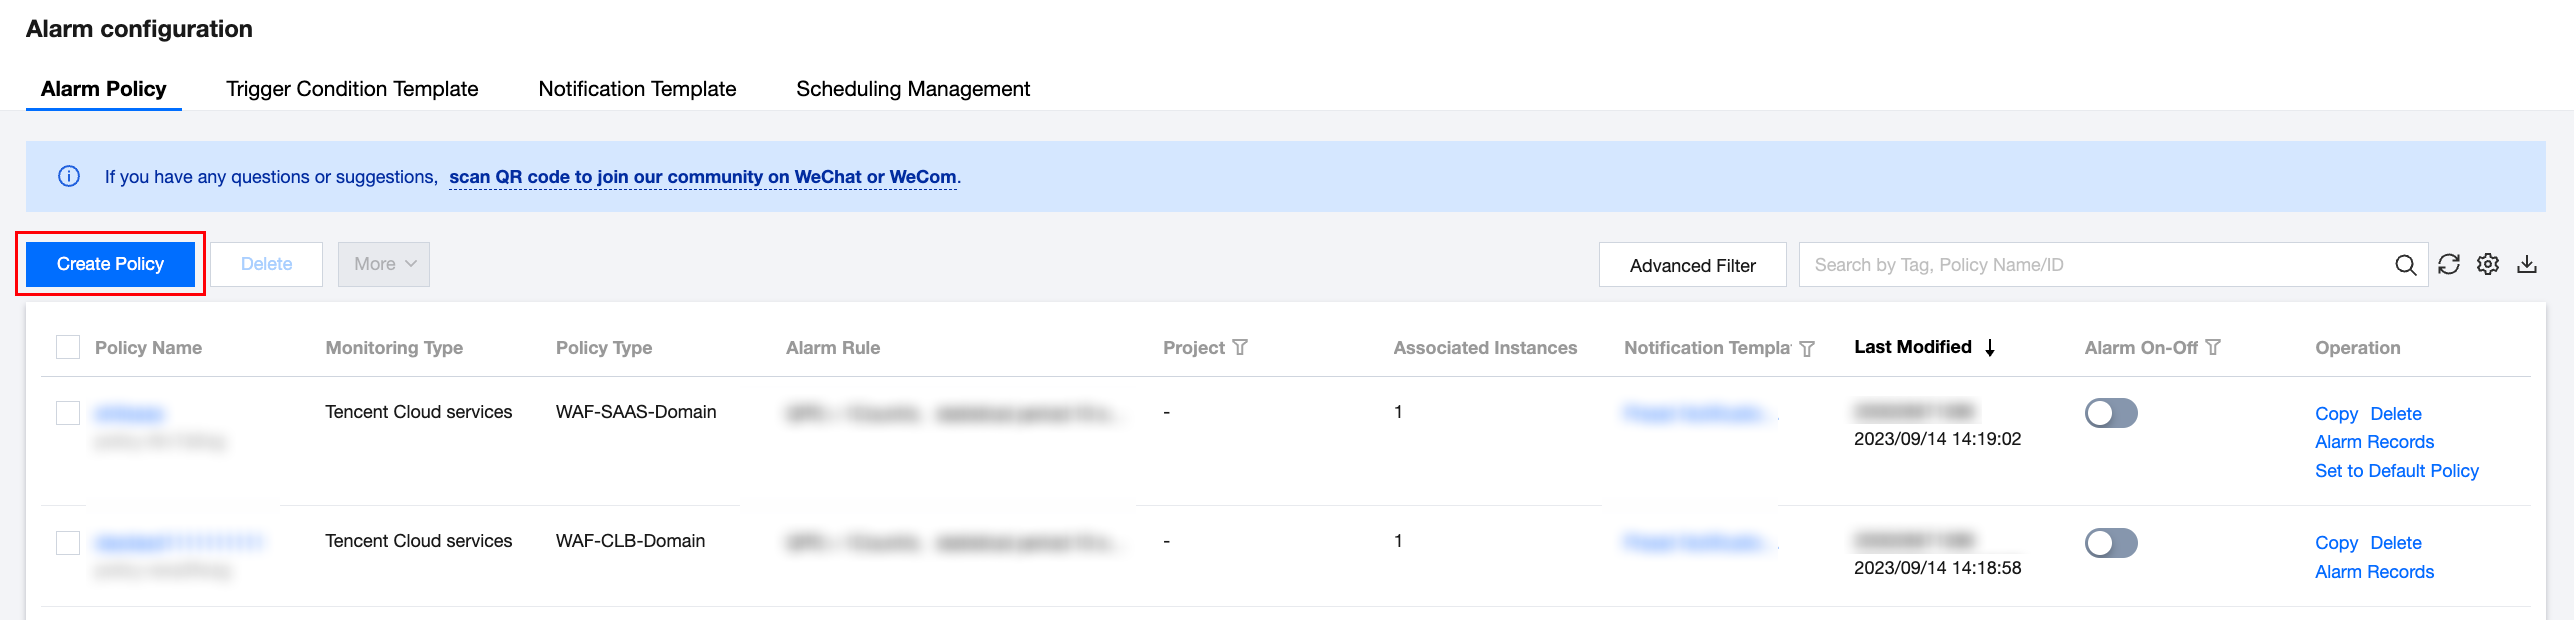
1. Log in to the TCOP Console, and click Alarm Management > Alarm configuration > Alarm Policy in the left sidebar.
Note
You can add, modify, and copy an alarm policy, and view the alarm history of the policy on the alarm policy page. Each policy can be bound to the set Trigger Conditions and Notification Template.
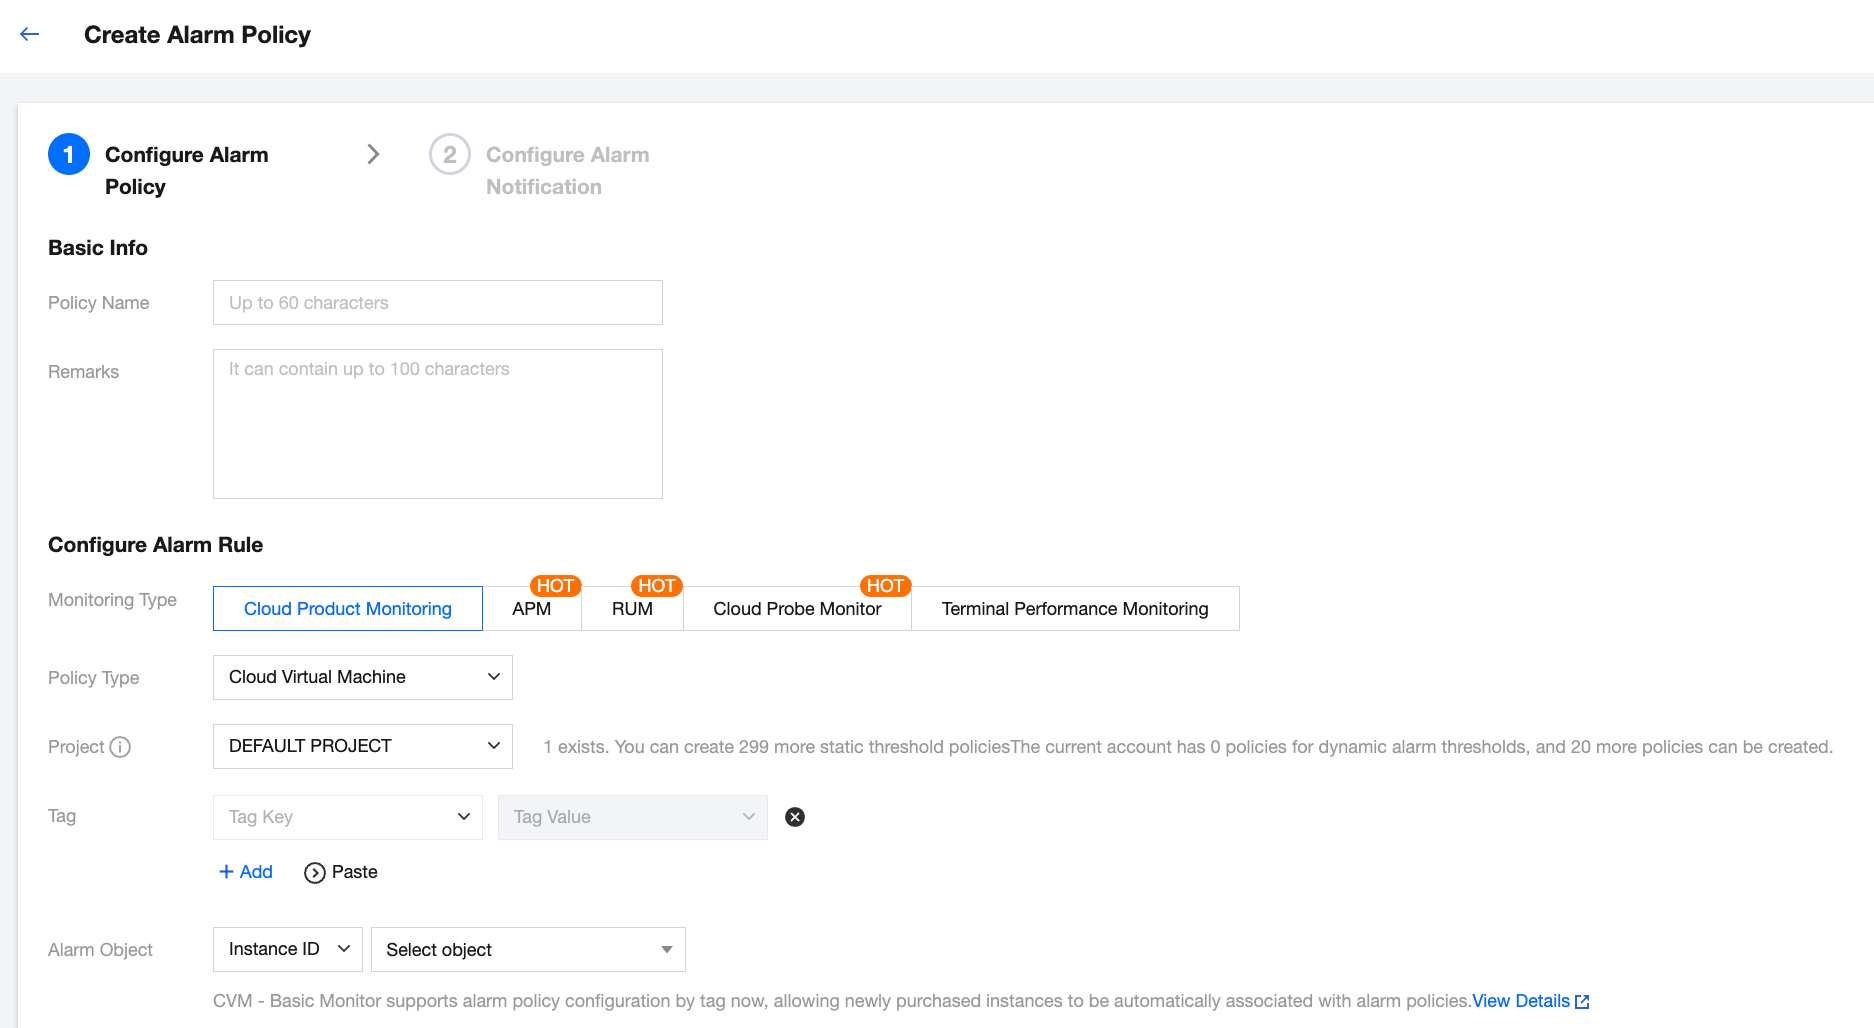
2. On the alarm policy page, click Create Policy to enter the create alarm policy page.
3. On the create alarm policy page, you need to complete the following steps:
3.1 Basic Information: Configure the name, remarks, and other information. Select WAF as the policy type.
3.2 WAF Alarm Object: Select WAF to support monitoring and alarming at the instance level, as well as instance group objects, which need to be manually grouped.
Note
Instance ID: The alarm policy is bound to the selected instance.
Instance group: The alarm policy is bound to the selected instance group.
All objects: The alarm policy is bound to all instances the current account has permission on.