With the business growth of customers, for security reasons, the customers require not exposing the CVM's private IPs to the public network, and want to achieve two-way hiding of the CVM's private IPs.
Configuration Scheme
Based on the above requirements, secure mutual access with the public network while hiding the CVM's private IPs can be achieved by using a CLB and a NAT gateway, in combination with the capabilities of Tencent Cloud products.
Active access from the CVM to the public network: It can be implemented by using a public NAT gateway. The NAT gateway can translate the private IP address of the CVM to a public IP address through the SNAT feature, thereby hiding the CVM's private IP address.
Access from the public network to the CVM: If needed, the CVM can be accessed from the public network in a unified manner through the public network CLB's VIP, thereby hiding the CVM's private IP address and achieving secure access from the public network to the CVM.
Configuration Process
Assuming that the customer has created a business VPC and deployed related services on the CVM within the VPC, the following steps can be taken for configuration:
Creating a NAT Gateway and Configuring Subnet Routing to the NAT Gateway
Create a public NAT gateway and configure subnet routing to the NAT gateway. In this way, the subnet traffic is directed to the NAT gateway and the public network can be accessed using the public IP on the NAT gateway, thereby hiding the private IP and enabling secure access to the public network. For details, see Getting Started with NAT.
2. Click Create in the upper left corner and configure the parameters in the pop-up box.
3. After the parameters are configured, complete the purchase as prompted. For details, see Purchase Methods.
Step 2: Configuring the Subnet Route Table to the NAT Gateway
1. In the NAT gateway list, click the VPC ID of the target NAT gateway.
2. In the VPC details, click Subnets.
3. In the subnet list, select the route table ID of the subnet that requires accessing the public network.
4. On the basic information page of the route table, click Add Routing Policy.
5. In the Add Routing pop-up box, enter the destination (IP range corresponding to the destination public network), select Public NAT Gateway as the next hop type, and select the created NAT gateway ID as the next hop.
6. Click Create to complete the above configuration. In this way, when the CVM in the subnet associated with this route table accesses the public network, the traffic will be directed to the NAT gateway and the public network will be accessed through the public IP on the NAT gateway.
Step 3: (Optional) Configuring SNAT Rules
The NAT gateway supports binding multiple public IPs. When the subnet route points to the NAT gateway, all CVMs in the subnet can access the public network through all public IPs on the NAT gateway by default. To specify a CVM accessing the public network through a specified public IP on the NAT gateway, you can configure a SNAT rule. For details, see Creating a SNAT Rule.
Step 4: (Optional) Configuring Port Forwarding Rules
The NAT gateway supports active access from the private network to the public network by default. If access from the public network is required, it can also be achieved by configuring the port forwarding rules.
In other words, the private IP, protocol, and port of a CVM in the VPC can be mapped to the public IP, protocol, and port, so that the resources on the CVM can be accessed one-to-one from the public network. For details, see Configuring Port Forwarding Rules.
Note:
The port forwarding service of the NAT gateway only supports one-on-one access from the public network. If access from the public network through a unified IP address is required, refer to the following steps to achieve this by using a public network CLB.
Creating a Public Network CLB Instance and Configuring Listener Rules
By creating a public network CLB and configuring listener rules, public network clients can access backend CVM services via the public VIP of the CLB. The traffic passing through the public network CLB is forwarded to the backend CVMs. For details, see Getting Started with CLB.
2. On the CLB purchase page, select the region in which the CVM is located, and select CLB as the instance type and Public Network as the network type. For details, see Creating CLB Instances.
3. Click Buy Now to complete the payment.
Step 2: Configuring a CLB Listener
When a client initiates a request, the CLB will receive the request according to the listening frontend protocol and port, and then forward the request to the backend server. For details, see Configuring TCP Listener.
1. On the CLB list page, click Configure Listener on the right side of the target CLB instance.
2. In the Listener Management tab, click Create in the corresponding protocol section.
3. In the Create Listener dialog box, configure the listener parameters such as health check and session persistence step by step, and then click Submit.
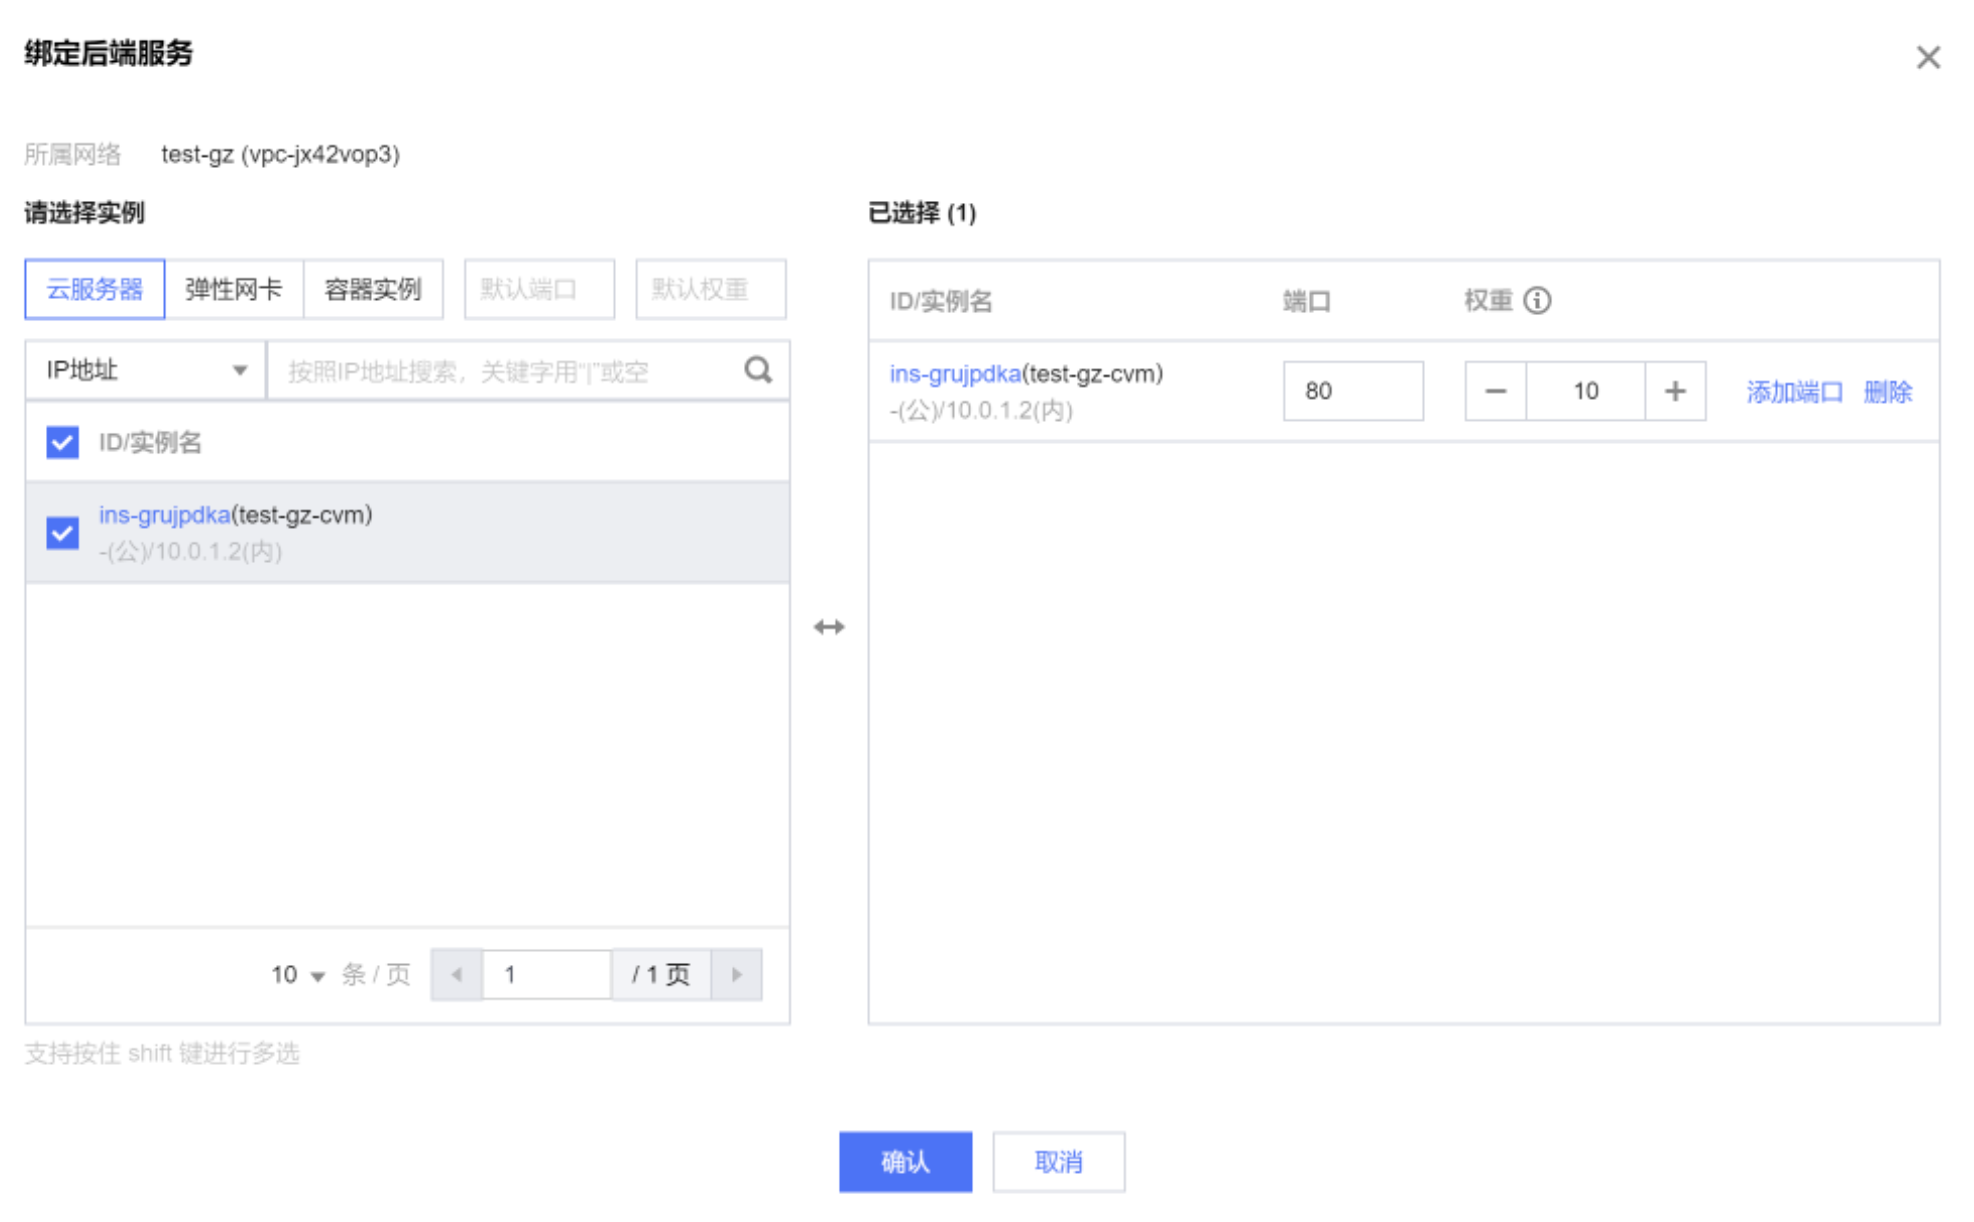
4. In the listener details on the right, click Bind to bind a backend CVM to the CLB, and then configure the CVM port and weight. After completion, click OK.
Configuring Security Policies
1. After creating the CLB, you can configure a CLB security group to isolate the public network traffic. For details, see Configuring CLB Security Group.
4. You can bind an Anti-DDoS Pro instance to a NAT gateway to defend against DDoS attacks. For details, see Anti-DDoS Pro.
Operation Verification
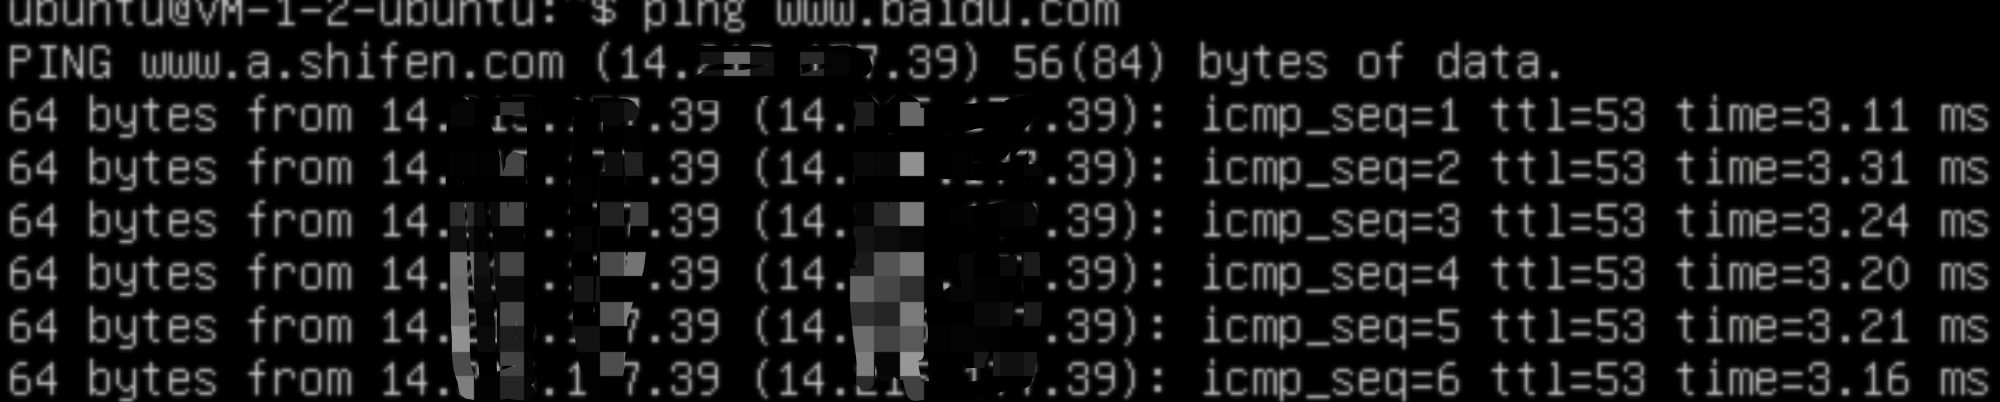
1. The CVM actively accesses the public network.
2. The public network accesses the backend business through the public network CLB's VIP.
Related Documents
When a subnet is associated with a NAT gateway, the CVMs having public IPs (or EIPs) within the subnet will access the Internet through the NAT gateway by default, because the priority of the exact match route is higher than that of the public IP. However, you can set a routing policy to allow the CVM to access the Internet through the public IP. For details, see Adjusting the Priorities of NAT Gateways and EIPs.
If you use a CLB to forward the business traffic to a CVM, corresponding configurations on the CVM’s security group are required to ensure the health check feature. For details, see Configuring CVM Security Groups.

 Yes
Yes
 No
No
Was this page helpful?