- Release Notes and Announcements
- User Tutorial
- Product Introduction
- Purchase Guide
- Getting Started
- Operation Guide
- Operation Overview
- Access Management
- SDK Connection
- Daily Instance Operation
- Viewing Instance Information
- Viewing Memcached Edition Instances
- Assigning Instance to Project
- Editing Instance Tag
- Setting Maintenance Time
- Changing Instance Specification
- Adjusting the Number of Connections
- Enabling/Disabling Read/Write Separation
- Clearing Instances
- Returning and Isolating Instance
- Restoring Isolated Instance
- Eliminating Instance
- Upgrading Redis Edition Instances
- Managing Redis Edition Nodes
- Multi-AZ Deployment Management
- Backup and Restoration
- Data Migration for Redis Edition Instances
- Migration Scheme Overview
- Migration with DTS
- Migrating with Redis-Port
- Version Upgrade with DTS
- Check on Migration from Standard Architecture to Cluster Architecture
- Migration Guide for Legacy Cluster Edition
- Pika-to-Redis Data Migration Scheme
- SSDB-to-Redis Data Migration Scheme
- Common Error Messages
- FAQs
- Migration with redis-port
- Account and Password (Redis Edition)
- Parameter Configuration
- Slow Query
- Network and Security
- Monitoring and Alarms
- Redis Edition Event Management
- Global Replication for Redis Edition
- Performance Optimization
- Sentinel Mode
- Development Guidelines
- Command Reference
- Troubleshooting
- Practical Tutorial
- API Documentation
- History
- Introduction
- API Category
- Making API Requests
- Instance APIs
- AddReplicationInstance
- AllocateWanAddress
- ChangeInstanceRole
- ChangeMasterInstance
- CleanUpInstance
- ClearInstance
- CloseSSL
- CreateInstanceAccount
- CreateReplicationGroup
- DeleteInstanceAccount
- DeleteReplicationInstance
- DescribeAutoBackupConfig
- DescribeBandwidthRange
- DescribeInstanceAccount
- DescribeInstanceDTSInfo
- DescribeInstanceZoneInfo
- DescribeInstances
- DescribeProxySlowLog
- DescribeSlowLog
- DescribeTendisSlowLog
- DestroyPostpaidInstance
- DestroyPrepaidInstance
- DisableReplicaReadonly
- EnableReplicaReadonly
- InquiryPriceCreateInstance
- InquiryPriceUpgradeInstance
- KillMasterGroup
- ModifyAutoBackupConfig
- ModifyInstance
- ModifyInstanceAccount
- ModifyInstanceReadOnly
- ModifyMaintenanceWindow
- ModifyNetworkConfig
- OpenSSL
- ReleaseWanAddress
- RenewInstance
- ResetPassword
- StartupInstance
- SwitchProxy
- UpgradeInstanceVersion
- UpgradeProxyVersion
- UpgradeSmallVersion
- UpgradeVersionToMultiAvailabilityZones
- DescribeCommonDBInstances
- ChangeReplicaToMaster
- CloneInstances
- CreateInstances
- DescribeInstanceDealDetail
- DescribeInstanceNodeInfo
- DescribeInstanceShards
- DescribeMaintenanceWindow
- DescribeParamTemplateInfo
- DescribeReplicationGroup
- DescribeSSLStatus
- DescribeTaskInfo
- DescribeTaskList
- ModifyInstancePassword
- RemoveReplicationInstance
- UpgradeInstance
- DescribeInstanceEvents
- DescribeReplicationGroupInstance
- ModifyInstanceAvailabilityZones
- ModifyInstanceEvent
- ModifyReplicationGroup
- SwitchAccessNewInstance
- DescribeInstanceSupportFeature
- Parameter Management APIs
- Other APIs
- Backup and Restoration APIs
- Region APIs
- Monitoring and Management APIs
- Log APIs
- Data Types
- Error Codes
- FAQs
- Service Agreement
- Glossary
- Contact Us
This document describes how to enable/disable the public network address in the TencentDB for Redis® console. You can use the system-assigned domain name and port to Accessing Database over Public Network, making it easier for you to test, manage, use, and develop the database on a daily basis.
Note:
The instance service downtime caused by public network errors won't be counted into the "Single Instance Service Downtime" in TencentDB for Redis® Service Level Agreement (SLA).
Public network access may expose your instances to security threats, and service availability is not guaranteed by SLA. Therefore, we recommend that you access Redis over the public network only when testing, managing, or assisting in managing databases. In the production environment, access Redis over the private network.
The public network bandwidth is 20 Mb/s, with a connection limit of 10,000. Even though Redis supports up to 100,000 connections, the public network can only connect to 10,000 clients.
Explanation of the New Architecture Upgrade for the Public Network
I. New Architecture Release Date
To enhance the security and reliability of the database's public network link, from May 2024 (Beijing time), TencentDB for MySQL has released a new public network architecture that used CLB as the underlying architecture for the public network.
II. Comparison Between Old and New Architectures
Difference Item | Old Public Network Architecture | New Public Network Architecture (CLB) |
Architecture difference | The old public network architecture is a single-point deployment architecture. In case of a single-point failure, and the recovery will be slow and there will be a lack of high availability. | The new public network architecture can expand the service capability of the application system externally through traffic distribution, improving the availability of the application system by eliminating single-point failures. |
Whether the architecture involves product linkage | No | Yes. After the public network is enabled, the system will automatically create a free simplified CLB instance in the same region in the CLB Console to provide the public network capability.  |
III. Precautions
Currently, when the public network address is enabled for a TencentDB for Redis® instance, it operates under a CLB architecture. The system will automatically create a lightweight CLB instance in the same region through the CLB Console to provide public network capabilities. The CLB architecture has a refined resource limitation policy, as outlined in the table below.
Category | Concurrent Connections | New Connections | Packet Volume | Inbound Bandwidth | Outbound Bandwidth |
CLB | 2,000 | 200/s | Unlimited | 20 Mbps | 20 Mbps |

Note:
The CLB instance automatically created when the public network address is enabled is free to use.
After the public network address is disabled, the corresponding CLB instance will be automatically deleted in the CLB console.
Unlimited in the table above means no separate speed limit policy is configured; it is only influenced by physical linkage limitations (including the upstream switch, TGW cluster size, and LD device attributes).
If you require higher performance, you can also directly purchase a CLB to achieve this. For detailed directions, see Enabling Public Network Access Through CLB.
After public network access is enabled, it will be controlled by the network access policy of the security group. You need to configure the source information for database access in the inbound rules of the security group and open protocol ports. Starting from mid-May 2024, the source IP address for CLB health check will be in the 100.64.0.0/10 network segment. After public network access is enabled, if the health status of your simplified CLB instance shows abnormal, you can allow the 100.64.0.0/10 segment when configuring the security group for the TencentDB for Redis instance to resolve the issue of the health check failure leading to the abnormal health status of the CLB instance.
Open both the private and public network ports. The default private network port is 6379. For detailed directions, see Redis Security Group Configuration.
Allow the source IP segment 100.64.0.0/10 for CLB health check to perform real-time health checks on network links, ensuring network security and stability.

Use Limits
Only instances in VPCs can enable the public network address. If an instance is in the classic network, switch it to VPC first before enabling public network access.
Currently, the public network address feature is only available in the following regions: Chengdu, Beijing, Shanghai, and Guangzhou. For public network access in other regions, you can use one of the following methods to access Redis instances:
By enabling Public Network Access Through CLB.
Prerequisites
Enabling the Public Network Address
1. Log in to the TencentDB for Redis® console, click an instance ID in the instance list, and enter the instance details page.
2. Click Enable next to Public Network Address in the Network Info section.
Note:
After the public network access is enabled, it will be controlled by the security group policy. You should configure the database access source in the security group's inbound rules and open the protocol ports (both the private network port (6379 by default) and public network port) as instructed in Configuring Security Group.
3. In the pop-up window, confirm that everything is correct and click OK.
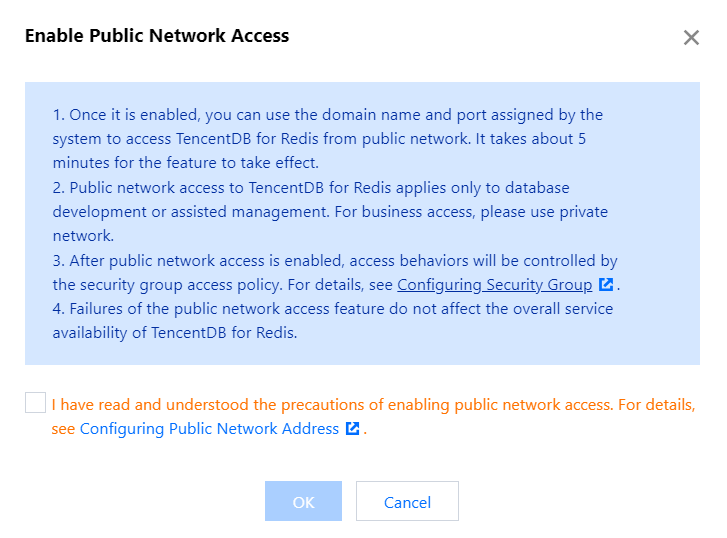
4. Return to the instance details page, where you can see the instance in the Enabling public network status. If the status stays the same for a long time, refresh the page.
Note:
After enabling, you can use the system-assigned domain name and port to access TencentDB for Redis® via the public network. The process takes about 5 minutes to take effect.
5. If Public Network Address shows an address comprising a domain name and port, the address is enabled successfully. Now you can use it to access Redis over the public network.
Disabling the Public Network Address
1. Log in to the TencentDB for Redis® console, click an instance ID in the instance list, and enter the instance details page.
2. Click Disable next to Public Network Address in the Network Info section.
3. In the pop-up window, confirm that everything is correct and click OK.
4. Return to the instance details page, where you can see the instance in the Disabling public network status and Public Network Address display nothing.
Subsequent Operations
After the public network access is enabled, it is recommended to configure the CLB monitoring and alarm policy.
1. Log in to the TCOP .
2. Click Alarm Management > Alarm Configuration to access the alarm policy configuration page.
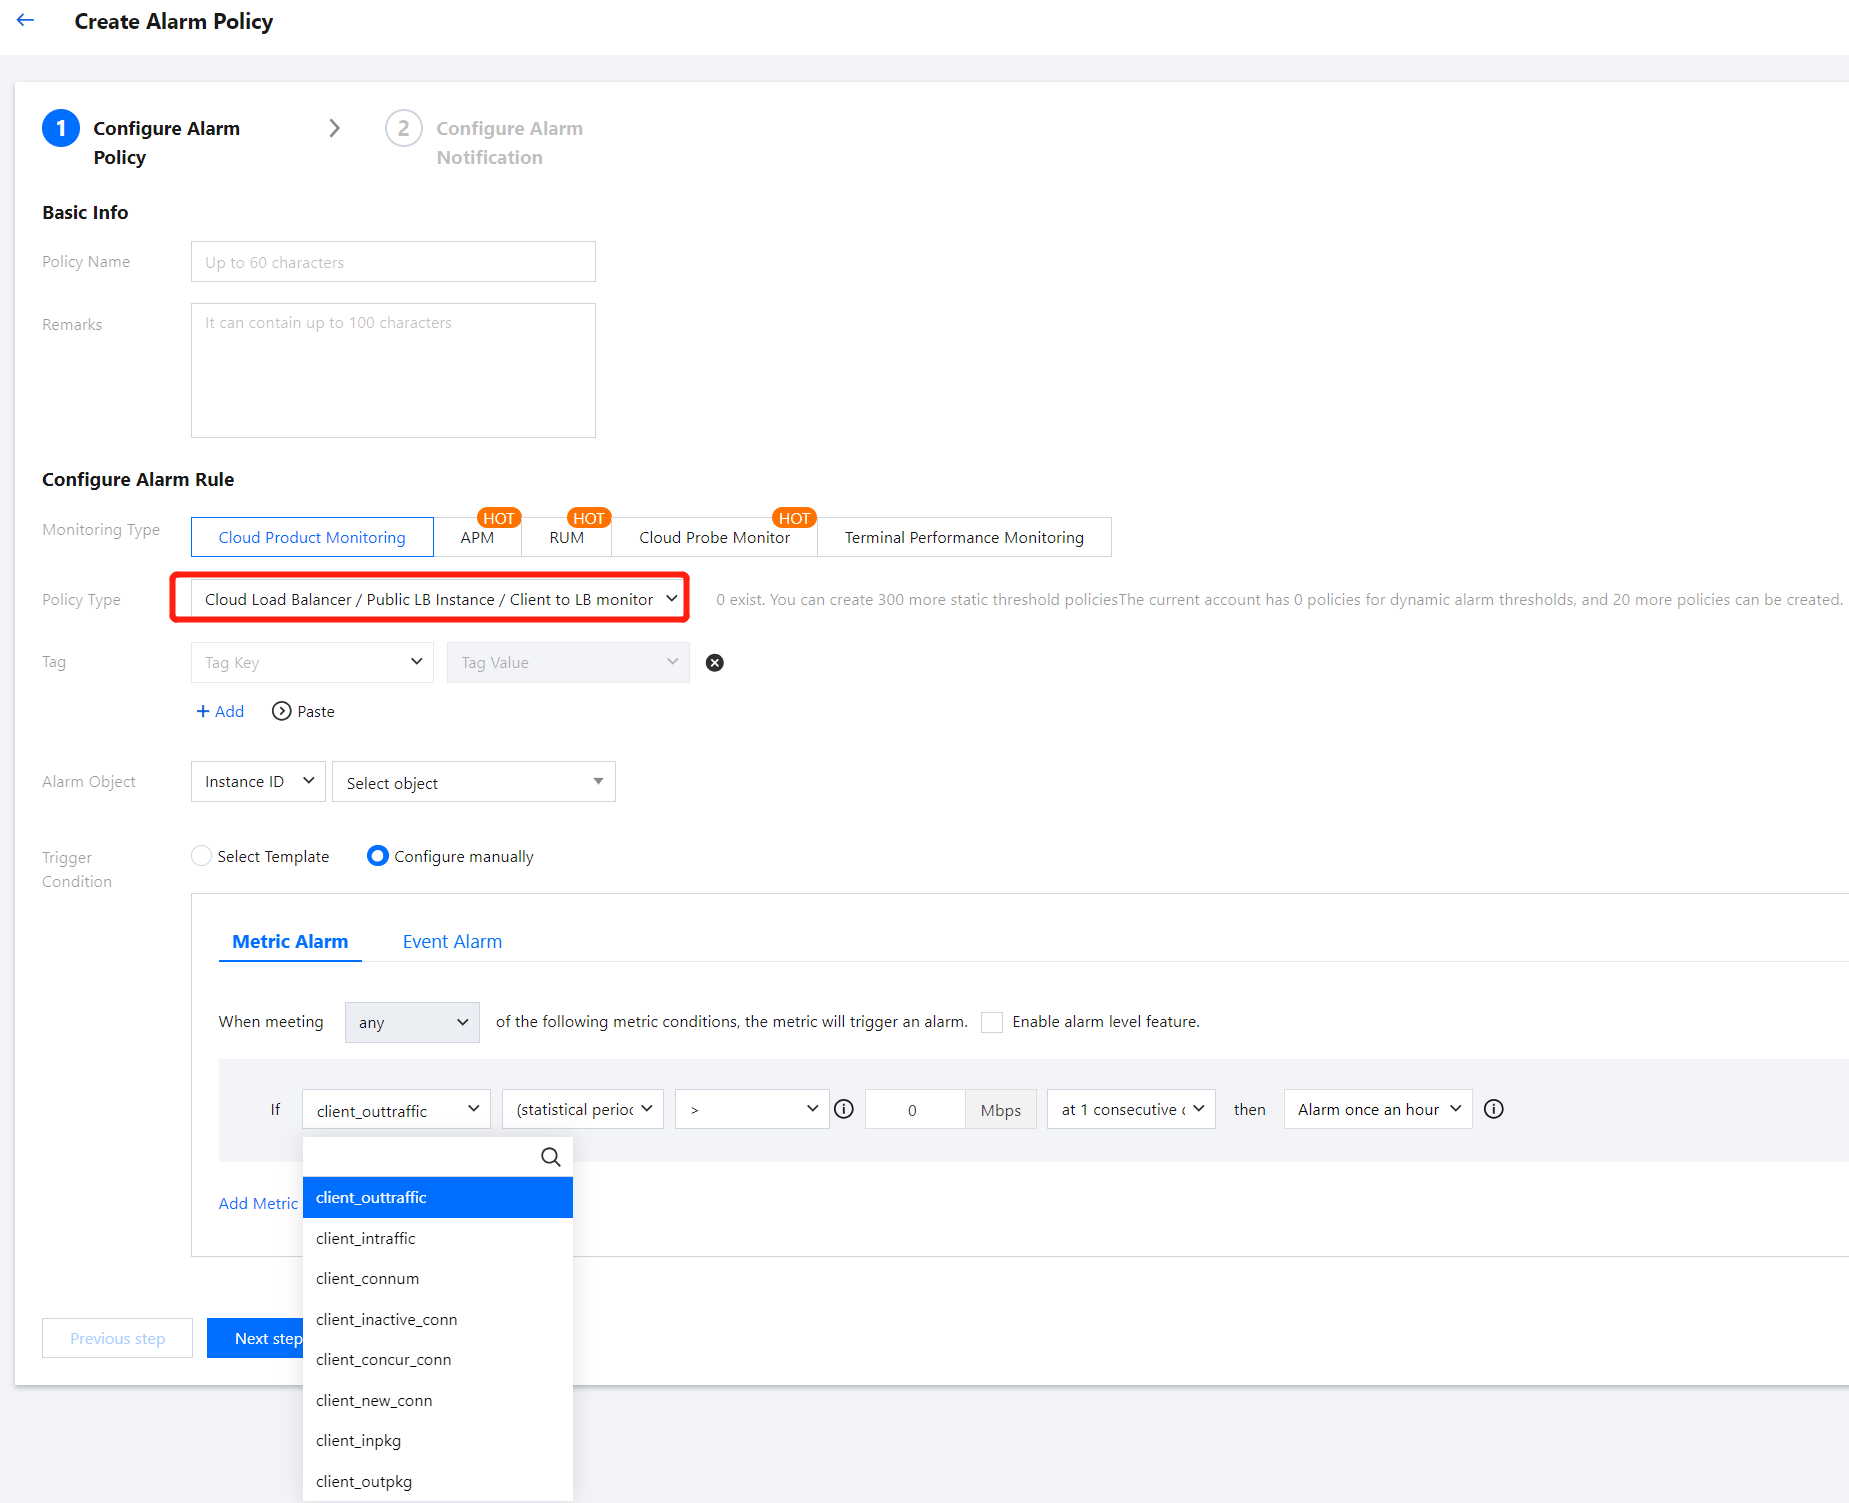
3. Click Create Policy and configure the alarm policy as described below.
Configuration Type | Configuration Item | Description |
Basic Info | Policy Name | Customize the policy name. |
| Remarks | Customize the policy remarks. |
| Monitoring Type | Select Cloud Product Monitoring . |
| Policy Type | Select Cloud Load Balancer > Public LB Instance > Client to LB monitor . |
| Project | Select DEFAULT PROJECT . |
Alarm Rule Configuration | Alarm Object | Select the instance ID to bind the alarm policy to the selected instance. Select the instance group to bind the alarm policy to the selected instance group. Select all objects to bind the alarm policy to all instances under the current account with the appropriate permissions. |
| Trigger conditions | The alarm trigger conditions consist of a meaningful condition based on metrics, comparison relationships, thresholds, statistical granularity, and the duration across N monitoring data points. Select Template: Use an existing alarm trigger condition template. Predefined templates are available for triggering alarms. To create a template, click Add Trigger Condition Template and follow the console guidance. For more information, see Configure Trigger Condition Template. Configure manually: Customize the selection of monitoring metrics and event alarm trigger conditions. Configure alarm metrics, statistical granularity, alarm thresholds, alarm severity, and alarm frequency based on business needs. Note: Metric Alarm: Metrics that need to be configured include client_new_conn, client_connum, client_outpkg, and client_inpkg. For more information on these metrics, see CLB Monitoring Metrics. Event Alarm: You can select the events to be configured based on actual needs. |
4. Click Next: Configure Alarm Notification to configure the alarm notification rules. You can choose from system preset notification templates or user-defined templates. Up to three notification templates can be bound to each alarm policy. For more information, see Notification Templates.

5. After the above information is configured, click Complete to successfully create the alarm policy. For more information, see CLB Alarm Policy.
Related APIs
API | Description |
Enables public network access | |
Disables public network access |

 はい
はい
 いいえ
いいえ
この記事はお役に立ちましたか?