New User Offers
Next-Generation CDN:EdgeOne
$0 14-Day Trial with website acceleration and advanced security protection capabilities.
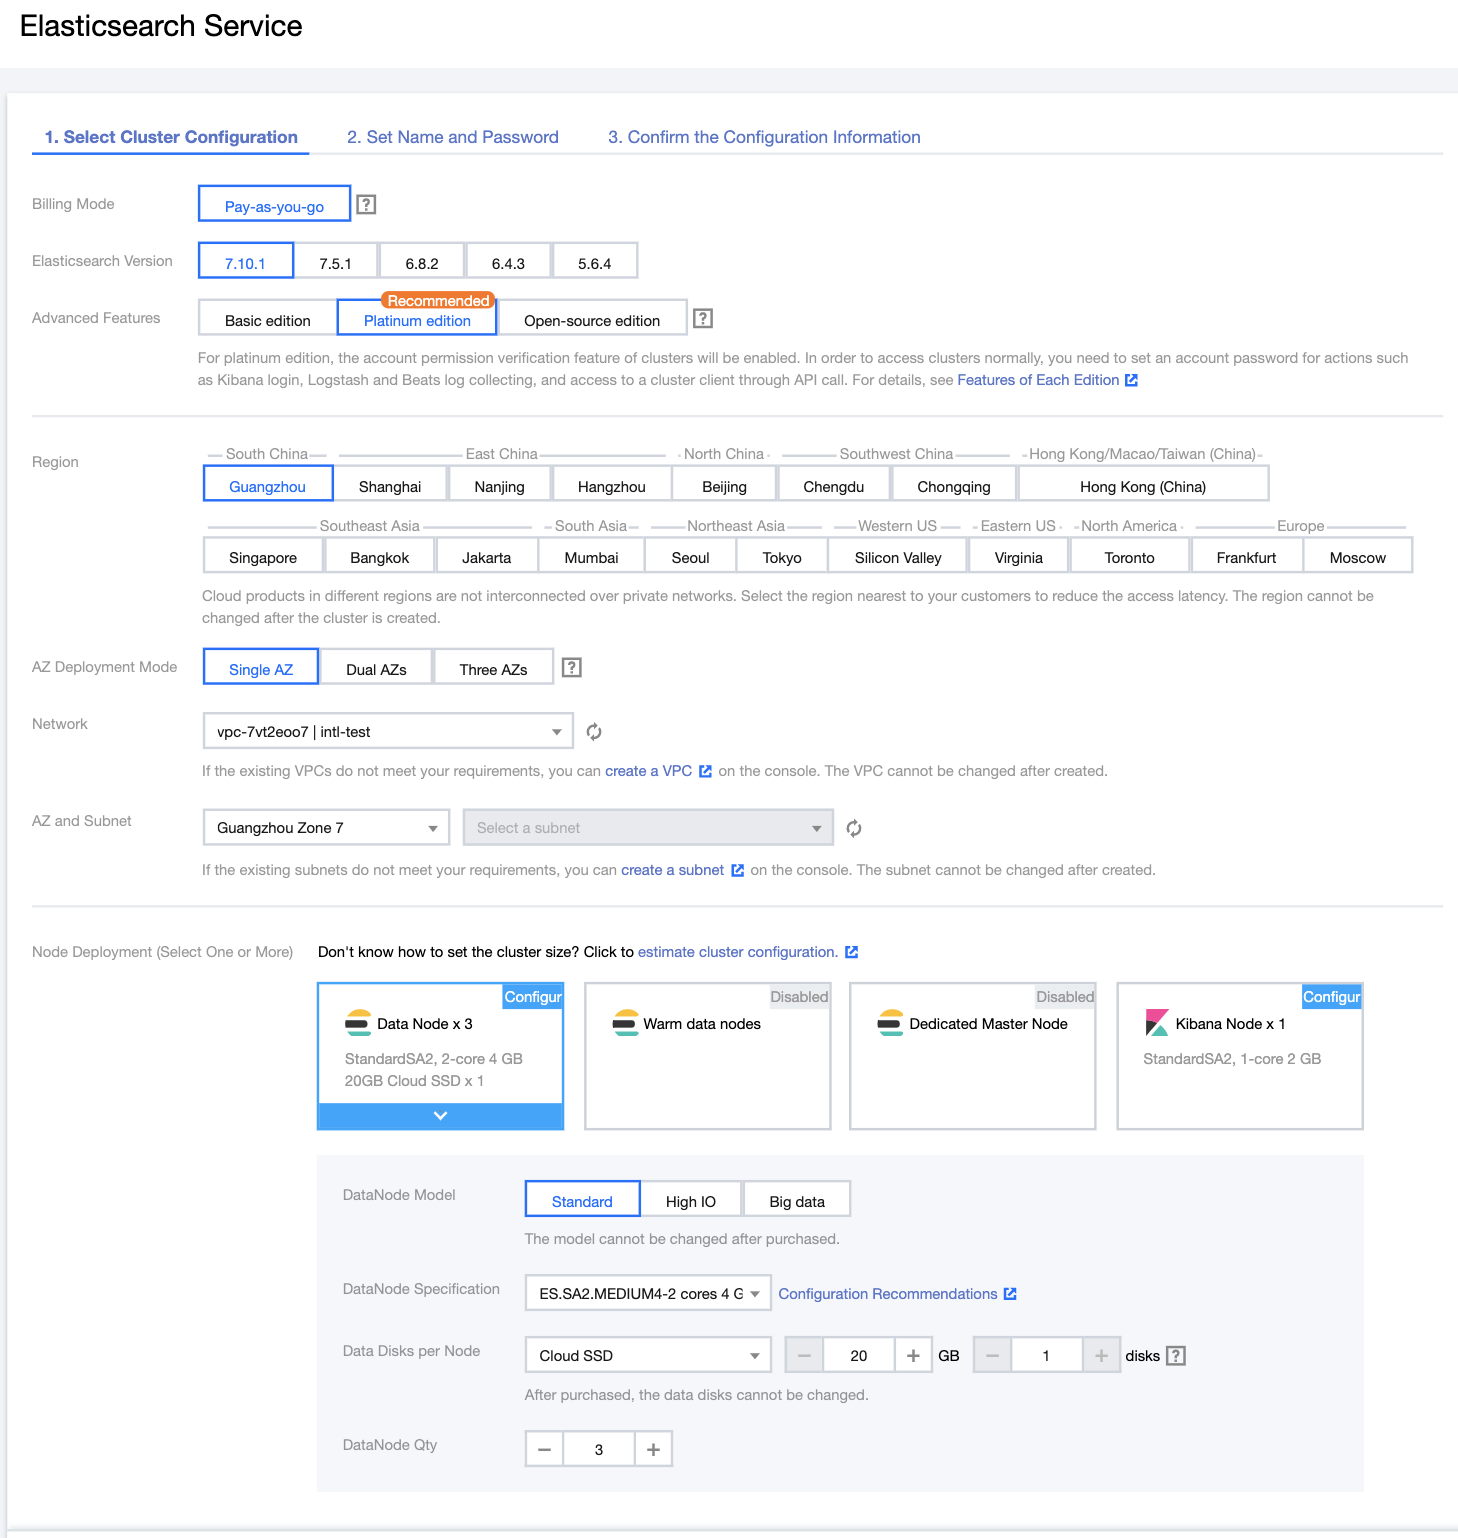
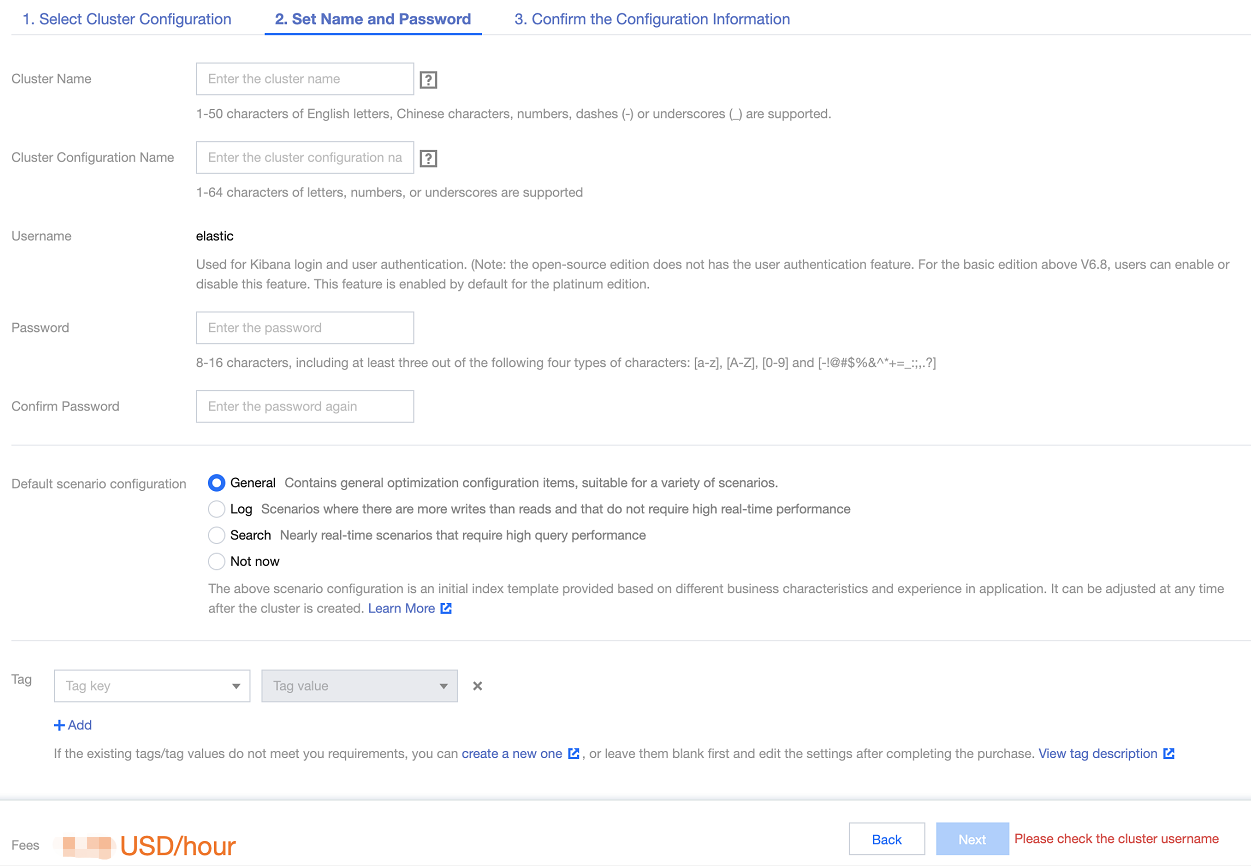
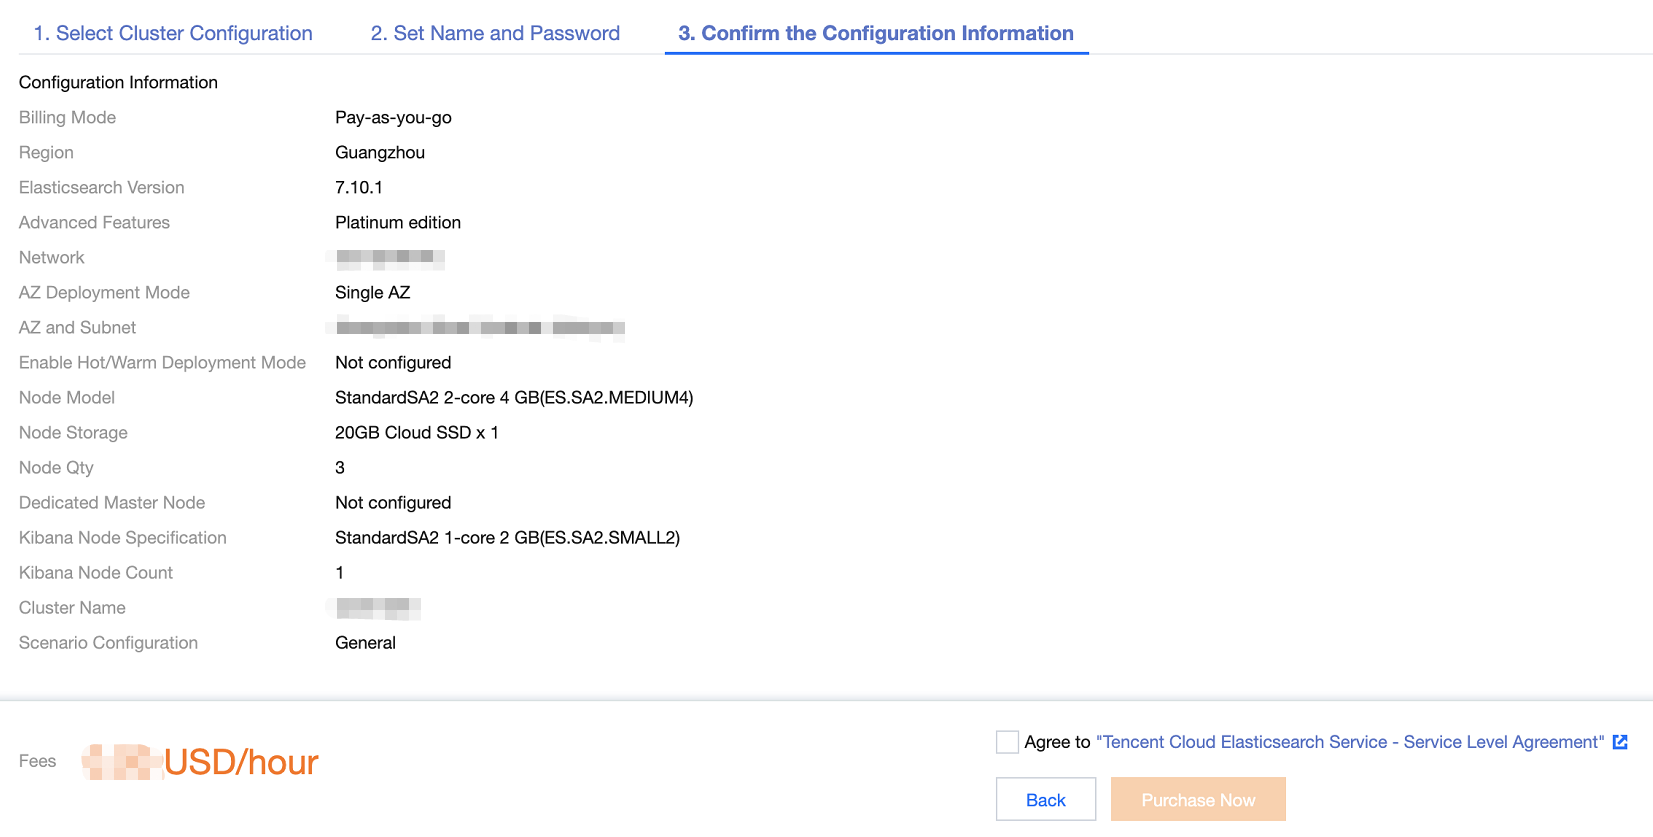
Elasticsearch Service Special Offers
Preferred Solutions for Log and Search Scenarios. Annual Payment Starting at 50% Off!
Free Tier
All users can try out a multitude of products and services for free
Tencent Cloud Startup Program
Empower startups to migrate to the cloud with full force all the resources of Tencent Cloud

Special Offers

Featured Products
- 01Tencent Cloud EdgeOne
Provides layer-4/7 security protection and acceleration services to the global market based on Tencent's global edge nodes.
- 02Chat
A communication service supporting one-to-one chat, group chat, chat room, system notification, and other messaging capabilities
- 03Elasticsearch Service
A ready-to-use cloud-based Elasticsearch service

Education

Gaming

Financial Services

Audio & Video
Audio/Video Solution
A one-stop video solution for all your cloud media applications
LVB Recording Solution
A solution for on-cloud recording, content production, and video distribution
Interactive Classroom Solution
Offers a one-stop online education solution
Interactive Live Streaming Solution
Covers various low-latency live video streaming use cases such as anchor competition and interactive live streaming
Audio Chat Social Networking Solution
Provides a one-stop "real-time audio interaction" solution

Real Estate

E-commerce

Compute

Database

Video Service

AI and Machine Learning

Industry Applications

Container and Middleware

Networking

Security

Development and Operations

Storage

CDN and Edge

Analytics

Communication and Enterprise Services

Become a Partner
Tencent Cloud Partner Network
Helping partners leverage Tencent Cloud''s platform and solutions to maximize their business success.
Become a Partner
Build, market, and sell your offerings with Tencent Cloud's Partner Network.
V+ Partner
Work with Tencent Cloud Media Services partners and create future ecosystem of Immersive Convergence.
Work with a Partner
Choose from a global community of professional Tencent Cloud partners to serve your business.
Partner Support
Explain the partner network in detail, including partner categories and benefits, to explore more about Tencent Cloud partners.
FAQs
Interested in becoming a Tencent Cloud International partners? Feel free to contact us.

Training & Support
International Partner Academy
International Partner Academy is the Partner-dedicated section of Tencent Cloud International, which provides Partners with training, tools and content. With rich resource of Tencent Cloud International, Partners can learn and download Partner-focused technical content and training to grow their business on Tencent Cloud.
Partner Empowerment
Provide partners with training courses on Tencent Cloud products, technologies, and resources as well as professional exam guidance and certification to support partners' business and technical needs.
Become Channel Partners
Learn more about partners benefits.
Partner Support Plan
An open, innovative, and win-win plan to empower your and your customers' cloud services.

What’s New
Product & Feature Updates
Stay well equipped with our latest updates and cutting-edge technologies to explore endless possibilities.
Events and Webinars
Tencent Cloud hosts an ongoing series of online and in-person events to help you get the most out of our products and services.
Press Center
Read news stories and announcements to learn more about the unique strengths of Tencent Cloud.
Brand Highlights
Discover Tencent Cloud's remarkable updates and milestones, showcasing our commitment to driving digital transformation.

Community

Resource Center
Analyst Reports
Learn what Gartner, IDC and other top industry analyst firms are saying about Tencent Cloud.
Whitepaper
Check out the latest Tencent Cloud whitepapers and e-books for in-depth technology trends, research and industry insights.
Insights
Utilize a full range of products and solutions designed for different industries to create systems and adjust scales as needed.

Customer

Training and Certification
- Promotions
- Products
- Featured Products
- Compute
- Container and Middleware
- Storage
- Database
- Networking
- CDN and Edge
- Video Service
- Security
- Analytics
- AI and Machine Learning
- Development and Operations
- Communication and Enterprise Services
- Office Collaboration
- Internet of Things
- Industry Applications
- Solutions
- Pricing
- Partner Network
- Marketplace
- Explore More
- Language
- Contact Us
- Console
- Documentation


