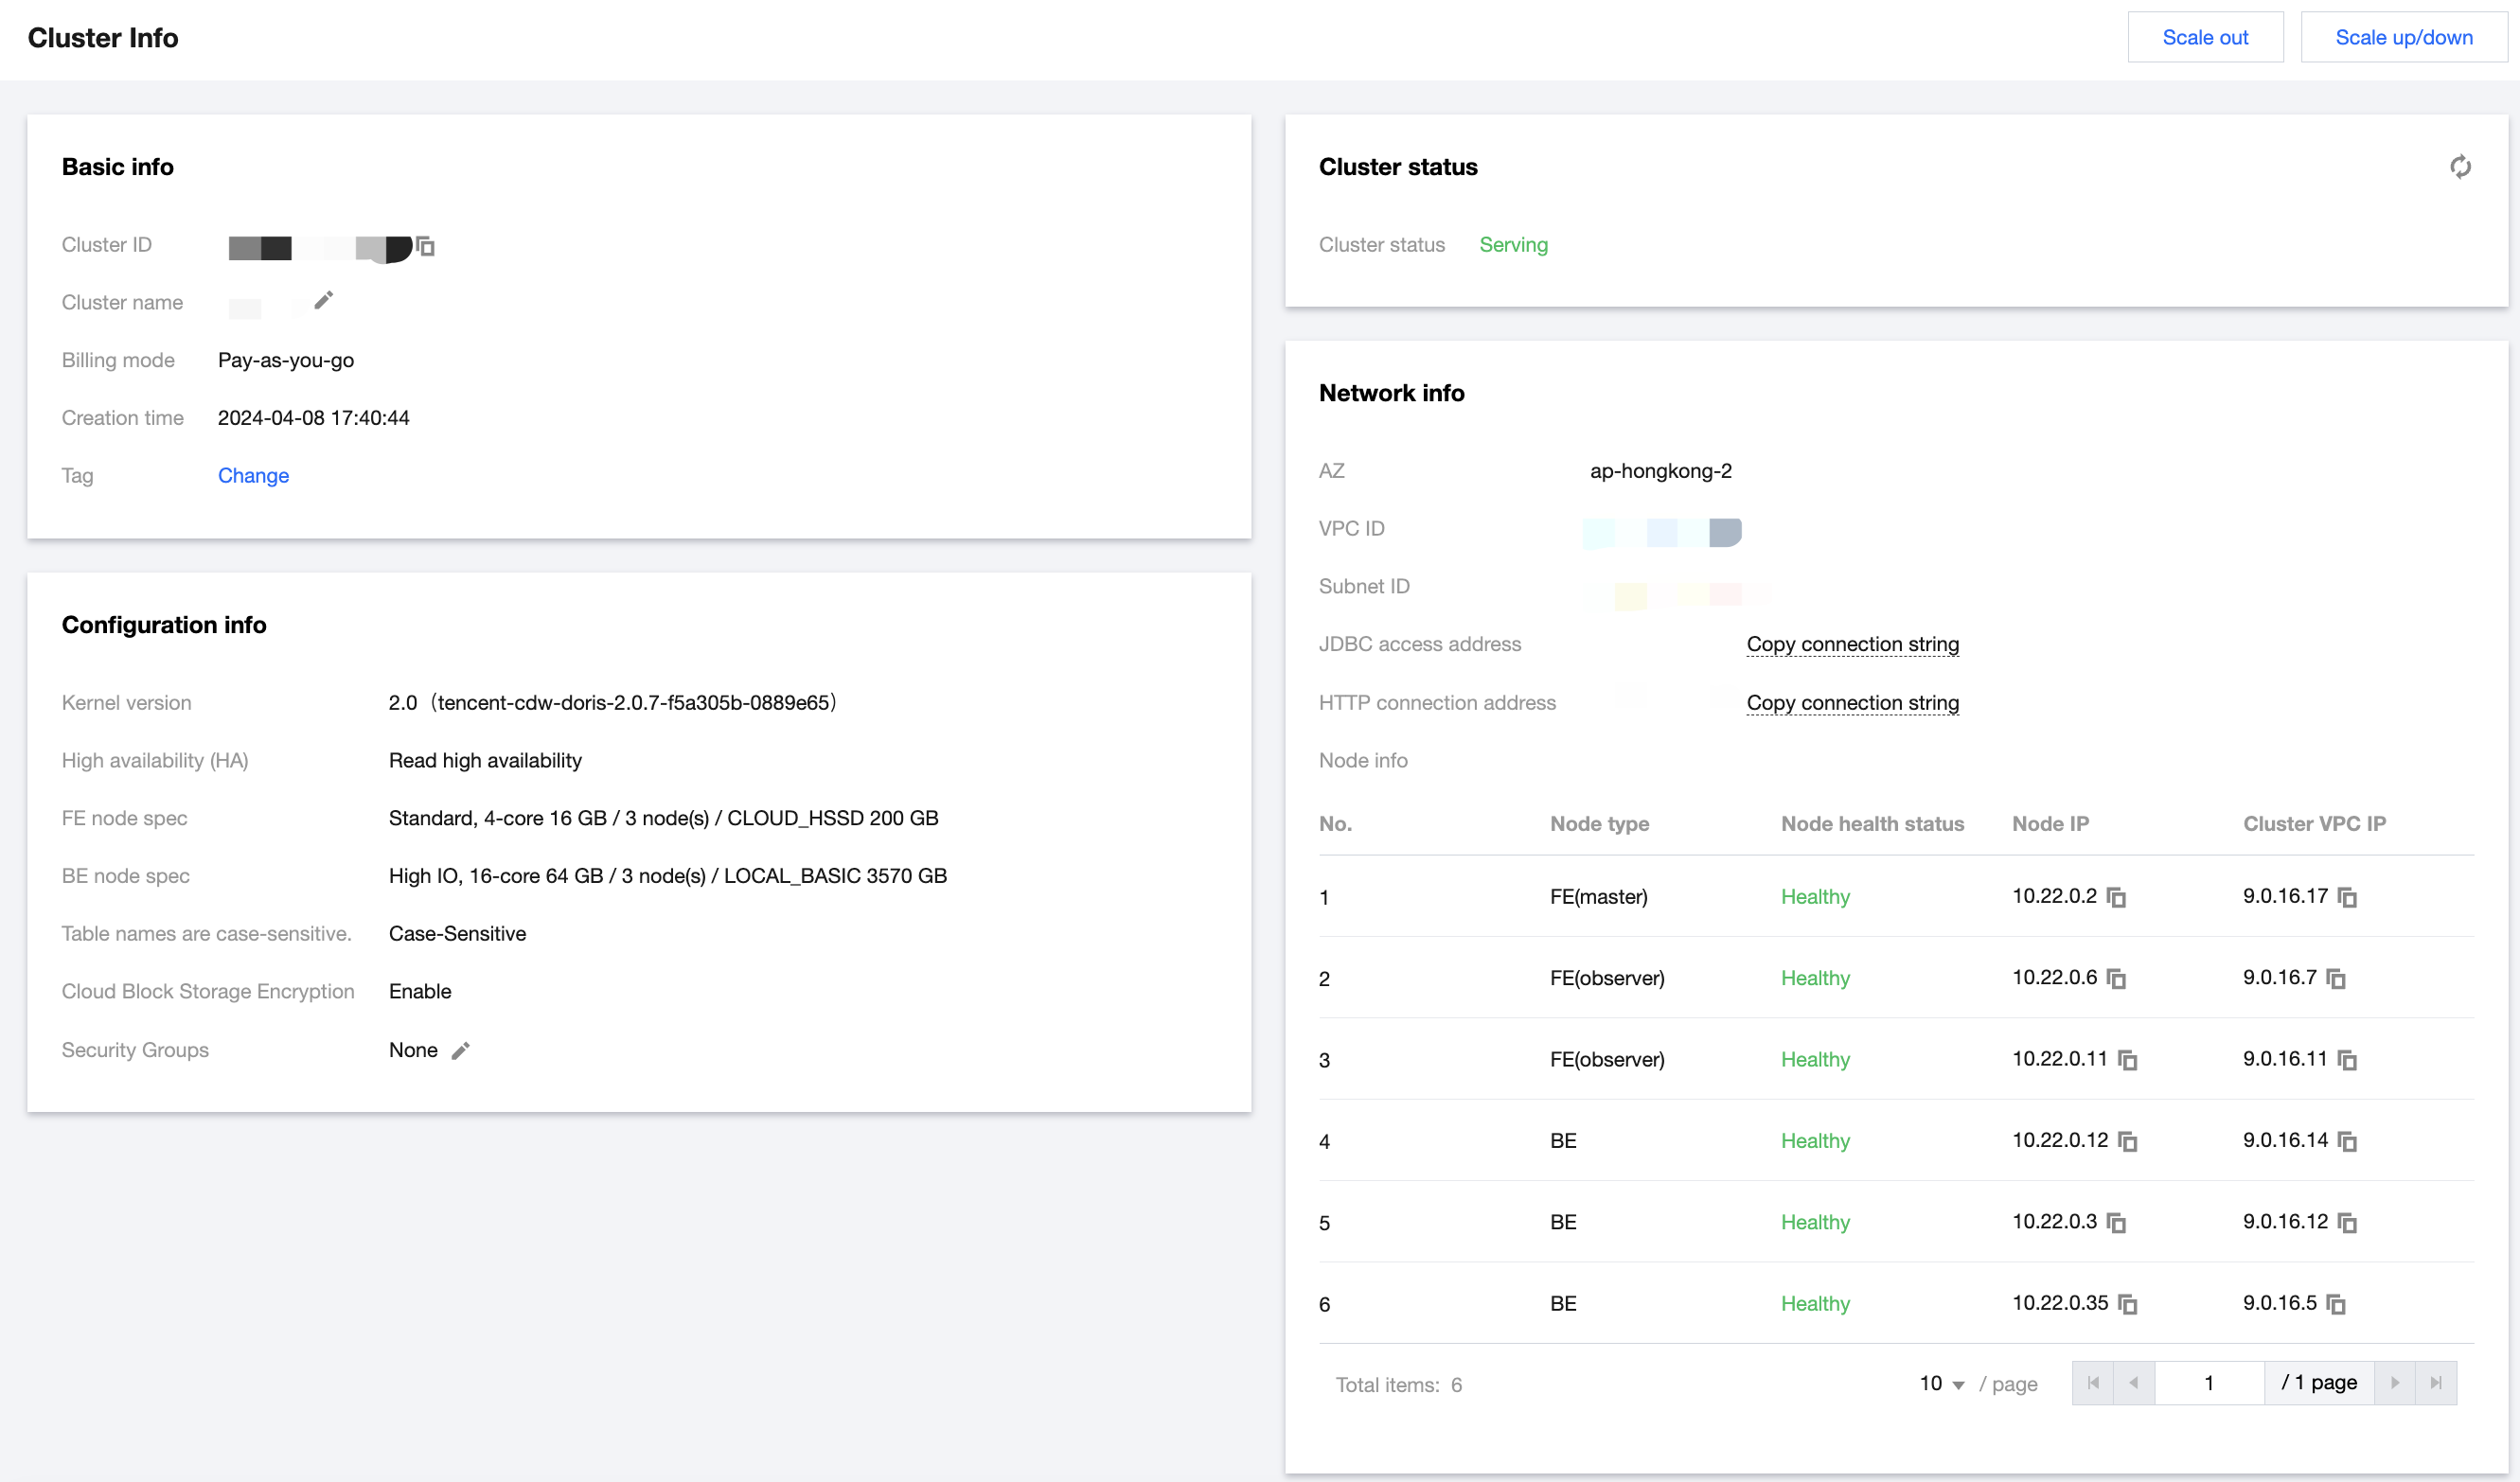
Except the console, you can use Tencent Cloud TCHouse-D through a client based on JDBC and WebUI. After purchasing and creating a cluster, you can enter the cluster details page from Cluster list by clicking on Resource ID/name. The network information section provides two access addresses: JDBC and HTTP, which indicate the two types of clients: The JDBC connection address is suitable for JDBC clients, such as commonly used MySQL clients.
The HTTP connection address is used to perform various operations on the cluster's REST API through the WebUI.
JDBC Clients (MySQL Client and More)
Tencent Cloud TCHouse-D uses the MySQL protocol for communication, and users can connect to the cluster through the MySQL Client or MySQL JDBC. It is recommended that you use the MySQL Client in versions later than 5.1 because the MySQL Client in versions prior to 5.1 does not support usernames longer than 16 characters.
Note:
Any client that supports the MySQL JDBC protocol can be used, but there may be situations where the client does not display cluster's return information exactly as it is. Generally, this phenomenon does not cause problems, but operation results may be misjudged because some information is not displayed.
For example, Warning in the return information is not displayed in some clients after Broker Load is executed. Consequently, users may mistakenly think that there is no Warning (that is, no filtered data).
The following describes the basic process of connecting to Tencent Cloud TCHouse-D through MySQL Client.
Step 1: Creating a User
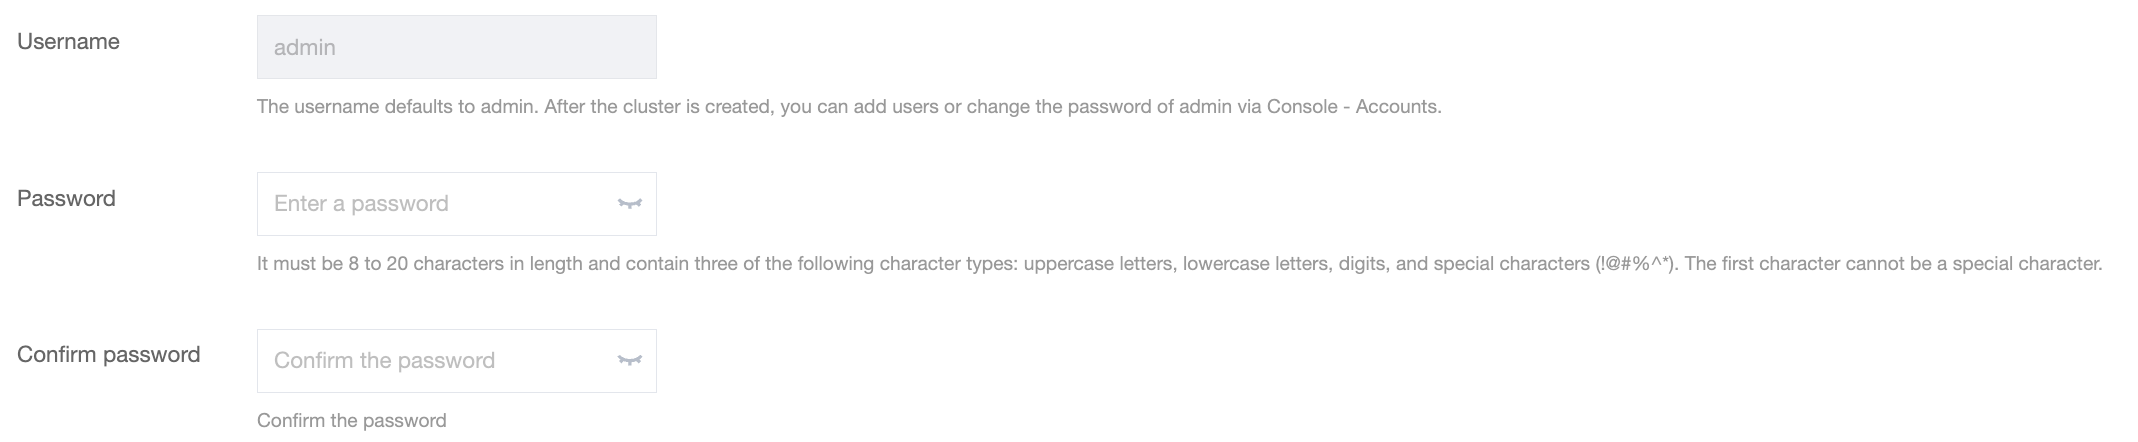
1. When you purchase and create a Tencent Cloud TCHouse-D cluster, you need to set the admin user's password.
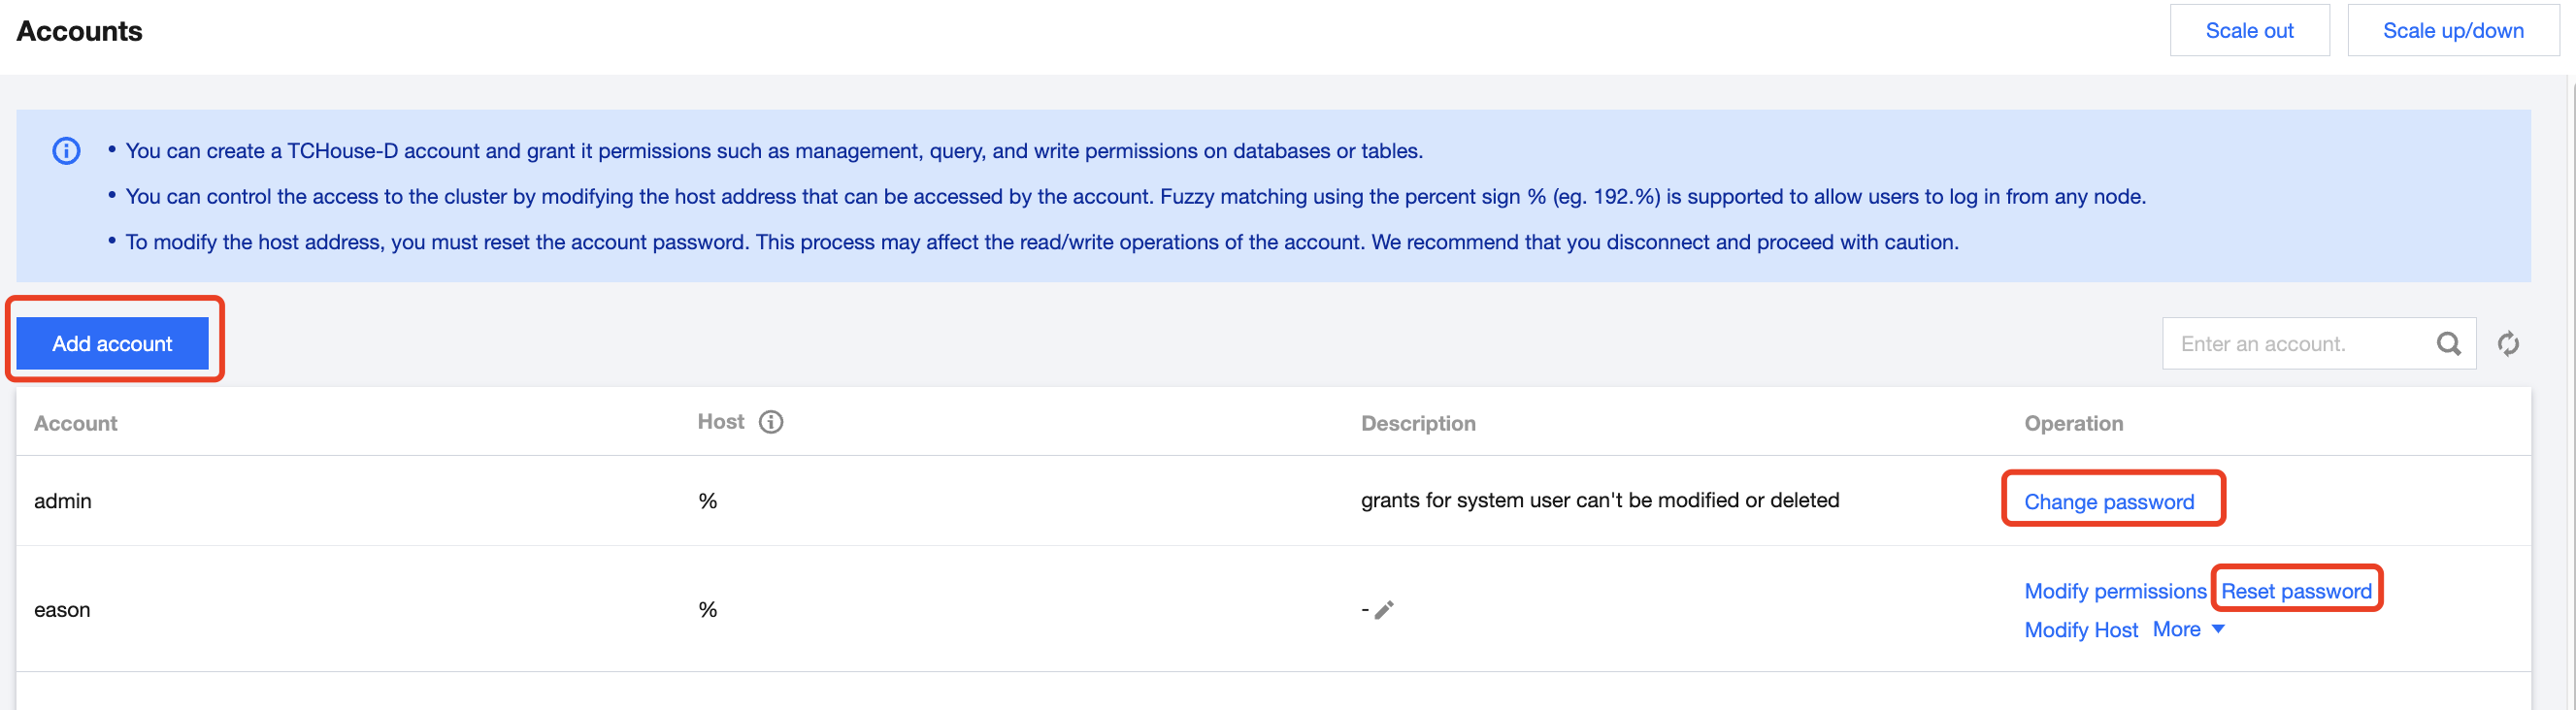
2. After the cluster is created, you can conveniently view cluster information and carry out operations such as creating new accounts in the console. You can use the admin user to connect to the cluster, or create a new user and use the sub-user to connect to the cluster.
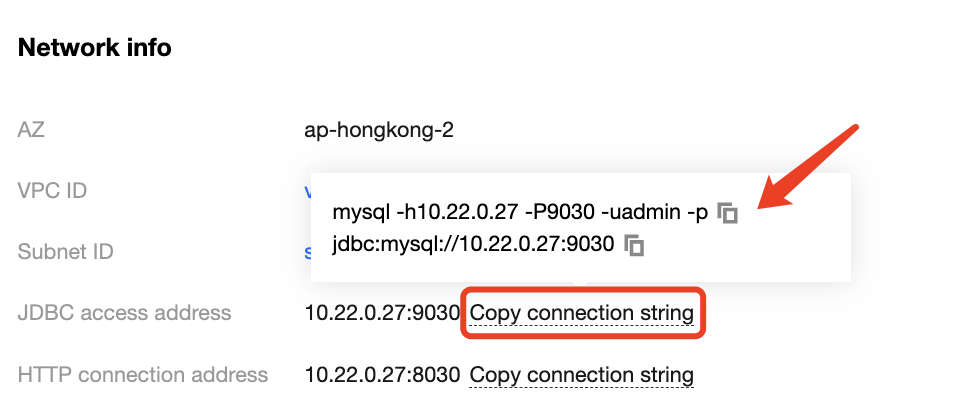
3. When the cluster is running, you can use MySQL Client to connect to the cluster in a networked environment. In the cluster details page, the connection address can be copied with one click. If you want to use a sub-user to connect or reset the password, you can do so on the Accounts page in the console.
4. Enter the following command to log in to the cluster:
mysql -h FE_HOST -P9030 -uadmin -p
Note:
FE_HOST is the IP address of any FE node. 9030 is the query_port configuration in fe.conf.
5. After logging in, you can also modify the admin password using the following command:
SET PASSWORD FOR 'admin' = PASSWORD('your_password');
6. Create a new user:
CREATE USER 'test' IDENTIFIED BY 'test_passwd';
7. You can connect to the cluster through the newly created user using the following command:
mysql -h FE_HOST -P9030 -utest -ptest_passwd
Note:
By default, the newly created ordinary user has no permissions. You can grant permissions Accounts page in the console.
Step 2: Creating a Data Table
1. Create a database.
Initially, you can create a database through the admin user:CREATE DATABASE example_db;.
Note:
HELP command; can be used to check detailed syntax help for all commands. Example: HELP CREATE DATABASE;.
If you do not know the full name of a command, you can use help One field of the command for fuzzy queries. For example, if you type HELP CREATE, you can match commands such as CREATE DATABASE, CREATE TABLE, and CREATE USER.
After the database is created, you can check the database information using SHOW DATABASES;.
MySQL> SHOW DATABASES;
+--------------------+
| Database |
+--------------------+
| doris_audit_db__ |
| example_db |
| information_schema |
+--------------------+
3 rows in set (0.00 sec)
information_schema aims to be compatible with the MySQL protocol. Actual information may not be accurate. Therefore, it is recommended that you obtain specific database information by querying the relevant database directly.
2. Grant the account permission.
After example_db is created, you can use the admin account to grant the read/write permissions to the ordinary account, such as test. After the authorization, you can use the test account to operate on the example_db database.
GRANT ALL ON example_db TO test;
3. Create a table.
First, switch the database:
Use the CREATE TABLE command to create a table. Tencent Cloud TCHouse-D supports single partition and composite partition to create tables. For details, see Data Partition and Bucketing. The following is an example of creating a table with aggregation model, showcasing both partition types.
Single partition
Create a logical table named table1. The bucketing column is siteid, and the number of buckets is 10. The table's schema is as follows: siteid: The type is INT (4 bytes), and the default value is 10.
citycode: The type is SMALLINT (2 bytes).
username: The type is VARCHAR, the maximum length is 32, and the default value is an empty character string.
pv: The type is BIGINT (8 bytes), and the default value is 0. This is an index column, the data will be aggregated by default, and the aggregation method is SUM.
The statement for creating the table is as follows:
CREATE TABLE table1
(
siteid INT DEFAULT '10',
citycode SMALLINT,
username VARCHAR(32) DEFAULT '',
pv BIGINT SUM DEFAULT '0'
)
AGGREGATE KEY(siteid,citycode,username)
DISTRIBUTED BY HASH(siteid) BUCKETS 10
PROPERTIES("replication_num" = "1");
Composite partition
Create a logical table named table2, with the following schema:
event_day: The type is DATE, with no default value.
siteid: The type is INT (4 bytes), and the default value is 10.
citycode: The type is SMALLINT (2 bytes).
username: The type is VARCHAR, the maximum length is 32, and the default value is an empty character string.
pv: The type is BIGINT (8 bytes), and the default value is 0. This is an index column, the data will be aggregated by default, and the aggregation method is SUM.
Use the event_day column as the partition column and create 3 partitions, including p201706, p201707, and p201708. Each partition uses siteid for hash bucket, and the number of buckets is 10.
p201706: The range is [minimum value, 2017-07-01).
p201707: The range is [2017-07-01, 2017-08-01).
p201708: The range is [2017-08-01, 2017-09-01).
The statement for creating the table is as follows:
CREATE TABLE table2
(
event_day DATE,
siteid INT DEFAULT '10',
citycode SMALLINT,
username VARCHAR(32) DEFAULT '',
pv BIGINT SUM DEFAULT '0'
)
AGGREGATE KEY(event_day, siteid, citycode, username)
PARTITION BY RANGE(event_day)
(
PARTITION p201706 VALUES LESS THAN ('2017-07-01'),
PARTITION p201707 VALUES LESS THAN ('2017-08-01'),
PARTITION p201708 VALUES LESS THAN ('2017-09-01')
)
DISTRIBUTED BY HASH(siteid) BUCKETS 10
PROPERTIES("replication_num" = "1");
After the table is created, you can check the information of the table in example_db:
MySQL> SHOW TABLES;
+----------------------+
| Tables_in_example_db |
+----------------------+
| table1 |
| table2 |
+----------------------+
2 rows in set (0.01 sec)
MySQL> DESC table1;
+----------+-------------+------+-------+---------+-------+
| Field | Type | Null | Key | Default | Extra |
+----------+-------------+------+-------+---------+-------+
| siteid | int(11) | Yes | true | 10 | |
| citycode | smallint(6) | Yes | true | N/A | |
| username | varchar(32) | Yes | true | | |
| pv | bigint(20) | Yes | false | 0 | SUM |
+----------+-------------+------+-------+---------+-------+
4 rows in set (0.00 sec)
MySQL> DESC table2;
+-----------+-------------+------+-------+---------+-------+
| Field | Type | Null | Key | Default | Extra |
+-----------+-------------+------+-------+---------+-------+
| event_day | date | Yes | true | N/A | |
| siteid | int(11) | Yes | true | 10 | |
| citycode | smallint(6) | Yes | true | N/A | |
| username | varchar(32) | Yes | true | | |
| pv | bigint(20) | Yes | false | 0 | SUM |
+-----------+-------------+------+-------+---------+-------+
5 rows in set (0.00 sec)
Note:
In the above tables, tables created through setting replication_num are single-copy tables. For Tencent Cloud TCHouse-D, it is recommended that users use the default 3-copy setting to ensure high availability.
Step 3: Importing Data
Tencent Cloud TCHouse-D supports multiple data import methods. For specific details, see Importing Data. Examples of streaming import and Broker import are provided here. Streaming Import
Streaming import transmits data to Tencent Cloud TCHouse-D using the HTTP protocol, allowing for the direct import of local data without dependency on other systems or components. For detailed syntax help, see HELP STREAM LOAD;.
Example 1: "table1_20170707" is used as Label, and the local file table1_data is imported in table1.
curl --location-trusted -u test:test_passwd -H "label:table1_20170707" -H "column_separator:," -T table1_data http://FE_HOST:8030/api/example_db/table1/_stream_load
Note:
FE_HOST is the IP address of any FE's node location, and 8030 is http_port in fe.conf.
You can use any BE's IP address and webserver_port in be.conf for importing. Example: BE_HOST:8040.
For the local file table1_data, the comma (,) is used as a separator between data, as follows:
1,1,jim,2
2,1,grace,2
3,2,tom,2
4,3,bush,3
5,3,helen,3
Example 2: table2_20170707 is used as Label, and the local file table2_data is imported to table2.
curl --location-trusted -u test:test -H "label:table2_20170707" -H "column_separator:|" -T table2_data
http://127.0.0.1:8030/api/example_db/table2/_stream_load
For the local filetable2_data, | is used as the separator between data, as follows:
2017-07-03|1|1|jim|2
2017-07-05|2|1|grace|2
2017-07-12|3|2|tom|2
2017-07-15|4|3|bush|3
2017-07-12|5|3|helen|3
Note:
For streaming import, it is recommended that the file size be within 10 GB. Files that exceed this size could cause import failure and increase the cost of retries.
Each batch of data import requires a unique Label. The Label should ideally be a character string related to the batch of data, facilitating reading and management. Tencent Cloud TCHouse-D guarantees that within a database, the same batch of data can only be imported only once based on the Label. Labels of failed tasks can be reused.
The streaming import command is executed in a synchronous manner. If success is returned for the command, the data has been imported. If failure is returned for the command, the data has not been imported.
Broker Import
Broker Import uses a deployed Broker process to read and import data from external storage. For more help, see HELP BROKER LOAD;.
Example: table1_20170708 is used as Label, to import files from HDFS into table1.
LOAD LABEL table1_20170708
(
DATA INFILE("hdfs://your.namenode.host:port/dir/table1_data")
INTO TABLE table1
)
WITH BROKER hdfs
(
"username"="hdfs_user",
"password"="hdfs_password"
)
PROPERTIES
(
"timeout"="3600",
"max_filter_ratio"="0.1"
);
The Broker import command is executed in an asynchronous manner. The successful execution of the above command only indicates the successful submission of tasks. You can check whether the import is successful through SHOW LOAD;. Example:
SHOW LOAD WHERE LABEL = "table1_20170708";
In the returned result, if the State field is FINISHED, the import is successful. For more information about SHOW LOAD, see HELP SHOW LOAD;.
Asynchronous import tasks can be cancelled before they end: CANCEL LOAD WHERE LABEL = "table1_20170708";.
Step 4: Querying Data
1. Simple Query:
MySQL> SELECT * FROM table1 LIMIT 3;
+--------+----------+----------+------+
| siteid | citycode | username | pv |
+--------+----------+----------+------+
| 2 | 1 | 'grace' | 2 |
| 5 | 3 | 'helen' | 3 |
| 3 | 2 | 'tom' | 2 |
+--------+----------+----------+------+
3 rows in set (0.01 sec)
MySQL> SELECT * FROM table1 ORDER BY citycode;
+--------+----------+----------+------+
| siteid | citycode | username | pv |
+--------+----------+----------+------+
| 2 | 1 | 'grace' | 2 |
| 1 | 1 | 'jim' | 2 |
| 3 | 2 | 'tom' | 2 |
| 4 | 3 | 'bush' | 3 |
| 5 | 3 | 'helen' | 3 |
+--------+----------+----------+------+
5 rows in set (0.01 sec)
2. Join Query:
MySQL> SELECT SUM(table1.pv) FROM table1 JOIN table2 WHERE table1.siteid = table2.siteid;
+--------------------+
| sum(`table1`.`pv`) |
+--------------------+
| 12 |
+--------------------+
1 row in set (0.20 sec)
3. Subquery:
MySQL> SELECT SUM(pv) FROM table2 WHERE siteid IN (SELECT siteid FROM table1 WHERE siteid > 2);
+-----------+
| sum(`pv`) |
+-----------+
| 8 |
+-----------+
1 row in set (0.13 sec)
WebUI
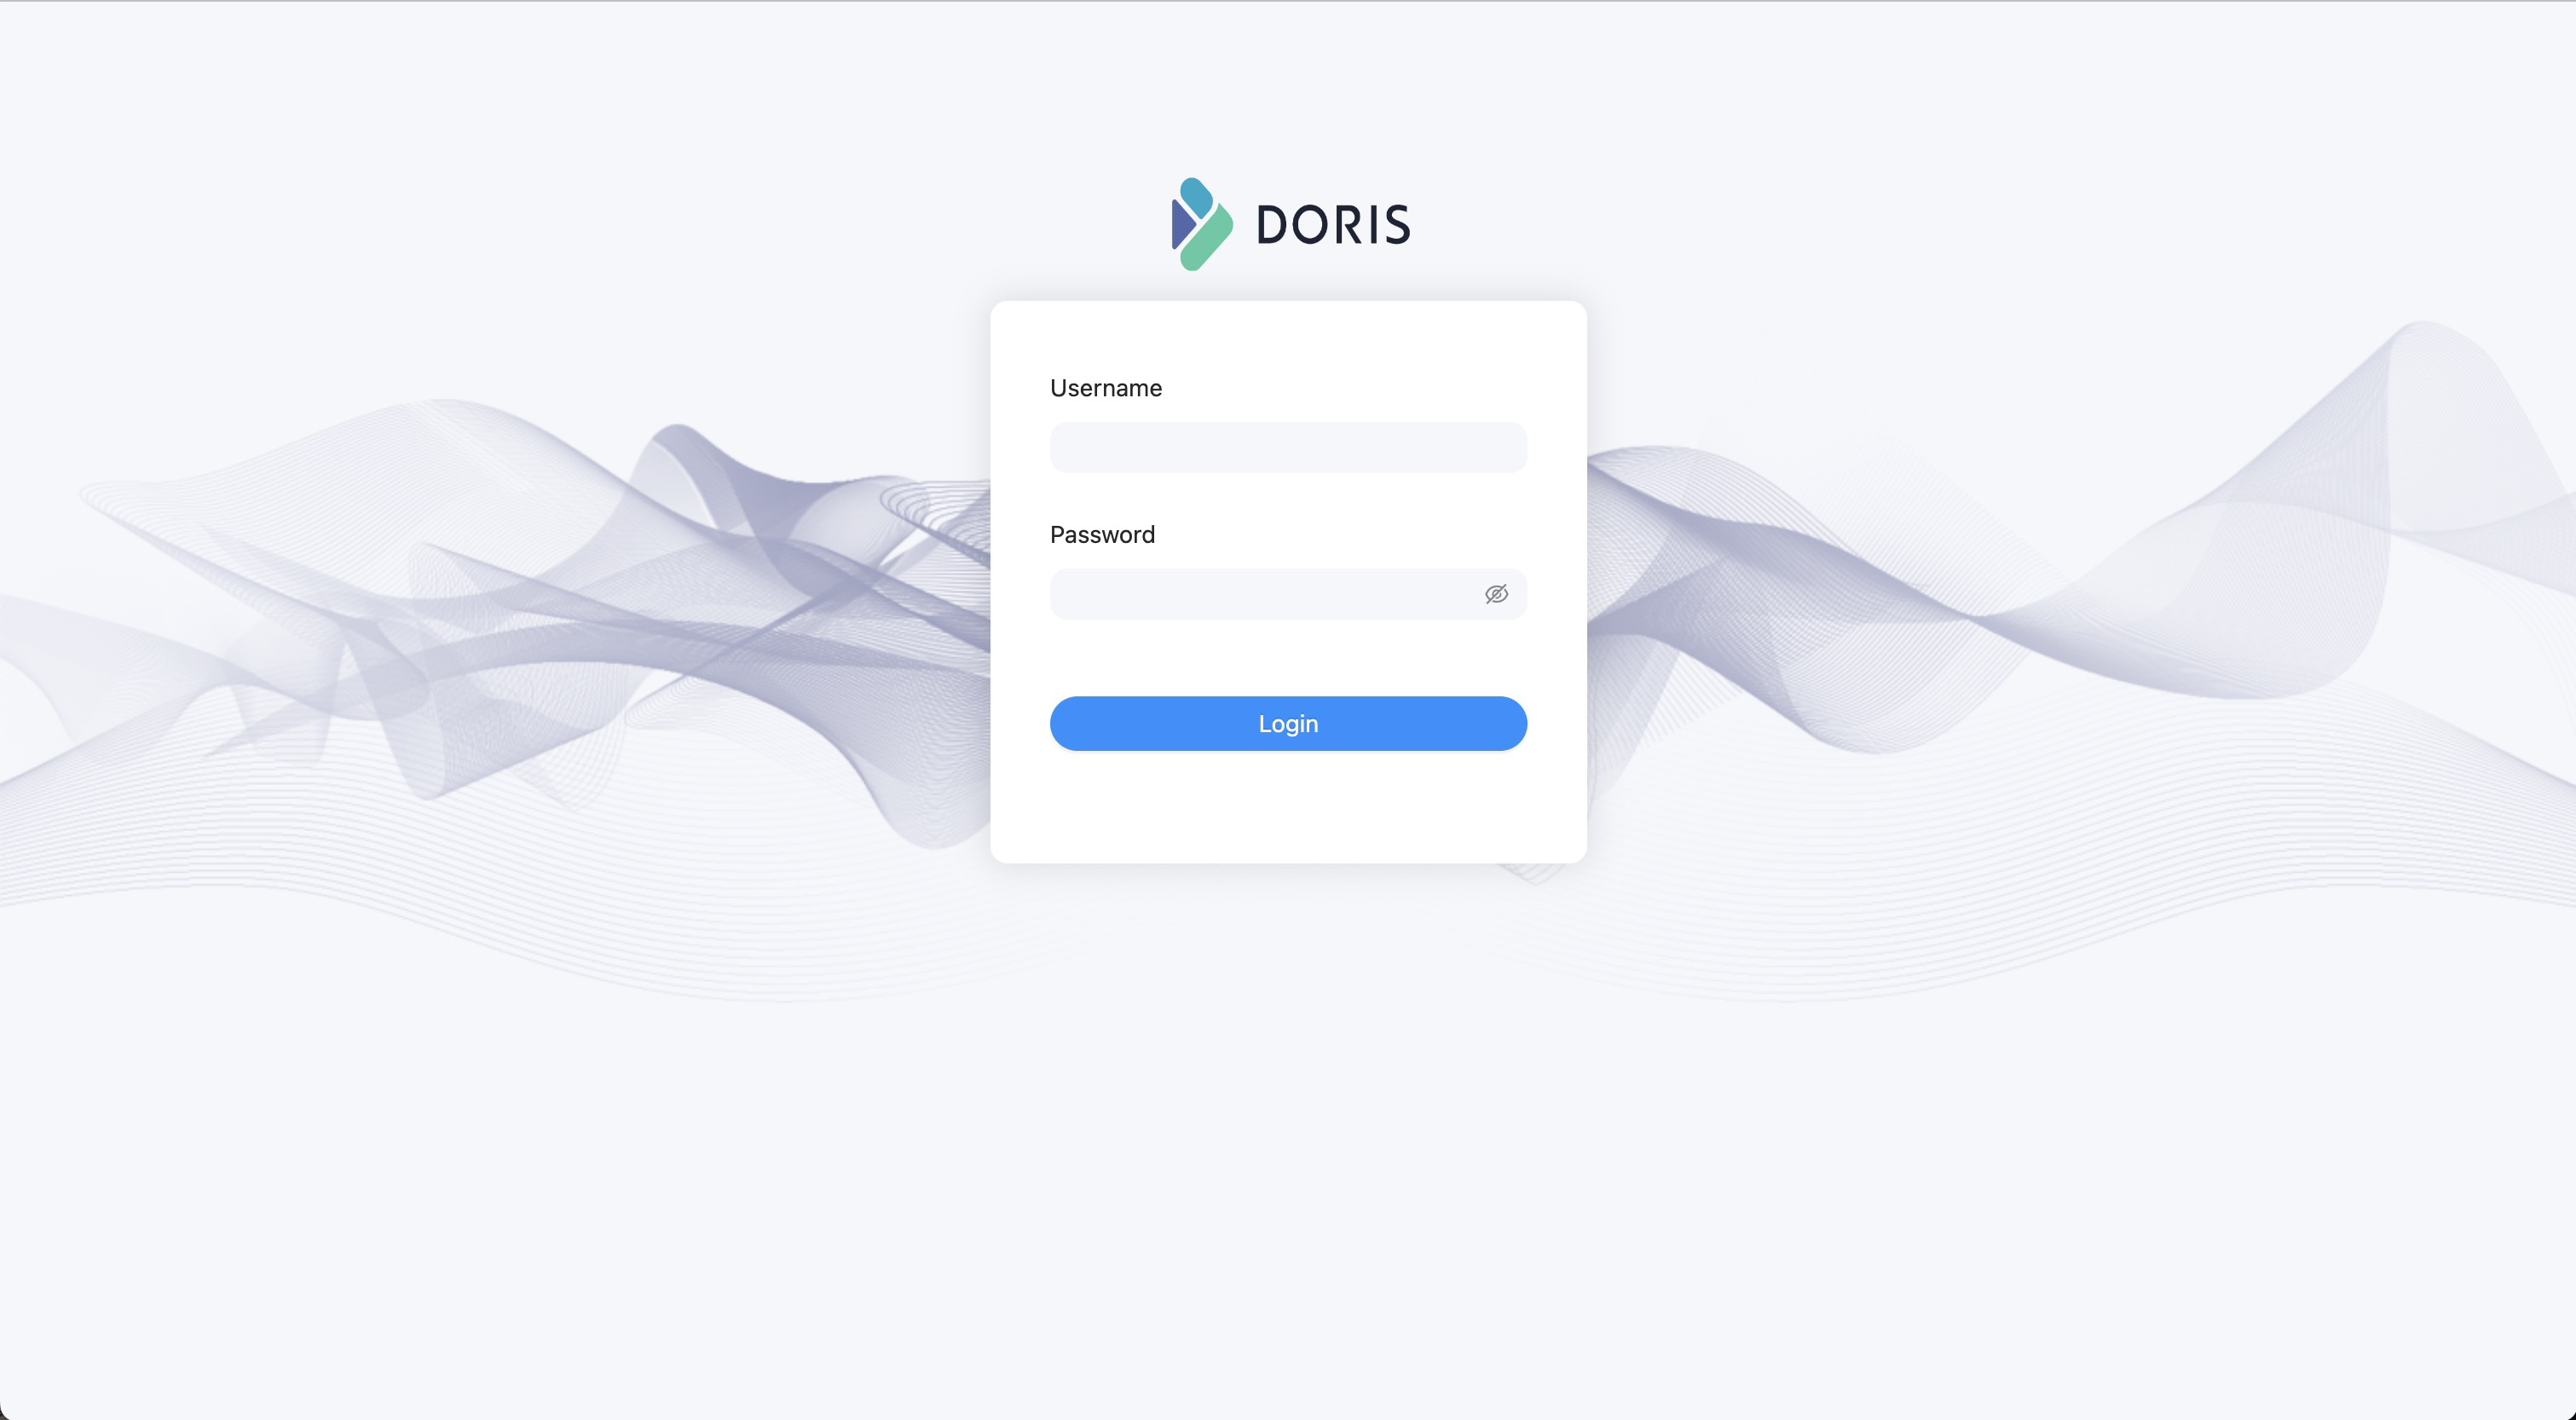
The WebUI is based on JDBC and Rest API capabilities, allowing you to perform data operations and manage clusters among other features. To use the WebUI, enter https:// fe_ip:8030 in a networked environment. The following page is displayed, it has started successfully.
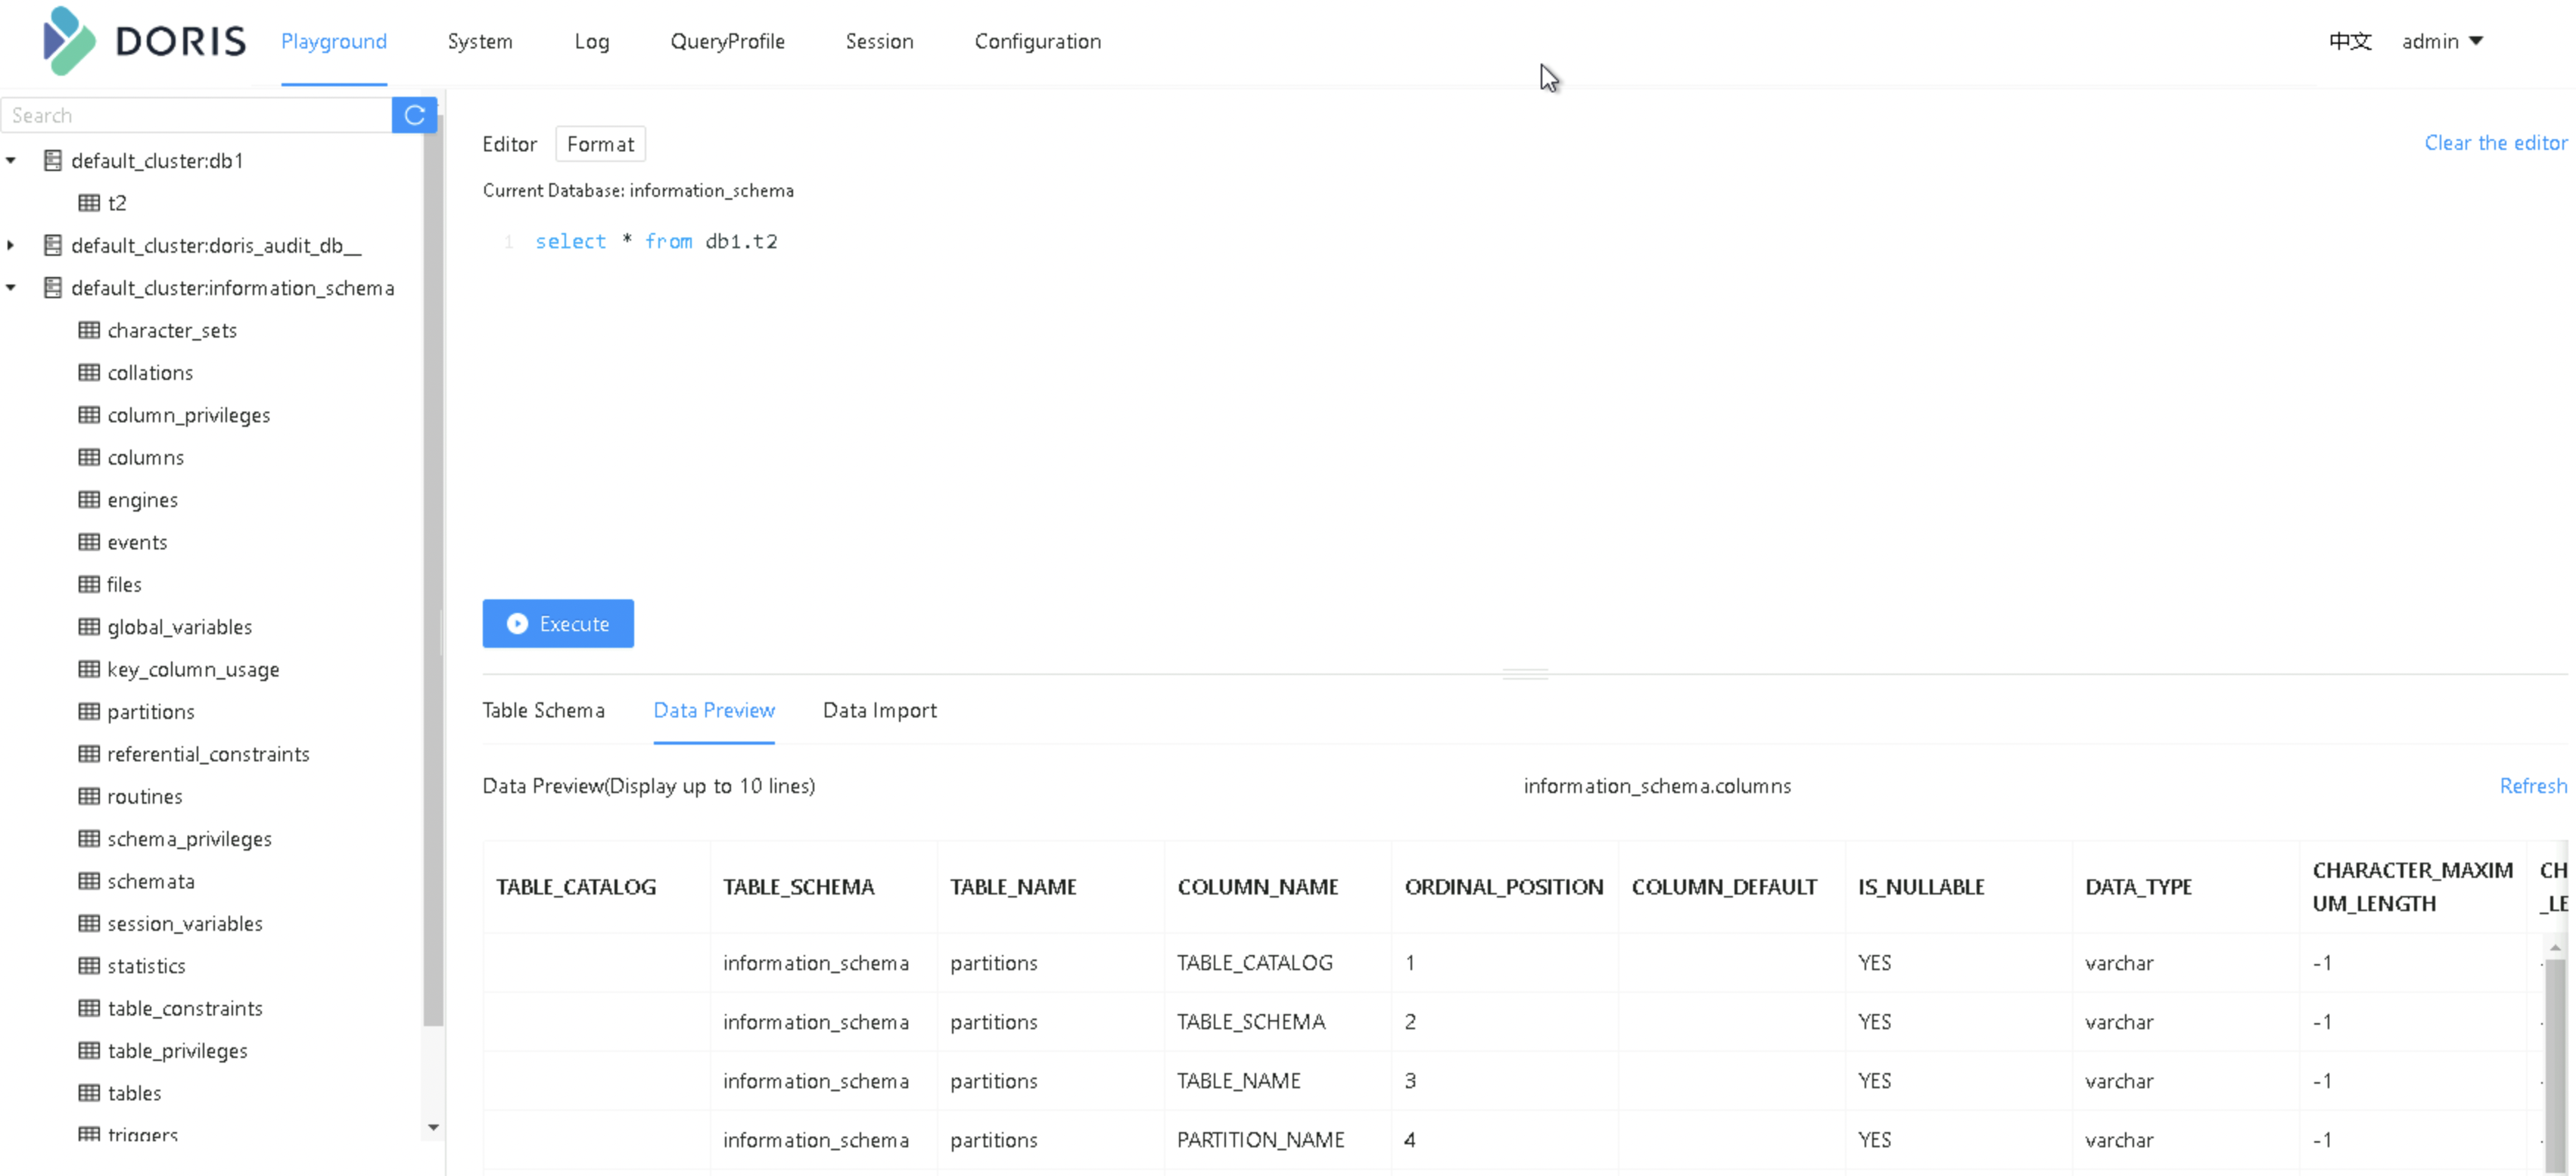
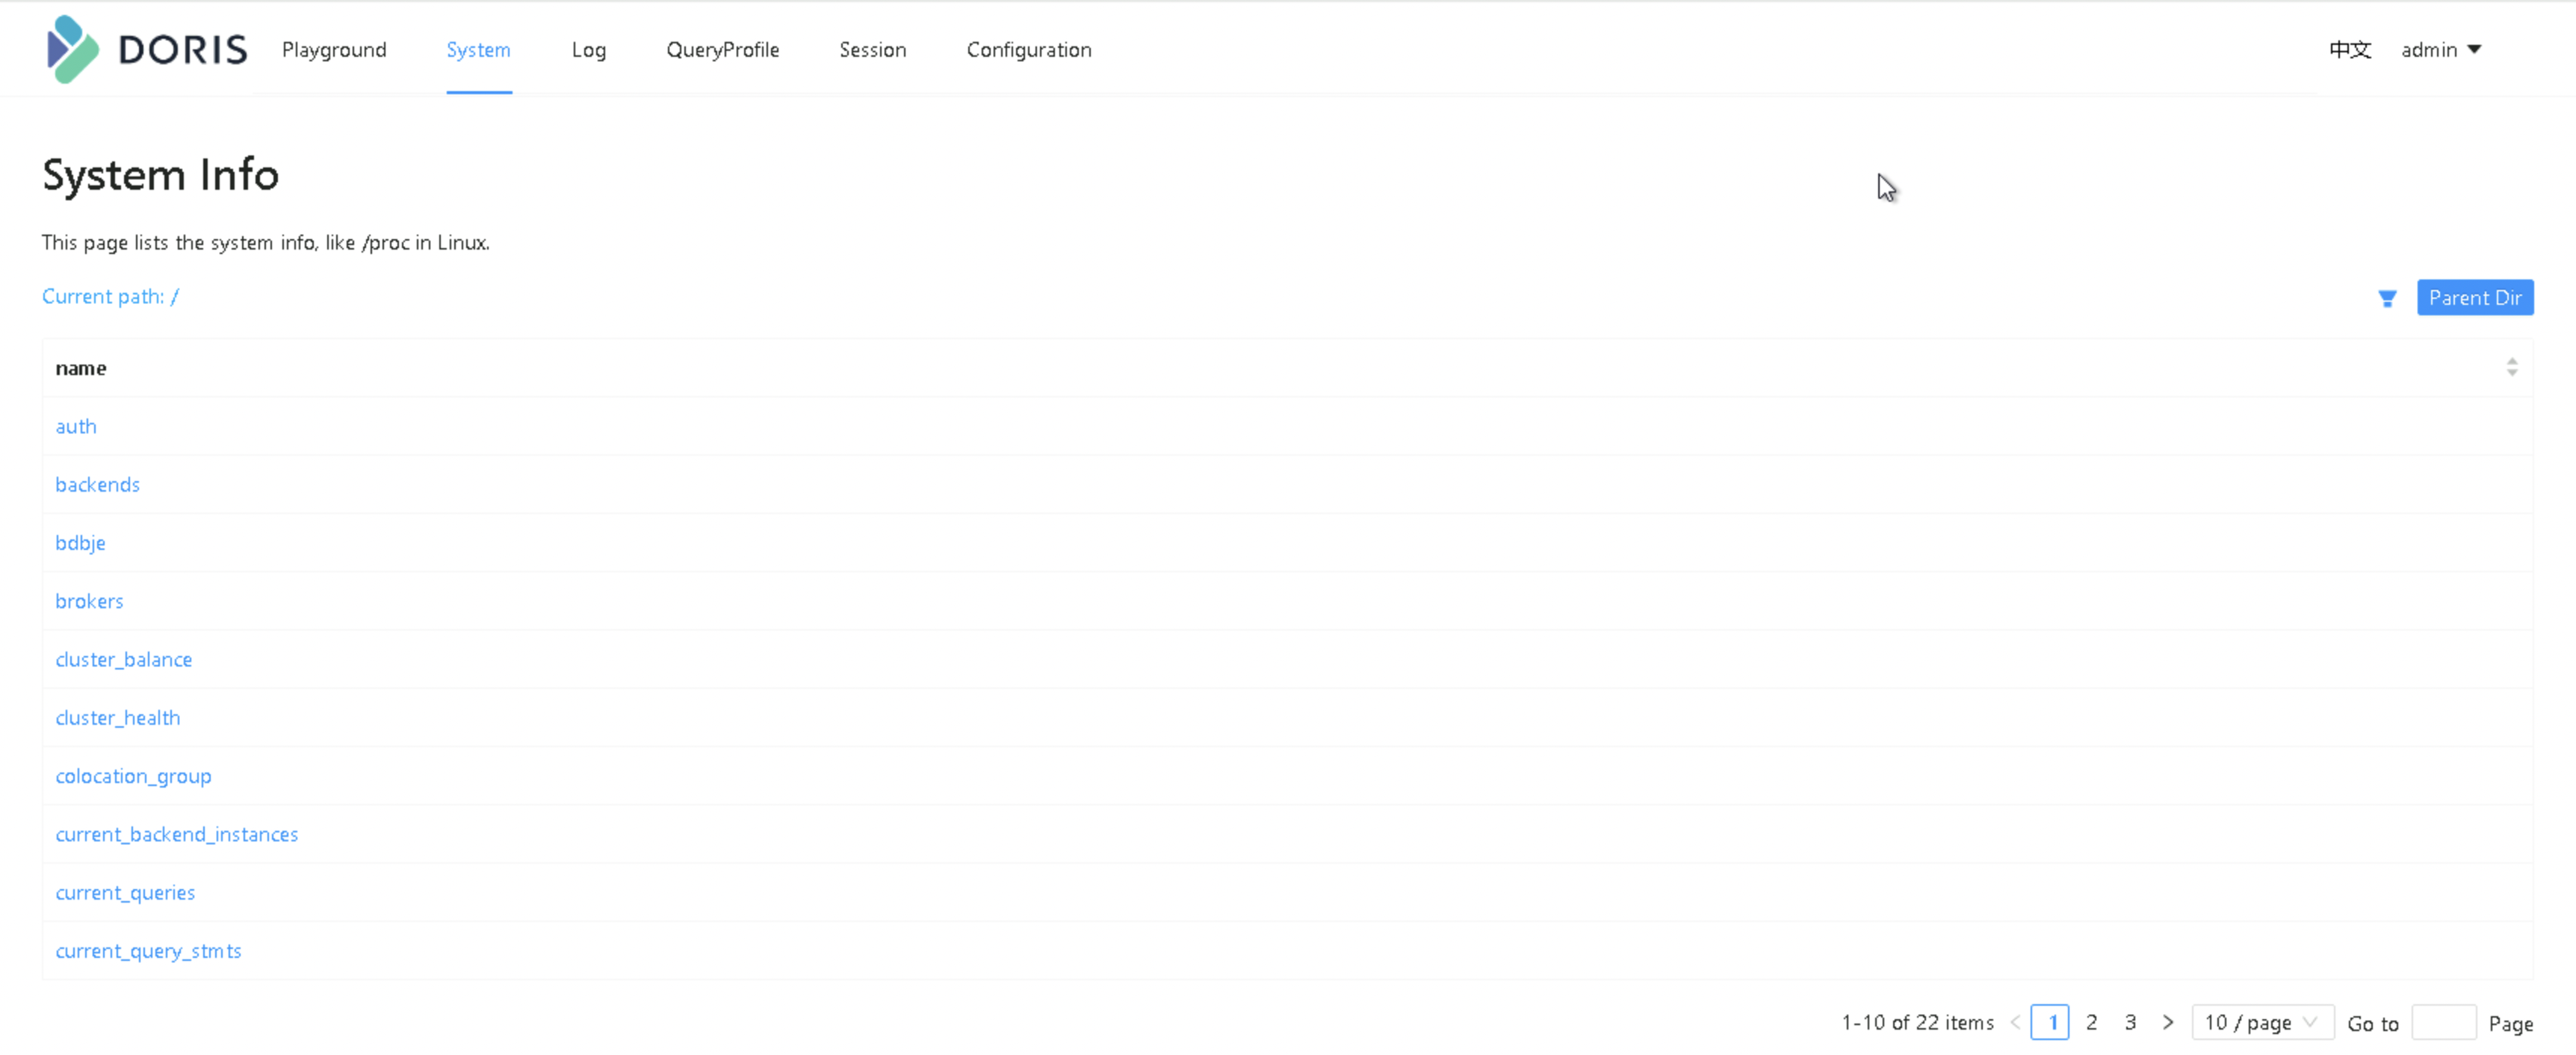
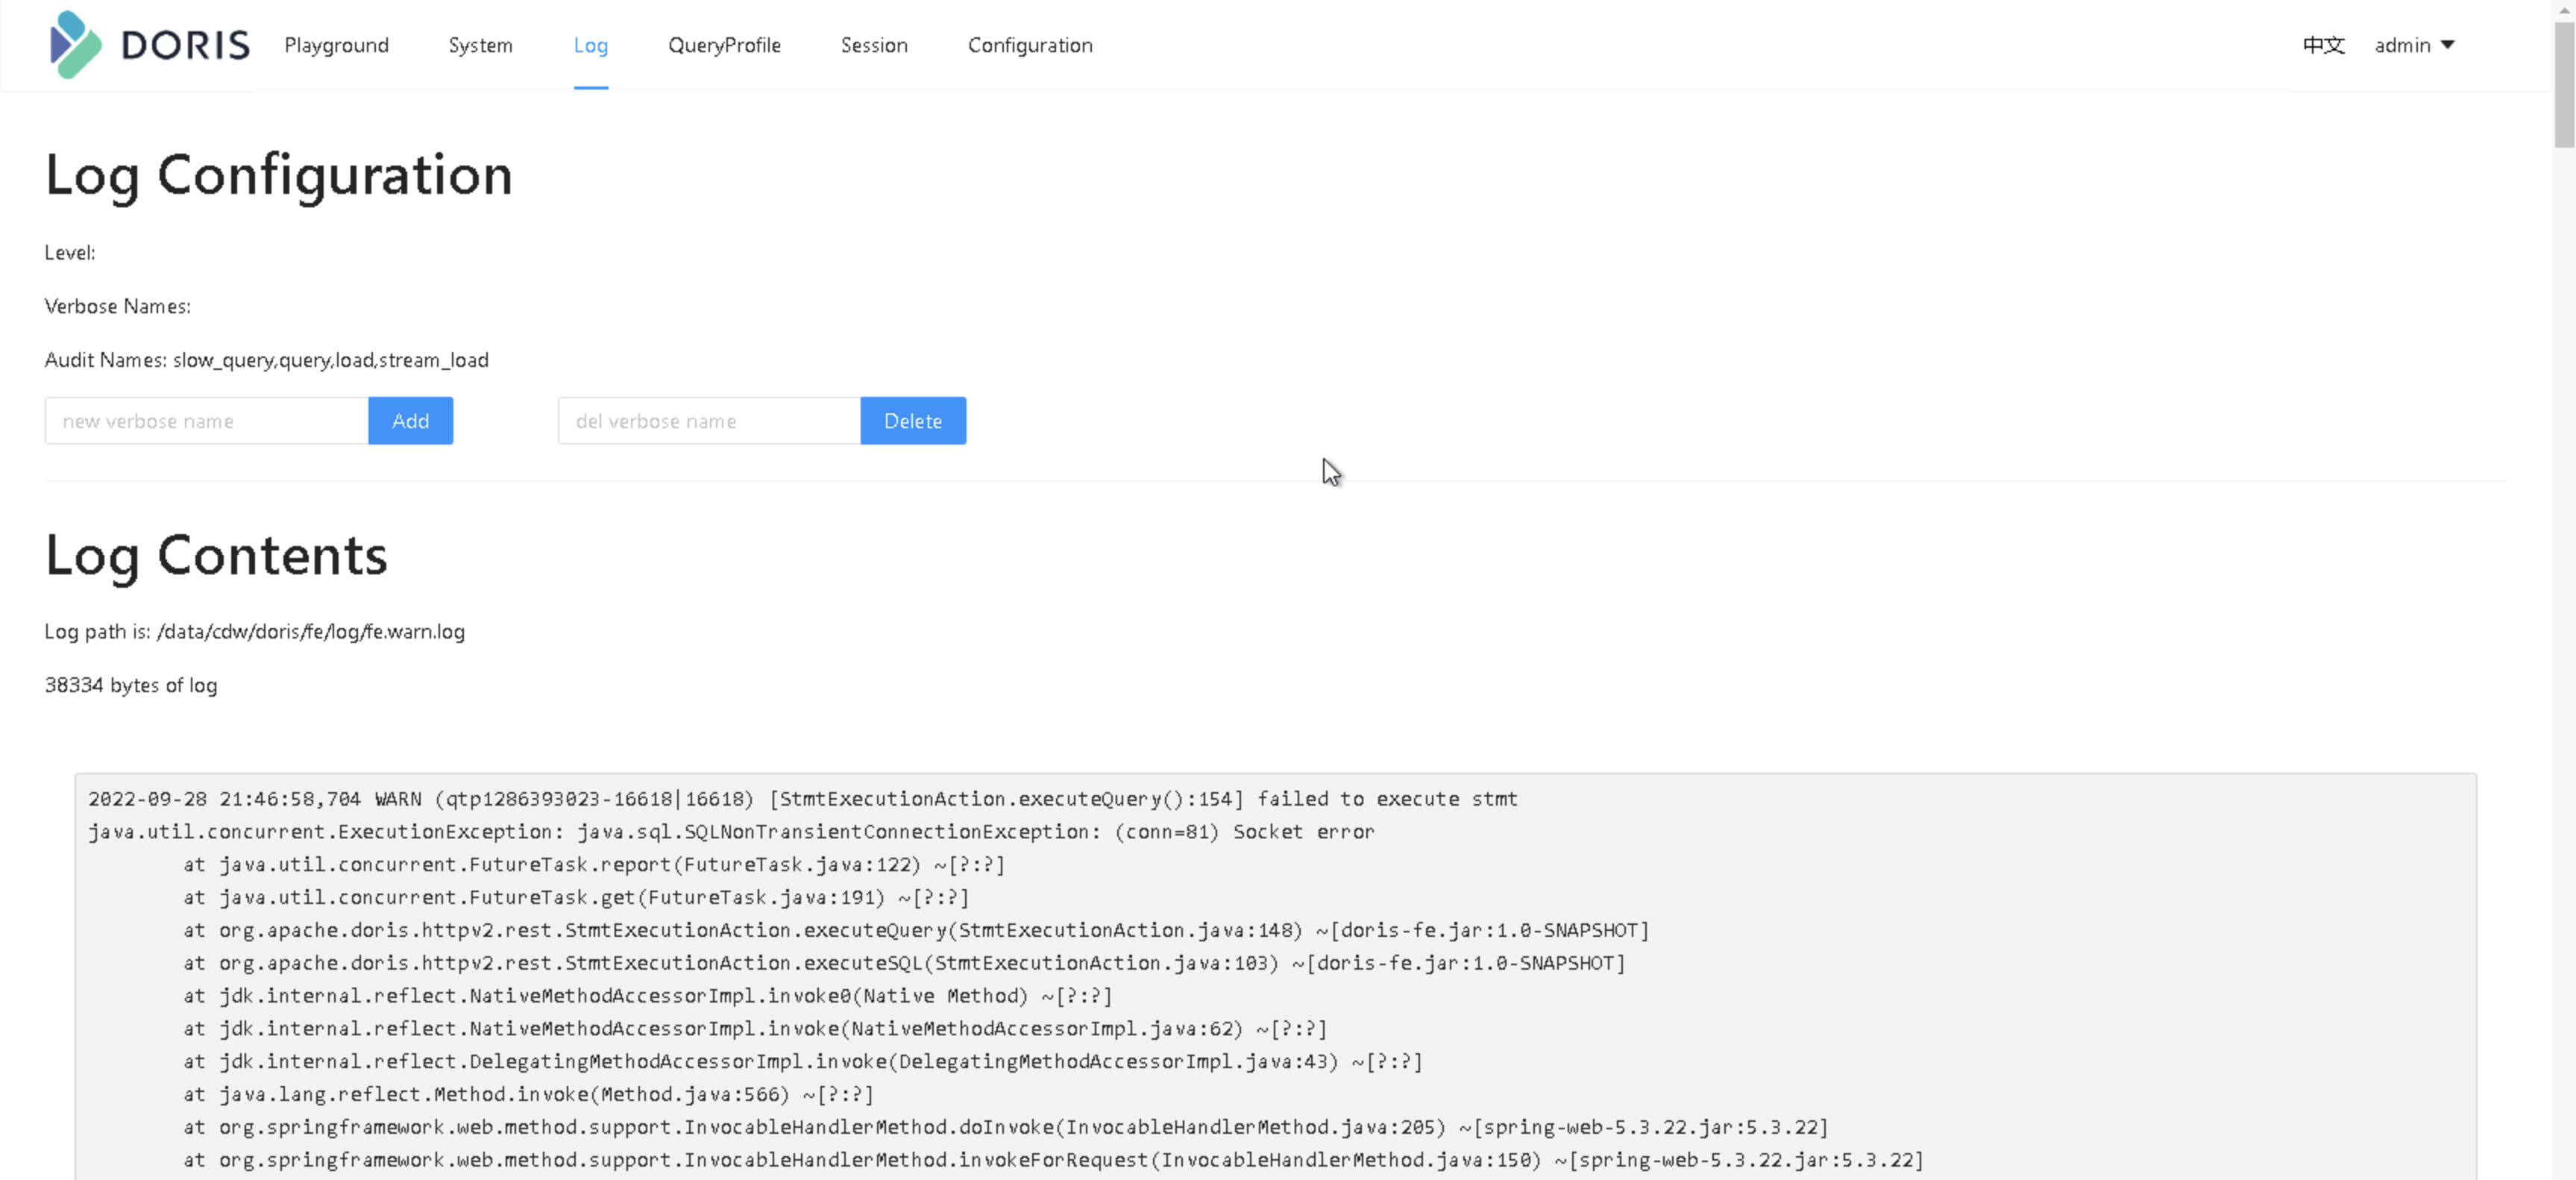
The WebUI is composed of several function pages including Playgroud, System, Log, QueryProfile, Session, and Configuration.
Playground provides an SQL query editor for executing various SQL commands. The left side displays all databases and their tables in a tree-like structure. You can double-click on a table name to check the metadata and sample data of the table. After you click on Data Import, data can be uploaded from local storage.
The System page provides various system information about the cluster.
The Log page provides features for displaying and managing the FE logs.
The QueryProfile page displays SQL recorded in the profile, where you can check the overall SQL as well as the execution plan and runtime data for each instance.
The Session page displays information about all active sessions.
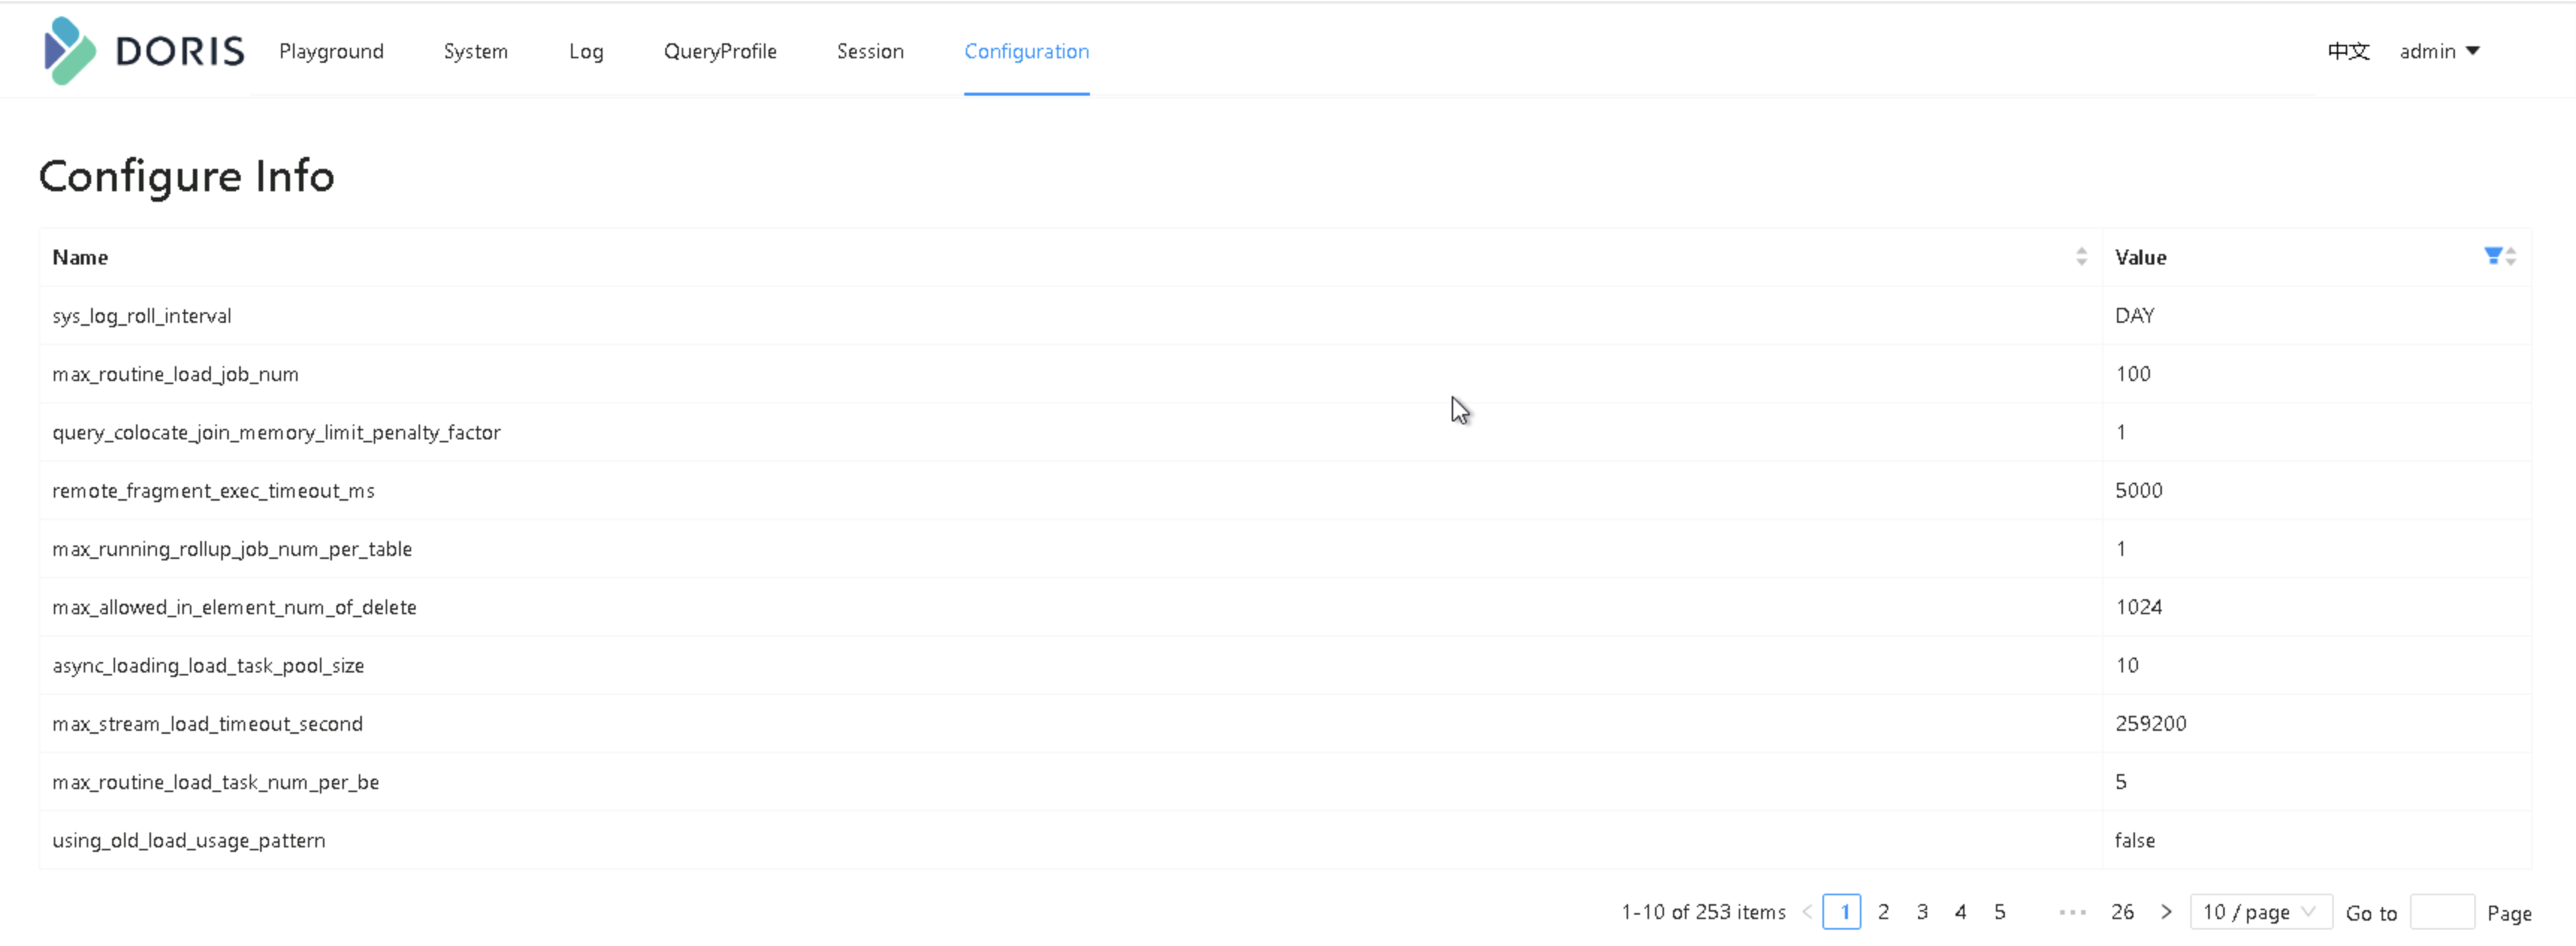
The Configuration page provides all configuration information of the FE, offering a filtering feature in the configuration value column.