- 动态与公告
- 产品简介
- 购买指南
- 新手指引
- Demo 体验
- 视频通话(含 UI)
- 组件介绍(TUICallKit)
- 开通服务(TUICallKit)
- 跑通 Demo(TUICallKit)
- 快速接入(TUICallKit)
- Chat 集成通话能力(TUICallKit)
- 界面定制(TUICallKit)
- 离线唤醒(TUICallKit)
- AI 降噪(TUICallKit)
- 虚拟背景(TUICallKit)
- 会话聊天(TUICallKit)
- 云端录制(TUICallKit)
- 更多特性(TUICallKit)
- 解决方案(TUICallKit)
- 服务端 API(TUICallKit)
- 客户端 API(TUICallKit)
- 错误码表(TUICallkit)
- 发布日志(TUICallKit)
- 常见问题(TUICallKit)
- 多人会议(含 UI)
- 组件介绍(TUIRoomKit)
- 开通服务(TUIRoomKit)
- 跑通 Demo(TUIRoomKit)
- 快速接入(TUIRoomKit)
- 预定会议(TUIRoomKit)
- 会中呼叫(TUIRoomKit)
- 界面定制(TUIRoomKit)
- 虚拟背景(TUIRoomKit)
- 会议控制(TUIRoomKit)
- 云端录制(TUIRoomKit)
- AI 降噪(TUIRoomKit)
- 会中聊天(TUIRoomKit)
- 机器人推流(TUIRoomKit)
- 更多特性(TUIRoomKit)
- 客户端 API(TUIRoomKit)
- 服务端 API(TUIRoomKit)
- 常见问题(TUIRoomKit)
- 错误码 (TUIRoomKit)
- SDK更新日志(TUIRoomKit)
- 在线直播(含 UI)
- Live 视频直播计费说明
- 组件介绍(TUILiveKit)
- 开通服务(TUILiveKit)
- 跑通 Demo(TUILiveKit)
- 快速接入(TUILiveKit)
- 界面定制(TUILiveKit)
- 开播和观看(TUILiveKit)
- 房间列表(TUILiveKit)
- 关注主播(TUILiveKit)
- 主播连线(TUILiveKit)
- 主播 PK(TUILiveKit)
- 观众连麦(TUILiveKit)
- 互动弹幕(TUILiveKit)
- 互动礼物(TUILiveKit)
- 礼物特效(TUILiveKit)
- 美颜特效(TUILiveKit)
- 悬浮窗(TUILiveKit)
- 客户端API(TUILiveKit)
- 服务端 API(TUILiveKit)
- 错误码(TUILiveKit)
- 发布日志(TUILiveKit)
- 常见问题(TUILiveKit)
- 语音聊天室(含 UI)
- 无 UI 集成
- 高级功能
- 服务端 API
- 控制台指南
- 解决方案
- 常见问题
- 旧版文档
- 协议与策略
- TRTC 政策
- 词汇表
本文将介绍如何在短时间内完成 TUILiveKit 组件的接入,跟随本文档,您将在一小时内完成如下几个关键步骤,并最终得到一个包含完备 UI 界面的视频或语音直播功能。
环境准备
Xcode 15 及以上。
iOS 13.0 及以上。
CocoaPods 环境安装,点击查看。
如果您的接入和使用中遇到问题,请参见 常见问题。
步骤一:开通服务
步骤二:导入 TUILiveKit 组件
1. 请在您的
Podfile 文件中添加 pod 'TUILiveKit' 依赖,如果您遇到任何问题,请参见 Example 工程。target 'xxxx' do......pod 'TUILiveKit'end
如果您没有
Podfile 文件,首先终端cd 到xxxx.xcodeproj目录,然后通过以下命令创建:pod init
2. 在终端中,首先
cd到Podfile目录下,然后执行以下命令,安装组件。pod install
如果无法安装 TUILiveKit 最新版本,可以先删除 Podfile.lock 和 Pods。然后执行以下命令更新本地的 CocoaPods 仓库列表。
pod repo update
之后执行以下命令,更新组件库的 Pod 版本。
pod update
步骤三:工程配置
使用音视频功能,需要授权麦克风和摄像头的使用权限。在 App 的 Info 中添加以下两项,分别对应麦克风和摄像头在系统弹出授权对话框时的提示信息。
<key>NSCameraUsageDescription</key><string>TUILiveKit需要访问你的相机权限,开启后录制的视频才会有画面</string><key>NSMicrophoneUsageDescription</key><string>TUILiveKit需要访问您的麦克风权限,开启后录制的视频才会有声音</string>

步骤四:登录
在您的项目中添加如下代码,它的作用是通过调用 TUICore 中的相关接口完成 TUI 组件的登录。这个步骤异常关键,因为只有在登录成功后才能正常使用 TUILiveKit 的各项功能,故请您耐心检查相关参数是否配置正确:
//// AppDelegate.swift//import TUICorefunc application(_ application: UIApplication, didFinishLaunchingWithOptions launchOptions: [UIApplication.LaunchOptionsKey: Any]?) -> Bool {TUILogin.login(1400000001, // 请替换为步骤一取到的 SDKAppIDuserID: "denny", // 请替换为您的 UserIDuserSig: "xxxxxxxxxxx") { // 您可以在控制台中计算一个 UserSig 并填在这个位置print("login success")} fail: { (code, message) inprint("login failed, code: \\(code), error: \\(message ?? "nil")")}return true}
//// AppDelegate.m//#import <TUICore/TUILogin.h>- (BOOL)application:(UIApplication *)application didFinishLaunchingWithOptions:(NSDictionary *)launchOptions {[TUILogin login:1400000001 // 请替换为步骤一取到的 SDKAppIDuserID:@"denny" // 请替换为您的 UserIDuserSig:@"xxxxxxxxxxx" // 您可以在控制台中计算一个 UserSig 并填在这个位置succ:^{NSLog(@"login success");} fail:^(int code, NSString * _Nullable msg) {NSLog(@"login failed, code: %d, error: %@", code, msg);}];return YES;}
参数说明
这里详细介绍一下 login 函数中所需要用到的几个关键参数:
SDKAppID:在 开通服务 中您已经获取到,这里不再赘述。
UserID:当前用户的 ID,字符串类型,只允许包含英文字母(a-z 和 A-Z)、数字(0-9)、连词符(-)和下划线(_)。
UserSig:使用 开通服务 获取的 SDKSecretKey 对 SDKAppID、UserID 等信息进行加密,就可以得到 UserSig,它是一个鉴权用的票据,用于腾讯云识别当前用户是否能够使用 TRTC 的服务。您可以通过控制台左侧项目栏中的 UserSig 工具,创建一个临时可用的 UserSig。
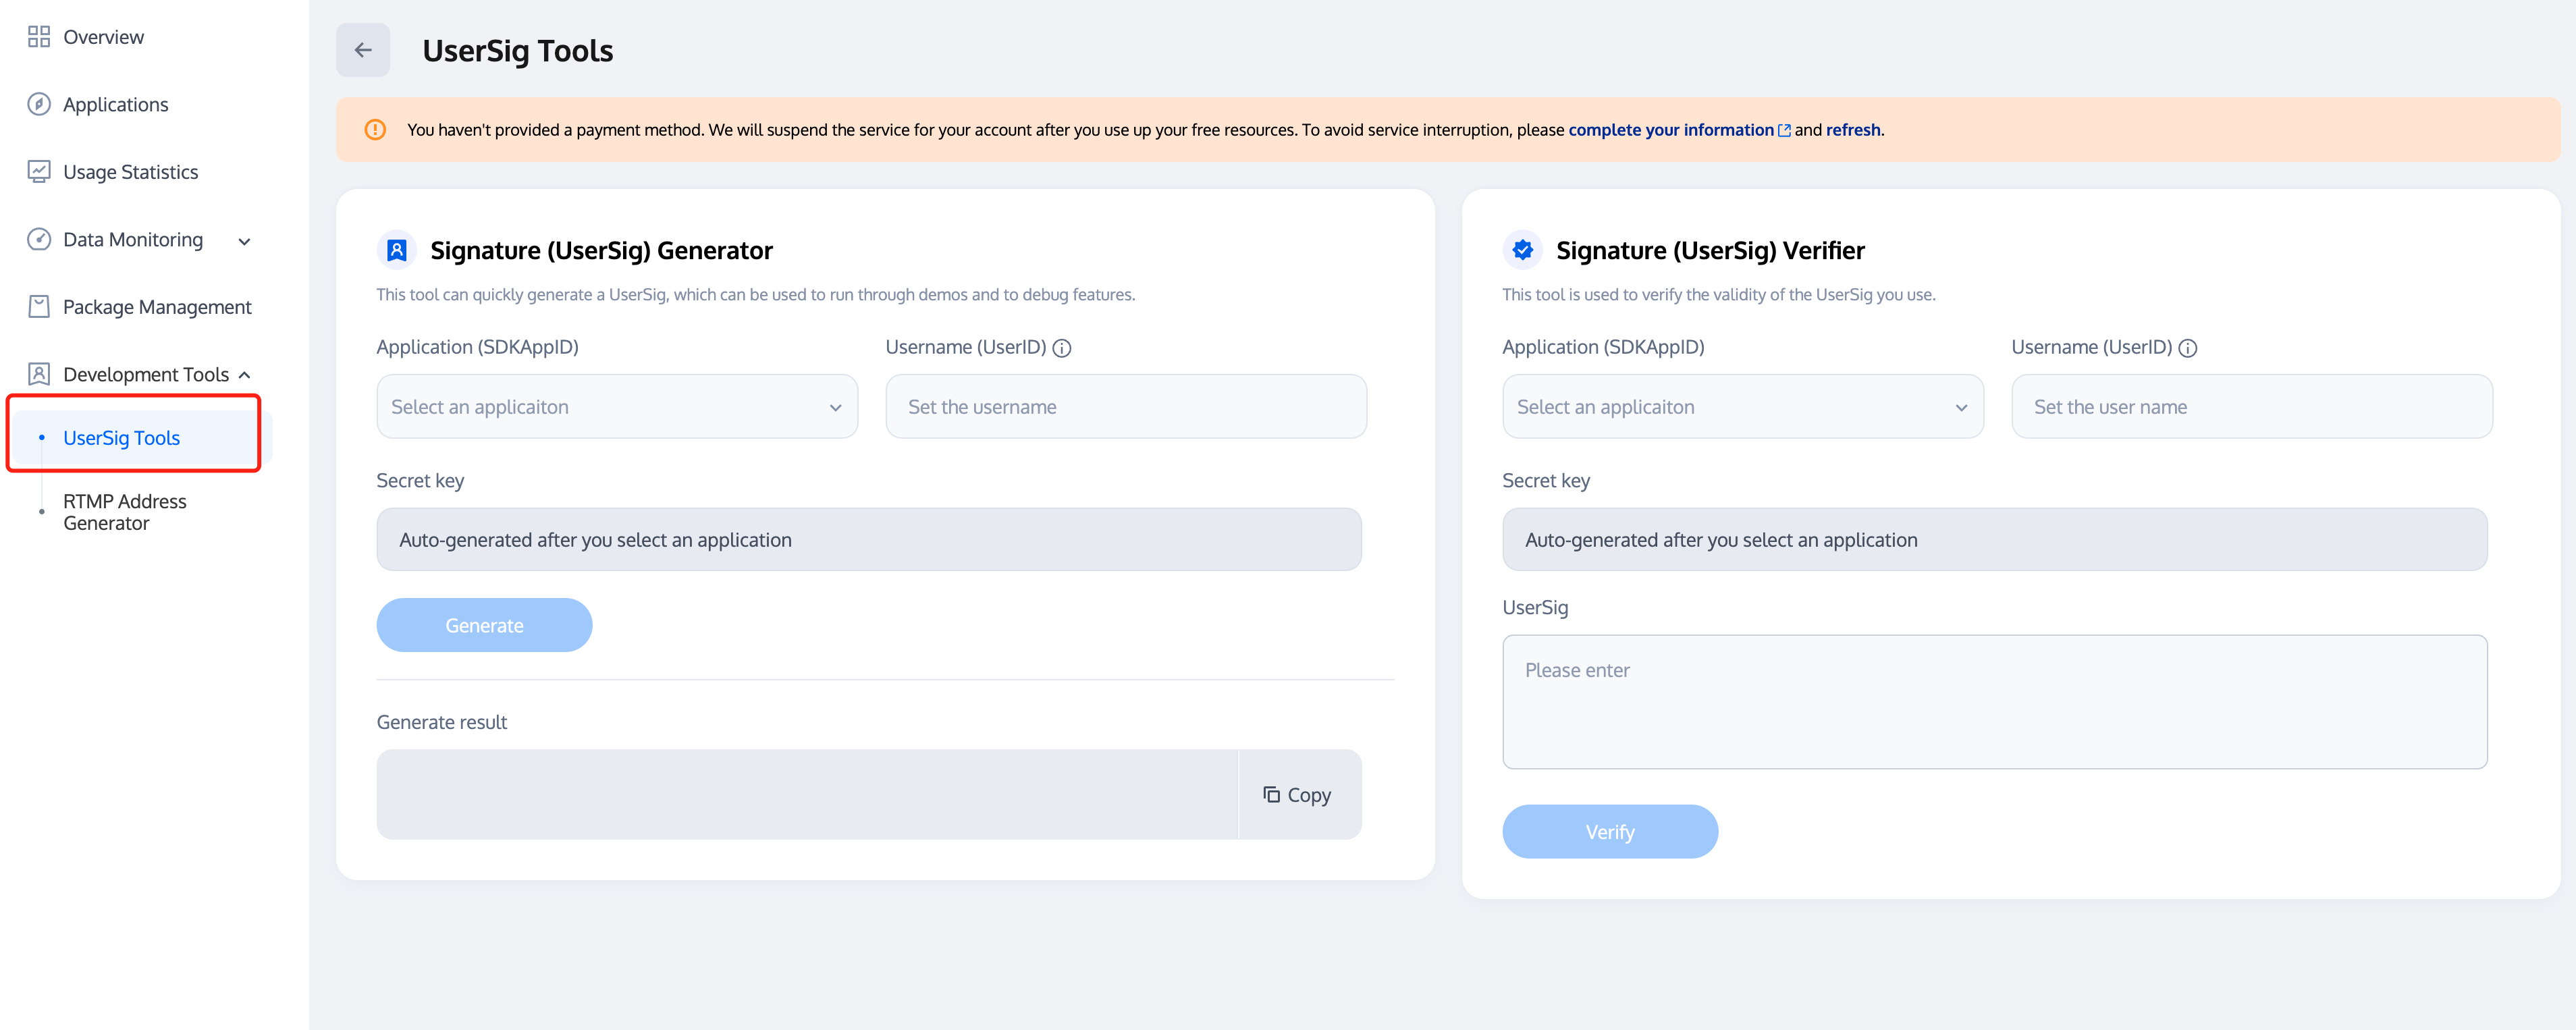
更多信息请参见 如何计算及使用 UserSig。
注意:
这个步骤也是目前我们收到的开发者反馈最多的步骤,常见问题如下:
SDKAppID 设置错误。
userSig 被错配成了加密密钥(Secretkey),userSig 是用 SecretKey 把 SDKAppID、userID 以及过期时间等信息加密得来的,而不是直接把 SecretKey 配置成 userSig。
userSig 被设置成“1”、“123”、“111”等简单字符串,由于 TRTC 不支持同一个 UserID 多端登录,所以在多人协作开发时,形如 “1”、“123”、“111” 这样的 userID 很容易被您的同事占用,导致登录失败,因此我们建议您在调试的时候设置一些辨识度高的 userID。
Github 中的示例代码使用了 genTestUserSig 函数在本地计算 userSig 是为了更快地让您跑通当前的接入流程,但该方案会将您的 SecretKey 暴露在 App 的代码当中,这并不利于您后续升级和保护您的 SecretKey,所以我们强烈建议您将 userSig 的计算逻辑放在服务端进行,并由 App 在每次使用 TUILiveKit 组件时向您的服务器请求实时计算出的 userSig。
步骤五:开始直播
import TUILiveKitVideoLiveKit.createInstance().startLive(roomId: "your room id")
#import <TUILiveKit/TUILiveKit-Swift.h>[[VideoLiveKit createInstance] startLiveWithRoomId:@"your room id"];
直播预览 | 直播中(主播界面) |
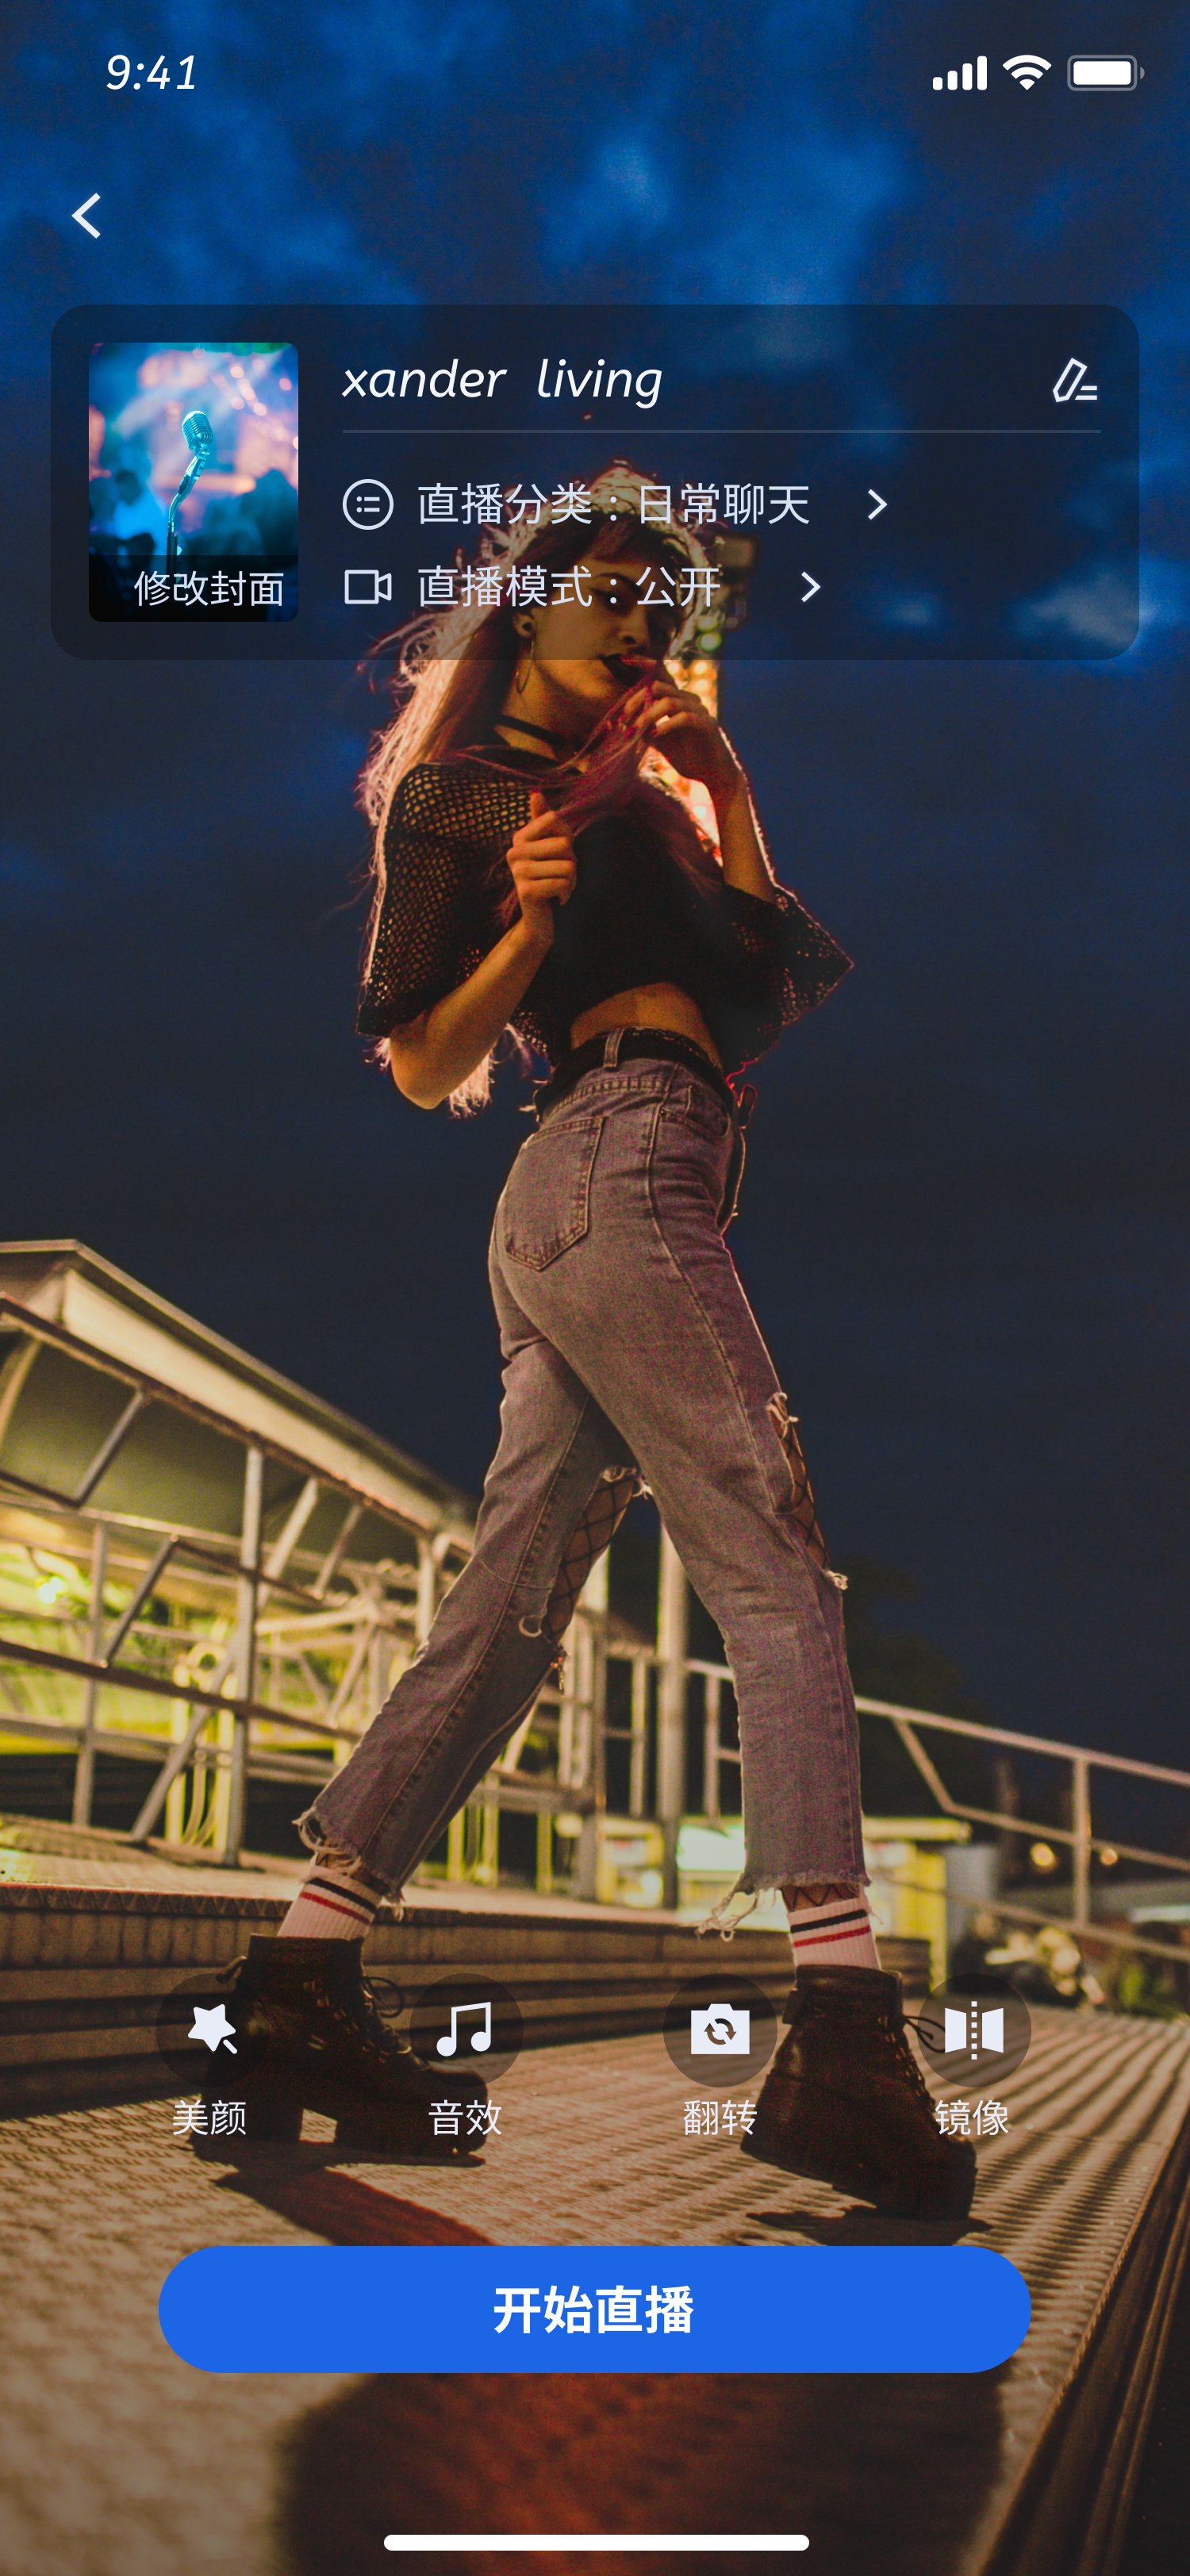 视频直播预览画面 | 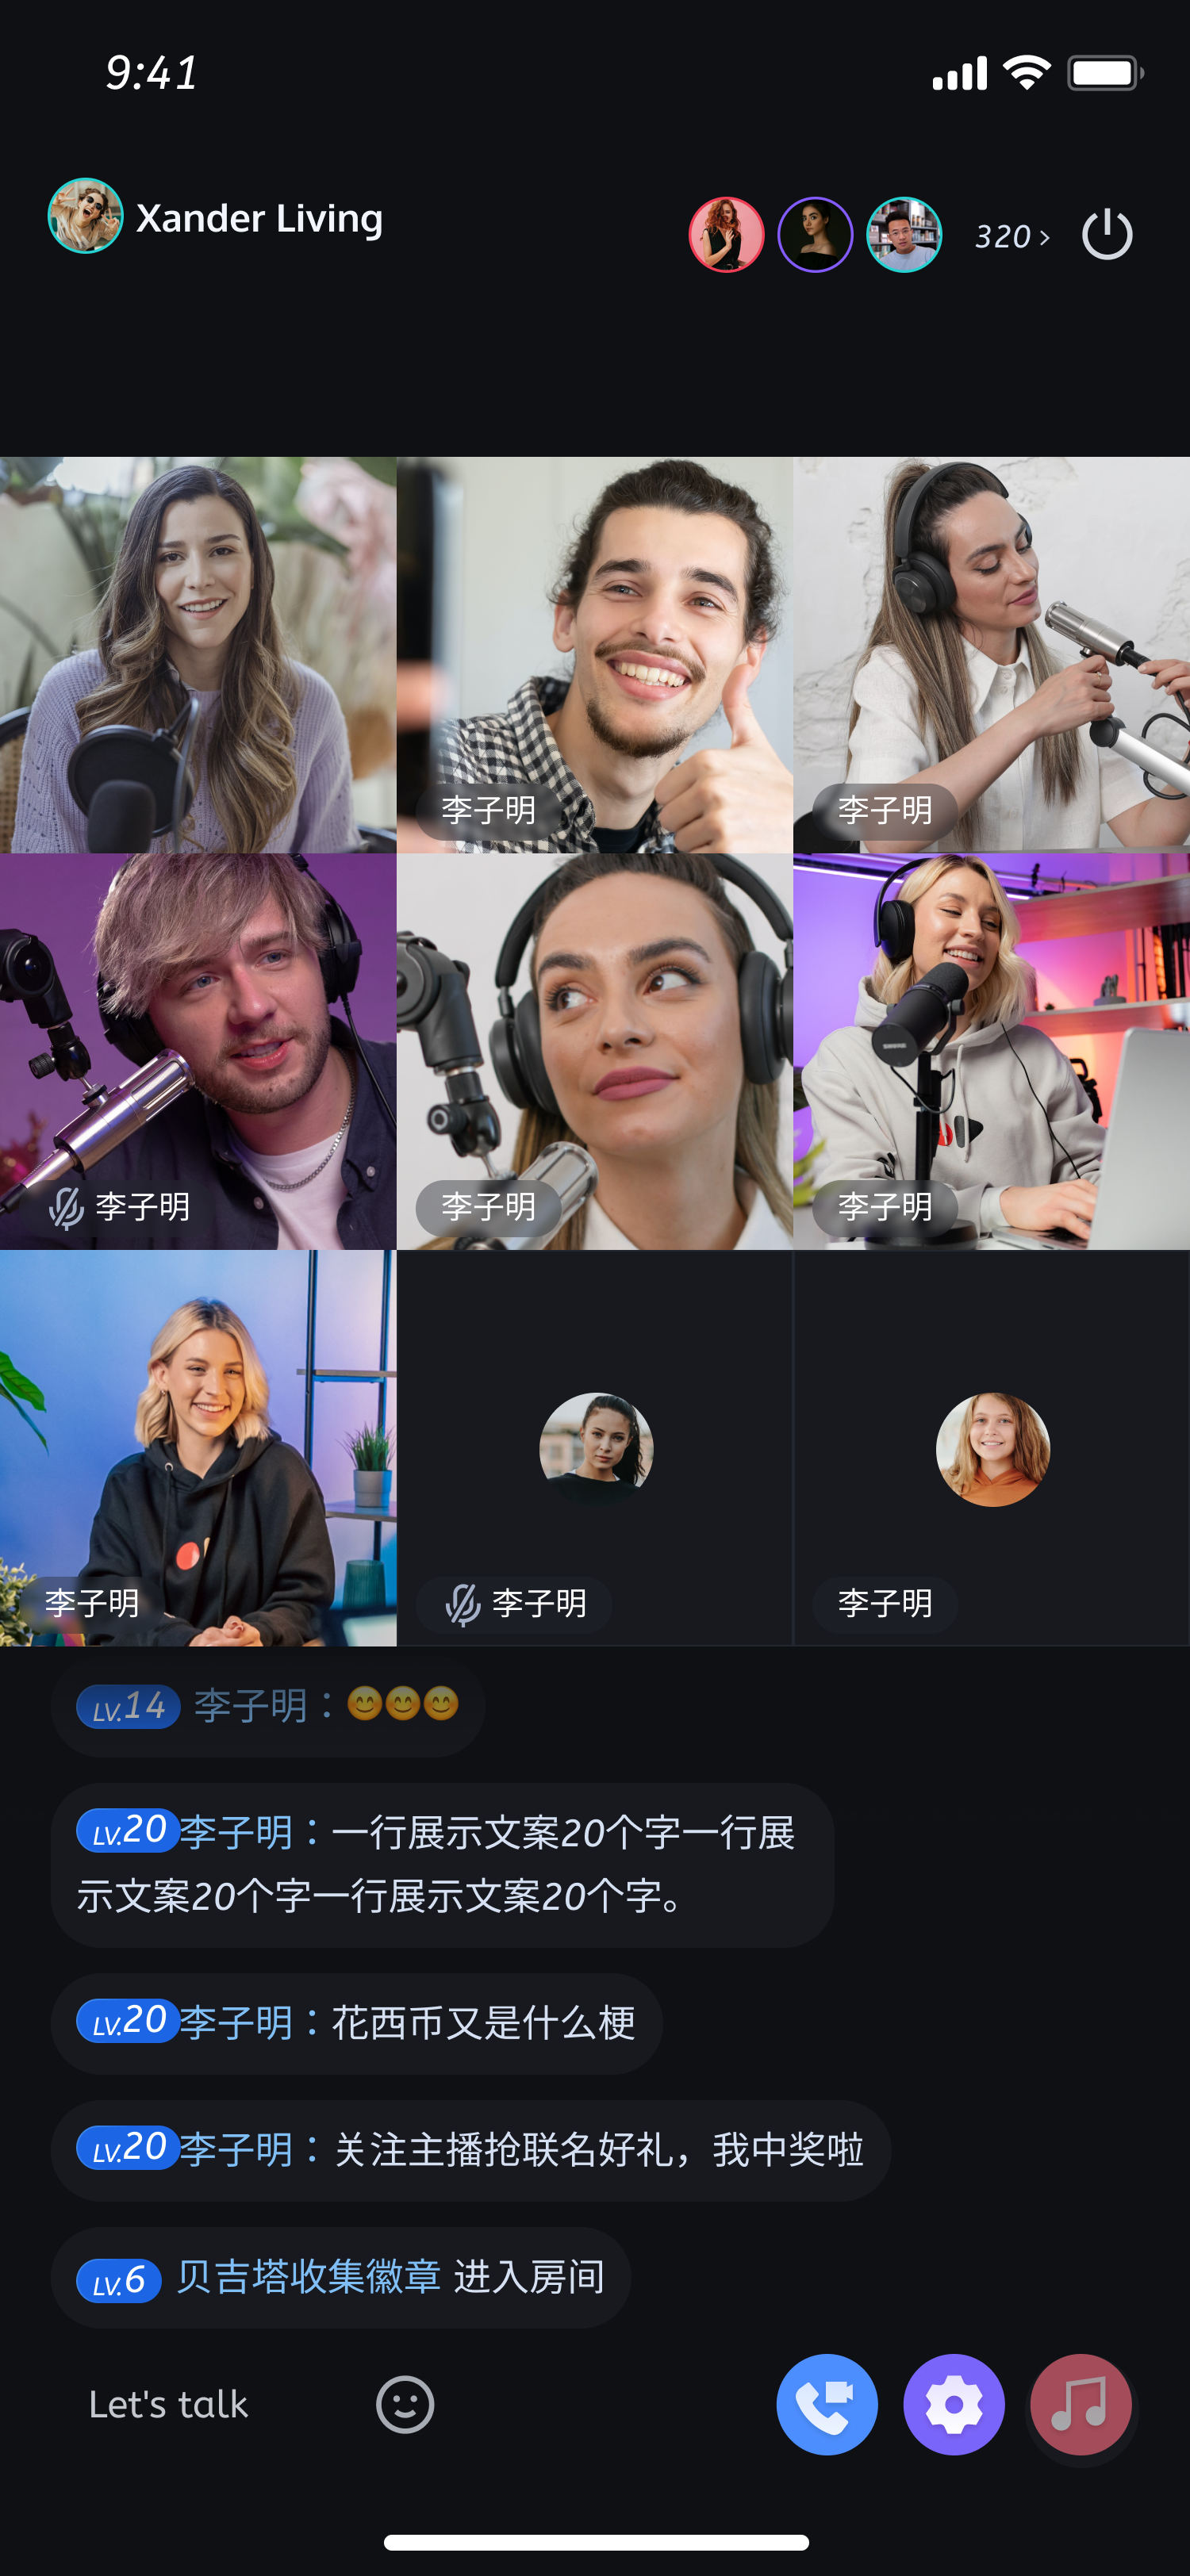 视频直播中画面 |
步骤六:观看直播
import UIKitimport TUILiveKitVideoLiveKit.createInstance().joinLive(roomId: "your room id")
#import <TUILiveKit/TUILiveKit-Swift.h>[[VideoLiveKit createInstance] joinLiveWithRoomId:@"your room id"];
观看直播 | 观众连麦 |
 视频直播间 | 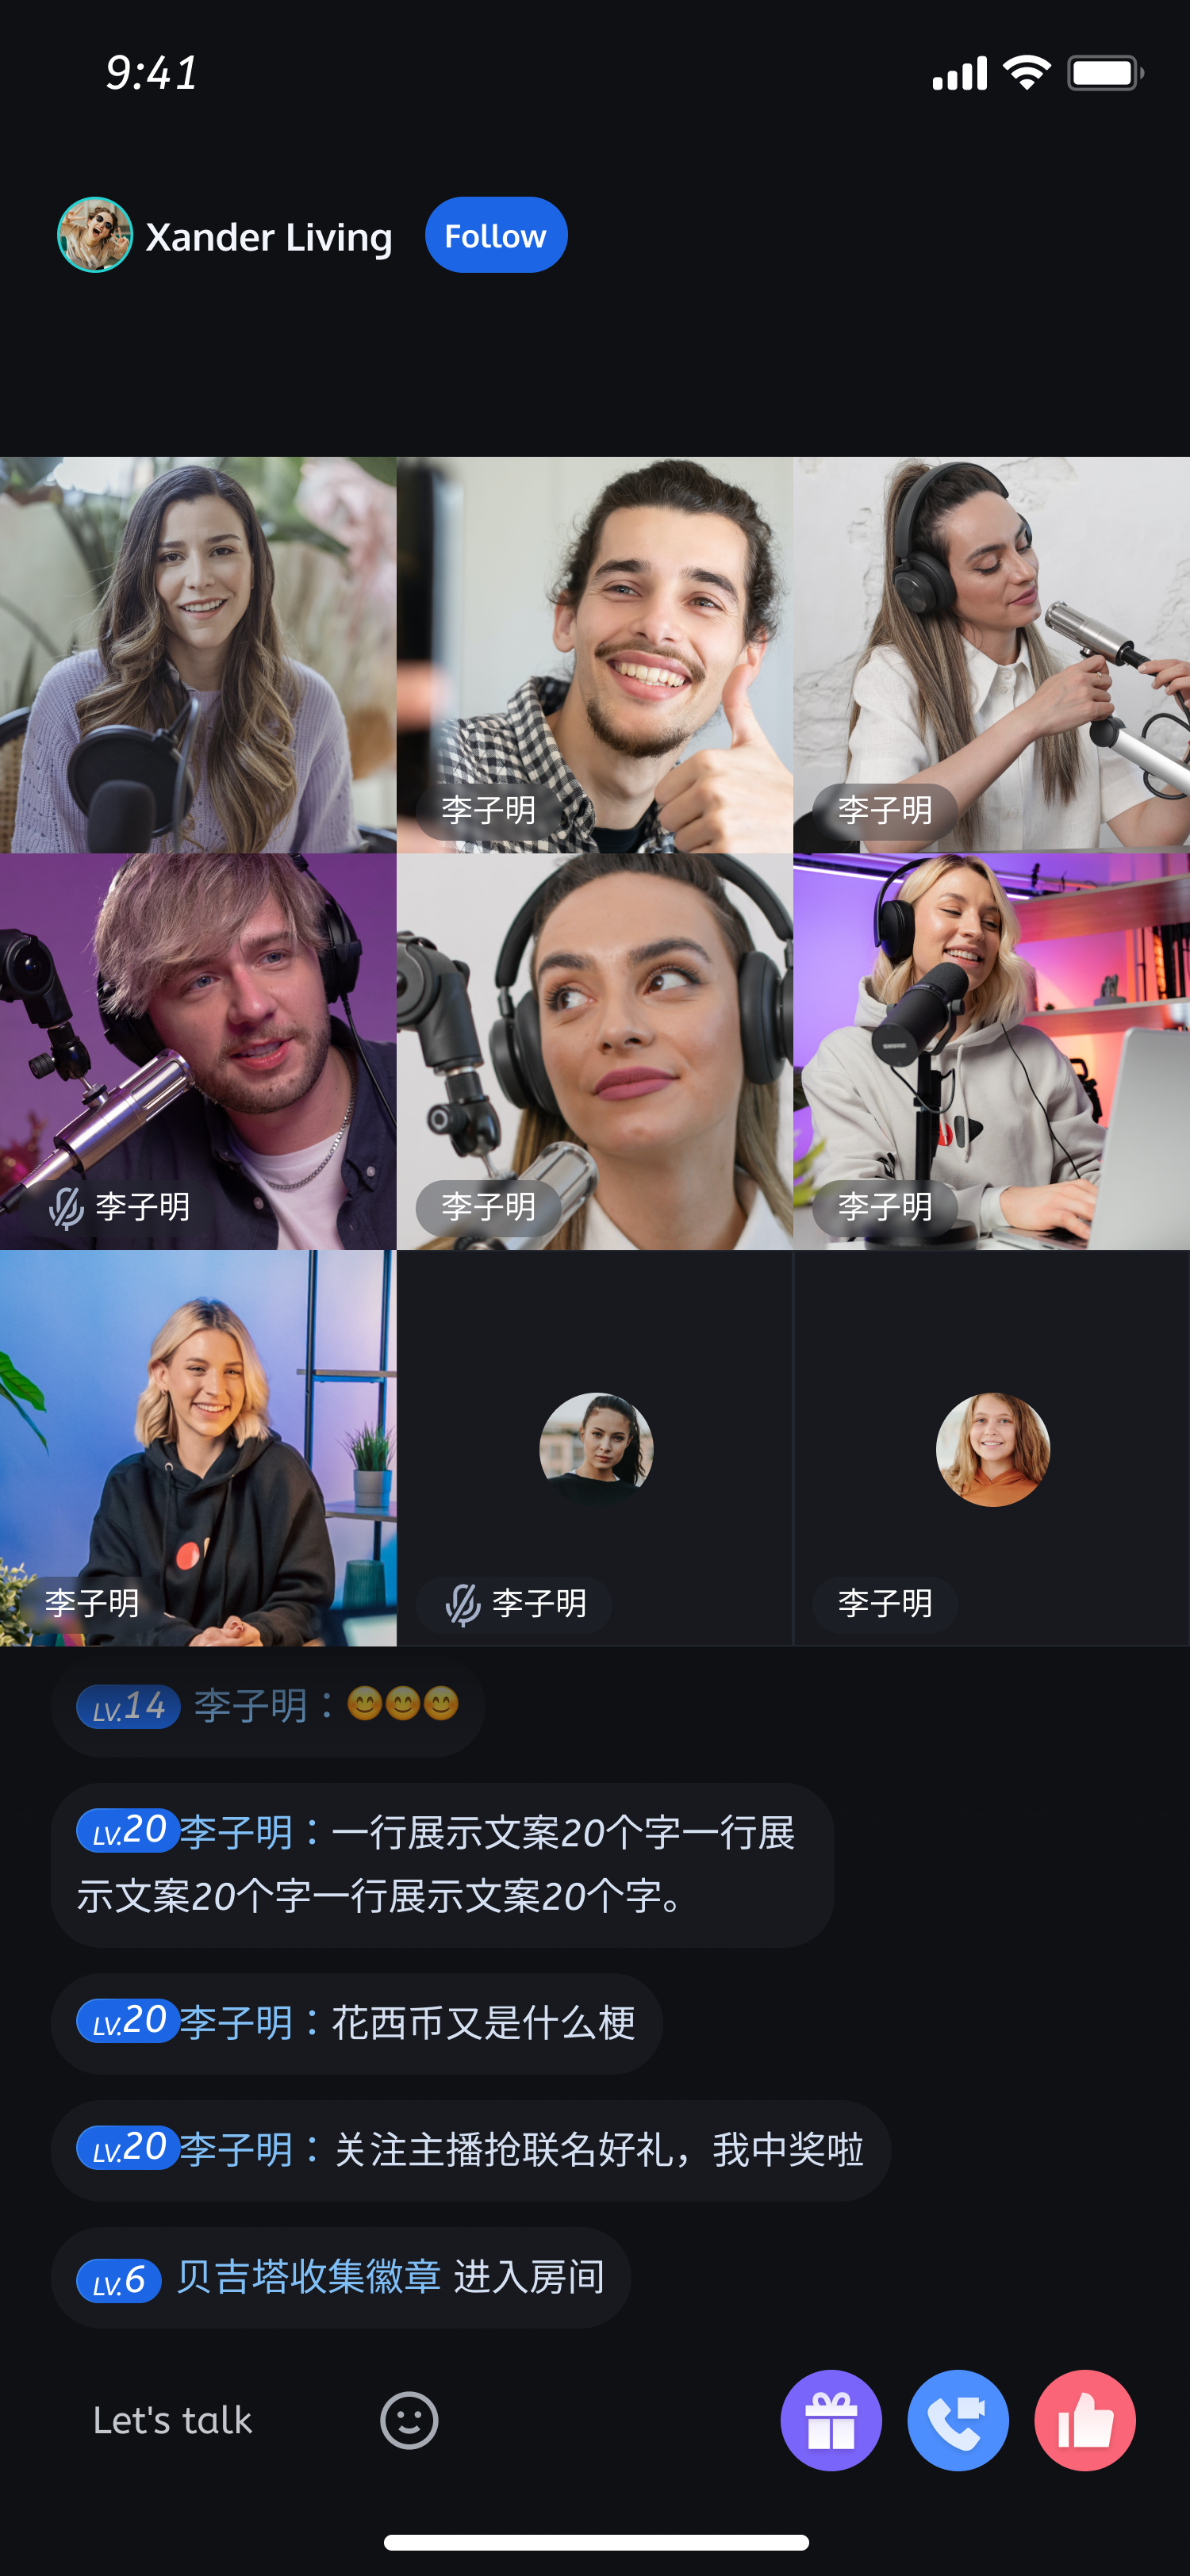 视频直播间 |
更多特性
房间列表
关注主播
主播连线
观众连麦
互动弹幕
互动礼物
礼物特效
美颜特效
常见问题
交流与反馈
如果有任何需要或者反馈,您可以联系:info_rtc@tencent.com。

 是
是
 否
否
本页内容是否解决了您的问题?