- 动态与公告
- 产品简介
- 购买指南
- 新手指引
- Demo 体验
- 视频通话(含 UI)
- 组件介绍(TUICallKit)
- 开通服务(TUICallKit)
- 跑通 Demo(TUICallKit)
- 快速接入(TUICallKit)
- Chat 集成通话能力(TUICallKit)
- 界面定制(TUICallKit)
- 离线唤醒(TUICallKit)
- AI 降噪(TUICallKit)
- 虚拟背景(TUICallKit)
- 会话聊天(TUICallKit)
- 云端录制(TUICallKit)
- 更多特性(TUICallKit)
- 解决方案(TUICallKit)
- 服务端 API(TUICallKit)
- 客户端 API(TUICallKit)
- 错误码表(TUICallkit)
- 发布日志(TUICallKit)
- 常见问题(TUICallKit)
- 多人会议(含 UI)
- 组件介绍(TUIRoomKit)
- 开通服务(TUIRoomKit)
- 跑通 Demo(TUIRoomKit)
- 快速接入(TUIRoomKit)
- 屏幕共享(TUIRoomKit)
- 预定会议(TUIRoomKit)
- 会中呼叫(TUIRoomKit)
- 界面定制(TUIRoomKit)
- 虚拟背景(TUIRoomKit)
- 会议控制(TUIRoomKit)
- 云端录制(TUIRoomKit)
- AI 降噪(TUIRoomKit)
- 会中聊天(TUIRoomKit)
- 机器人推流(TUIRoomKit)
- 更多特性(TUIRoomKit)
- 客户端 API(TUIRoomKit)
- 服务端 API(TUIRoomKit)
- 常见问题(TUIRoomKit)
- 错误码 (TUIRoomKit)
- SDK更新日志(TUIRoomKit)
- 在线直播(含 UI)
- Live 视频直播计费说明
- 组件介绍(TUILiveKit)
- 开通服务(TUILiveKit)
- 跑通 Demo(TUILiveKit)
- 快速接入(TUILiveKit)
- 界面定制(TUILiveKit)
- 开播和观看(TUILiveKit)
- 房间列表(TUILiveKit)
- 关注主播(TUILiveKit)
- 主播连线(TUILiveKit)
- 主播 PK(TUILiveKit)
- 观众连麦(TUILiveKit)
- 至臻画质(TUILiveKit)
- 互动弹幕(TUILiveKit)
- 互动礼物(TUILiveKit)
- 礼物特效(TUILiveKit)
- 美颜特效(TUILiveKit)
- 悬浮窗(TUILiveKit)
- 客户端 API(TUILiveKit)
- 服务端 API(TUILiveKit)
- 错误码(TUILiveKit)
- 发布日志(TUILiveKit)
- 常见问题(TUILiveKit)
- 语音聊天室(含 UI)
- 无 UI 集成
- 高级功能
- 服务端 API
- 控制台指南
- 解决方案
- 常见问题
- 旧版文档
- 协议与策略
- TRTC 政策
- 词汇表
为了帮助开发者在 Flutter 项目中轻松实现离线推送功能,我们推荐使用 TIMPush 插件(付费)。与在 Android 和 iOS 端单独进行集成相比,采用 TIMPush 插件具有以下优势:
接入周期短,预计全厂商接入仅需要 30 分钟。
支持数据统计和链路追踪,方便您查看推送触达率、点击率和转化率等各类指标。
支持全员/标签推送,方便您将营销广告、通知、新闻资讯等内容推送给所有用户或指定群体。
支持 uni-app 和 Flutter 等跨平台框架。
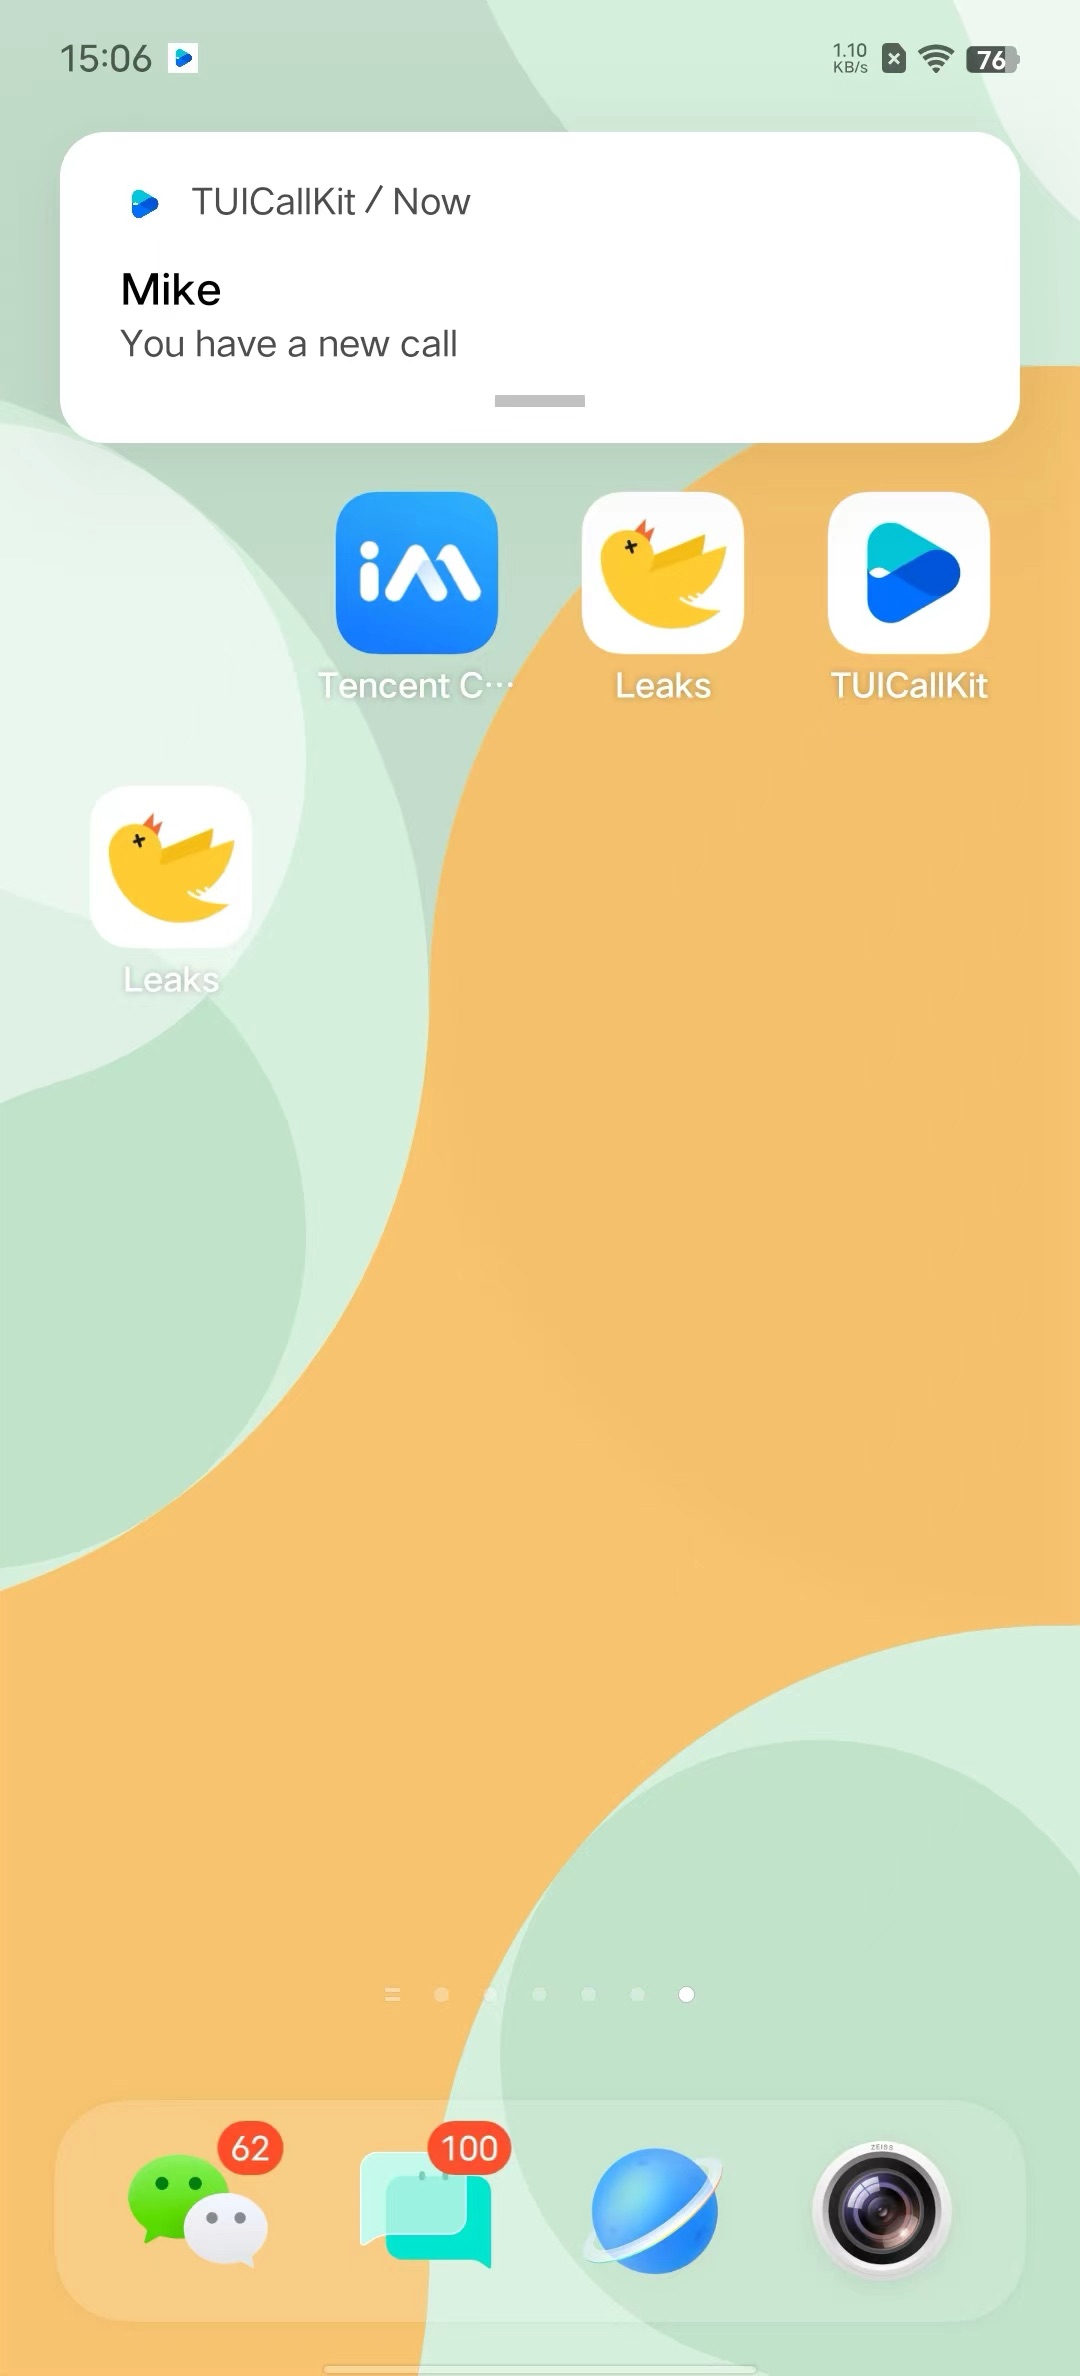
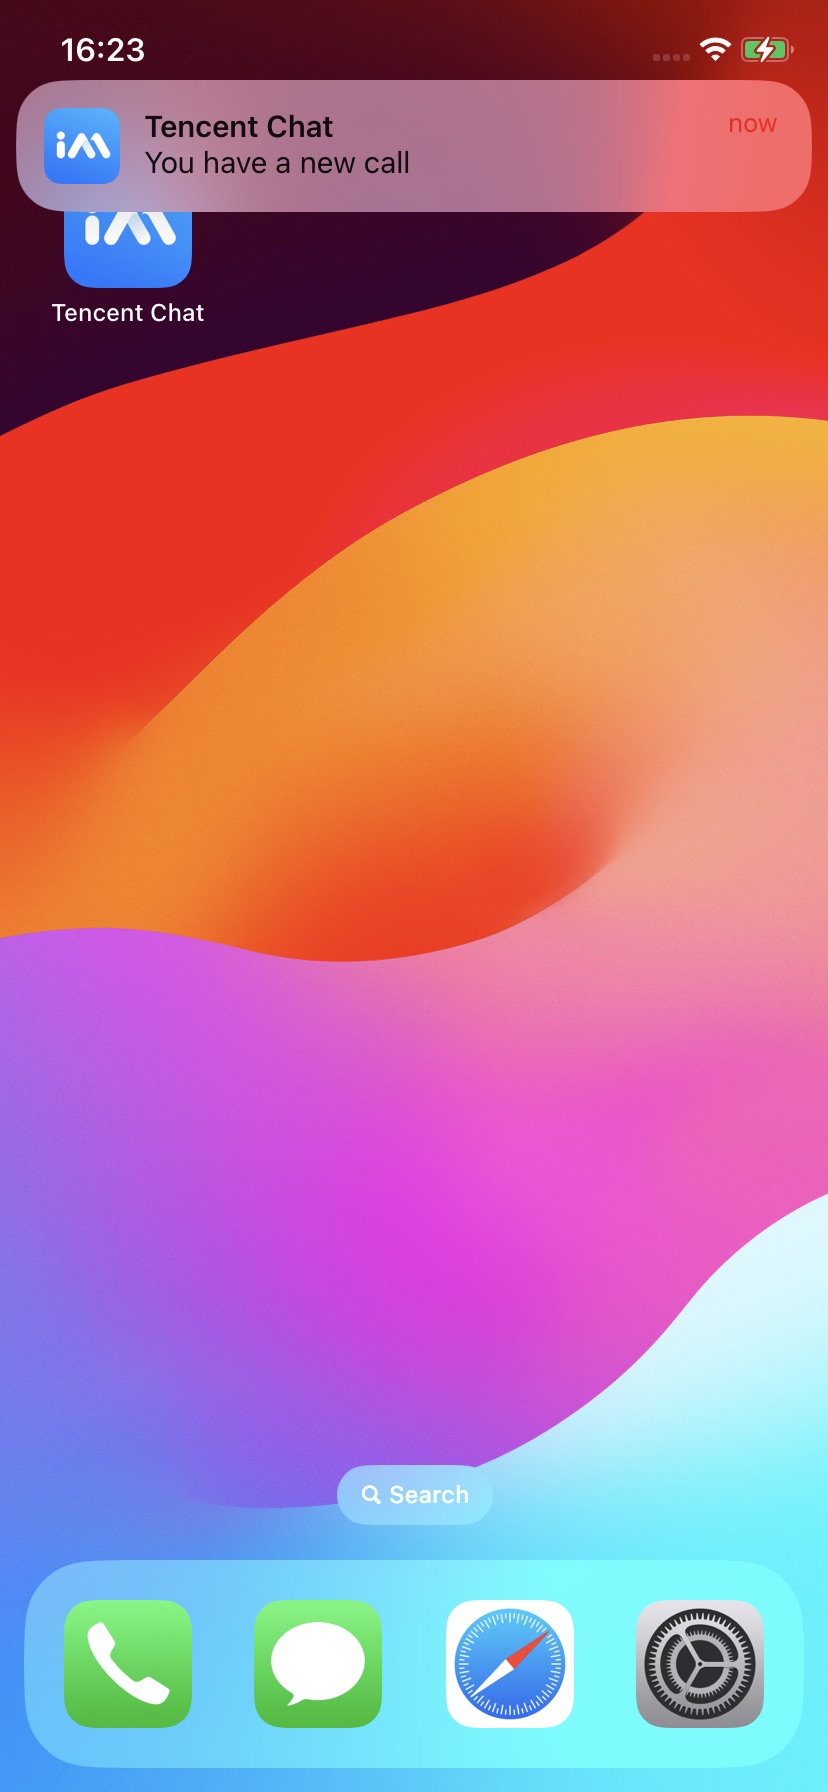
本文档将详细介绍如何在 TUICallKit 组件中集成 TIMPush 插件,以实现音视频通话的离线推送能力。
Android | iOS |
 |  |
集成指引
拨打离线推送通话
TUIOfflinePushInfo offlinePushInfo = TUIOfflinePushInfo();offlinePushInfo.title = "Flutter TUICallKit";offlinePushInfo.desc = "This is an incoming call from Flutter TUICallkit";offlinePushInfo.ignoreIOSBadge = false;offlinePushInfo.iOSSound = "phone_ringing.mp3";offlinePushInfo.androidSound = "phone_ringing";offlinePushInfo.androidOPPOChannelID = "Flutter TUICallKit";offlinePushInfo.androidVIVOClassification = 1;offlinePushInfo.androidFCMChannelID = "fcm_push_channel";offlinePushInfo.androidHuaWeiCategory = "Flutter TUICallKit";offlinePushInfo.iOSPushType = TUICallIOSOfflinePushType.VoIP;TUICallParams params = TUICallParams(offlinePushInfo: offlinePushInfo);TUICallKit.instance.call(callUserId, TUICallMediaType.audio, params);
说明:

 是
是
 否
否
本页内容是否解决了您的问题?