tencent cloud

Feedback

Last updated: 2024-05-24 18:35:11
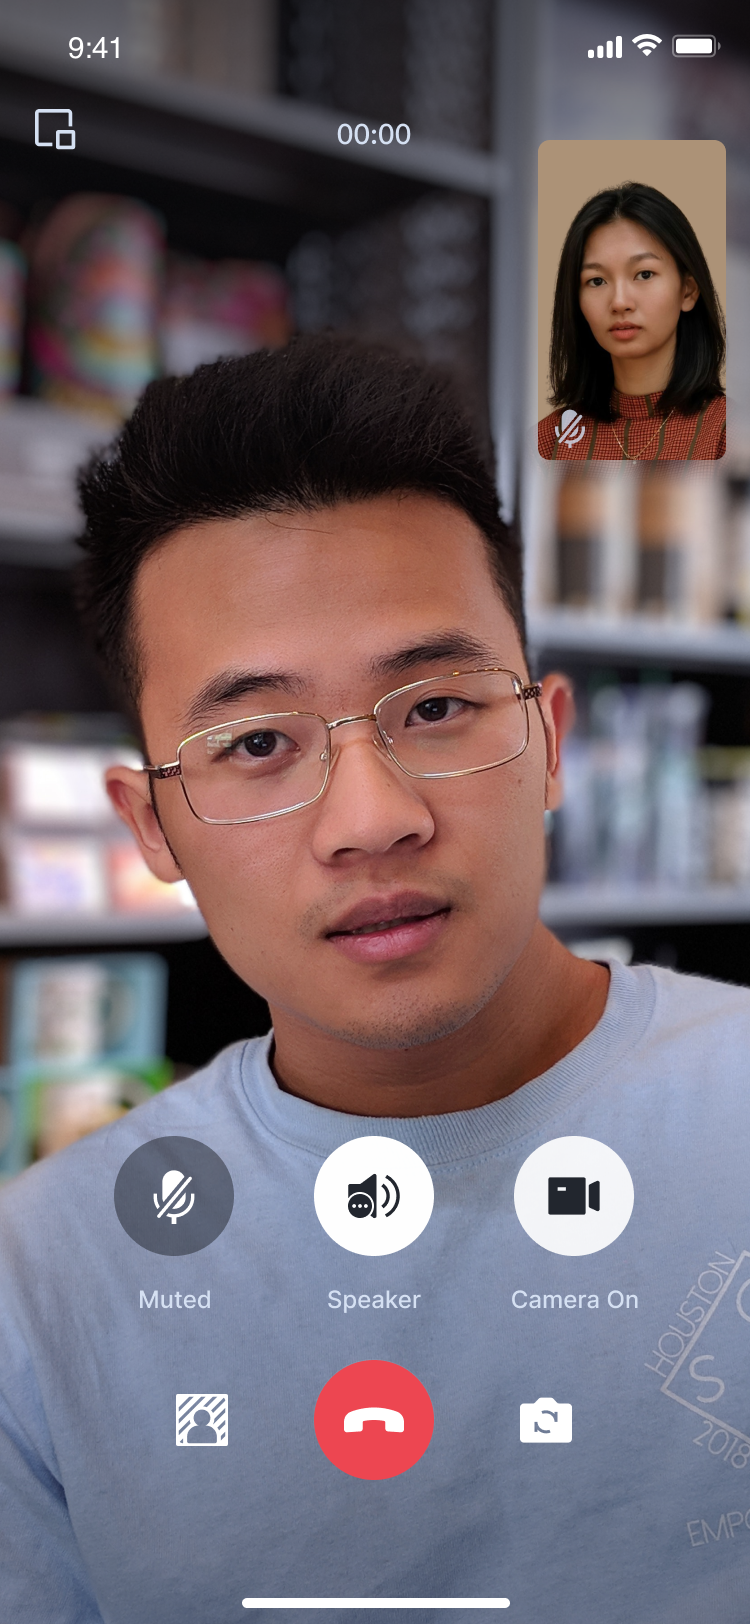
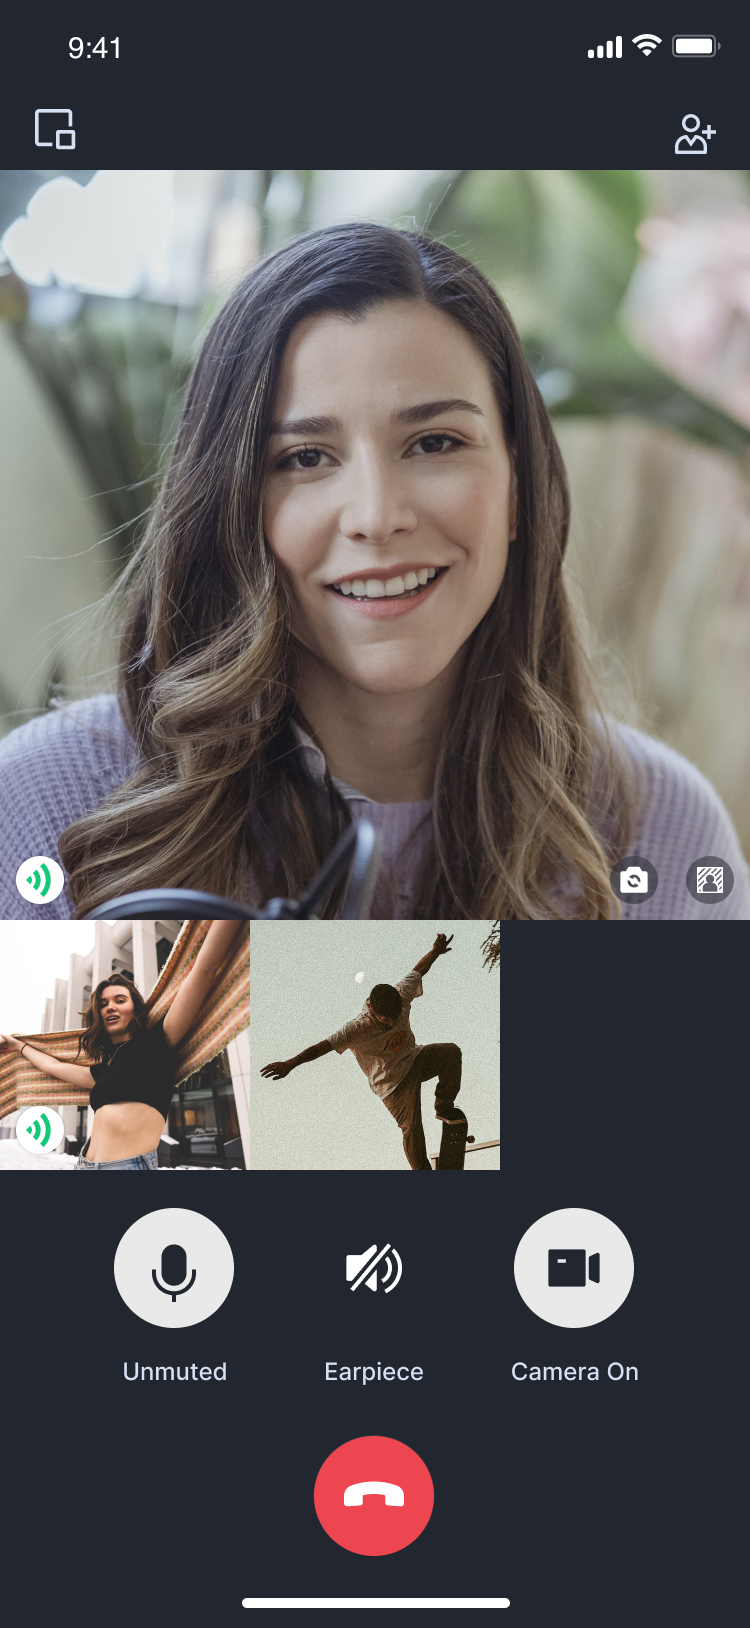
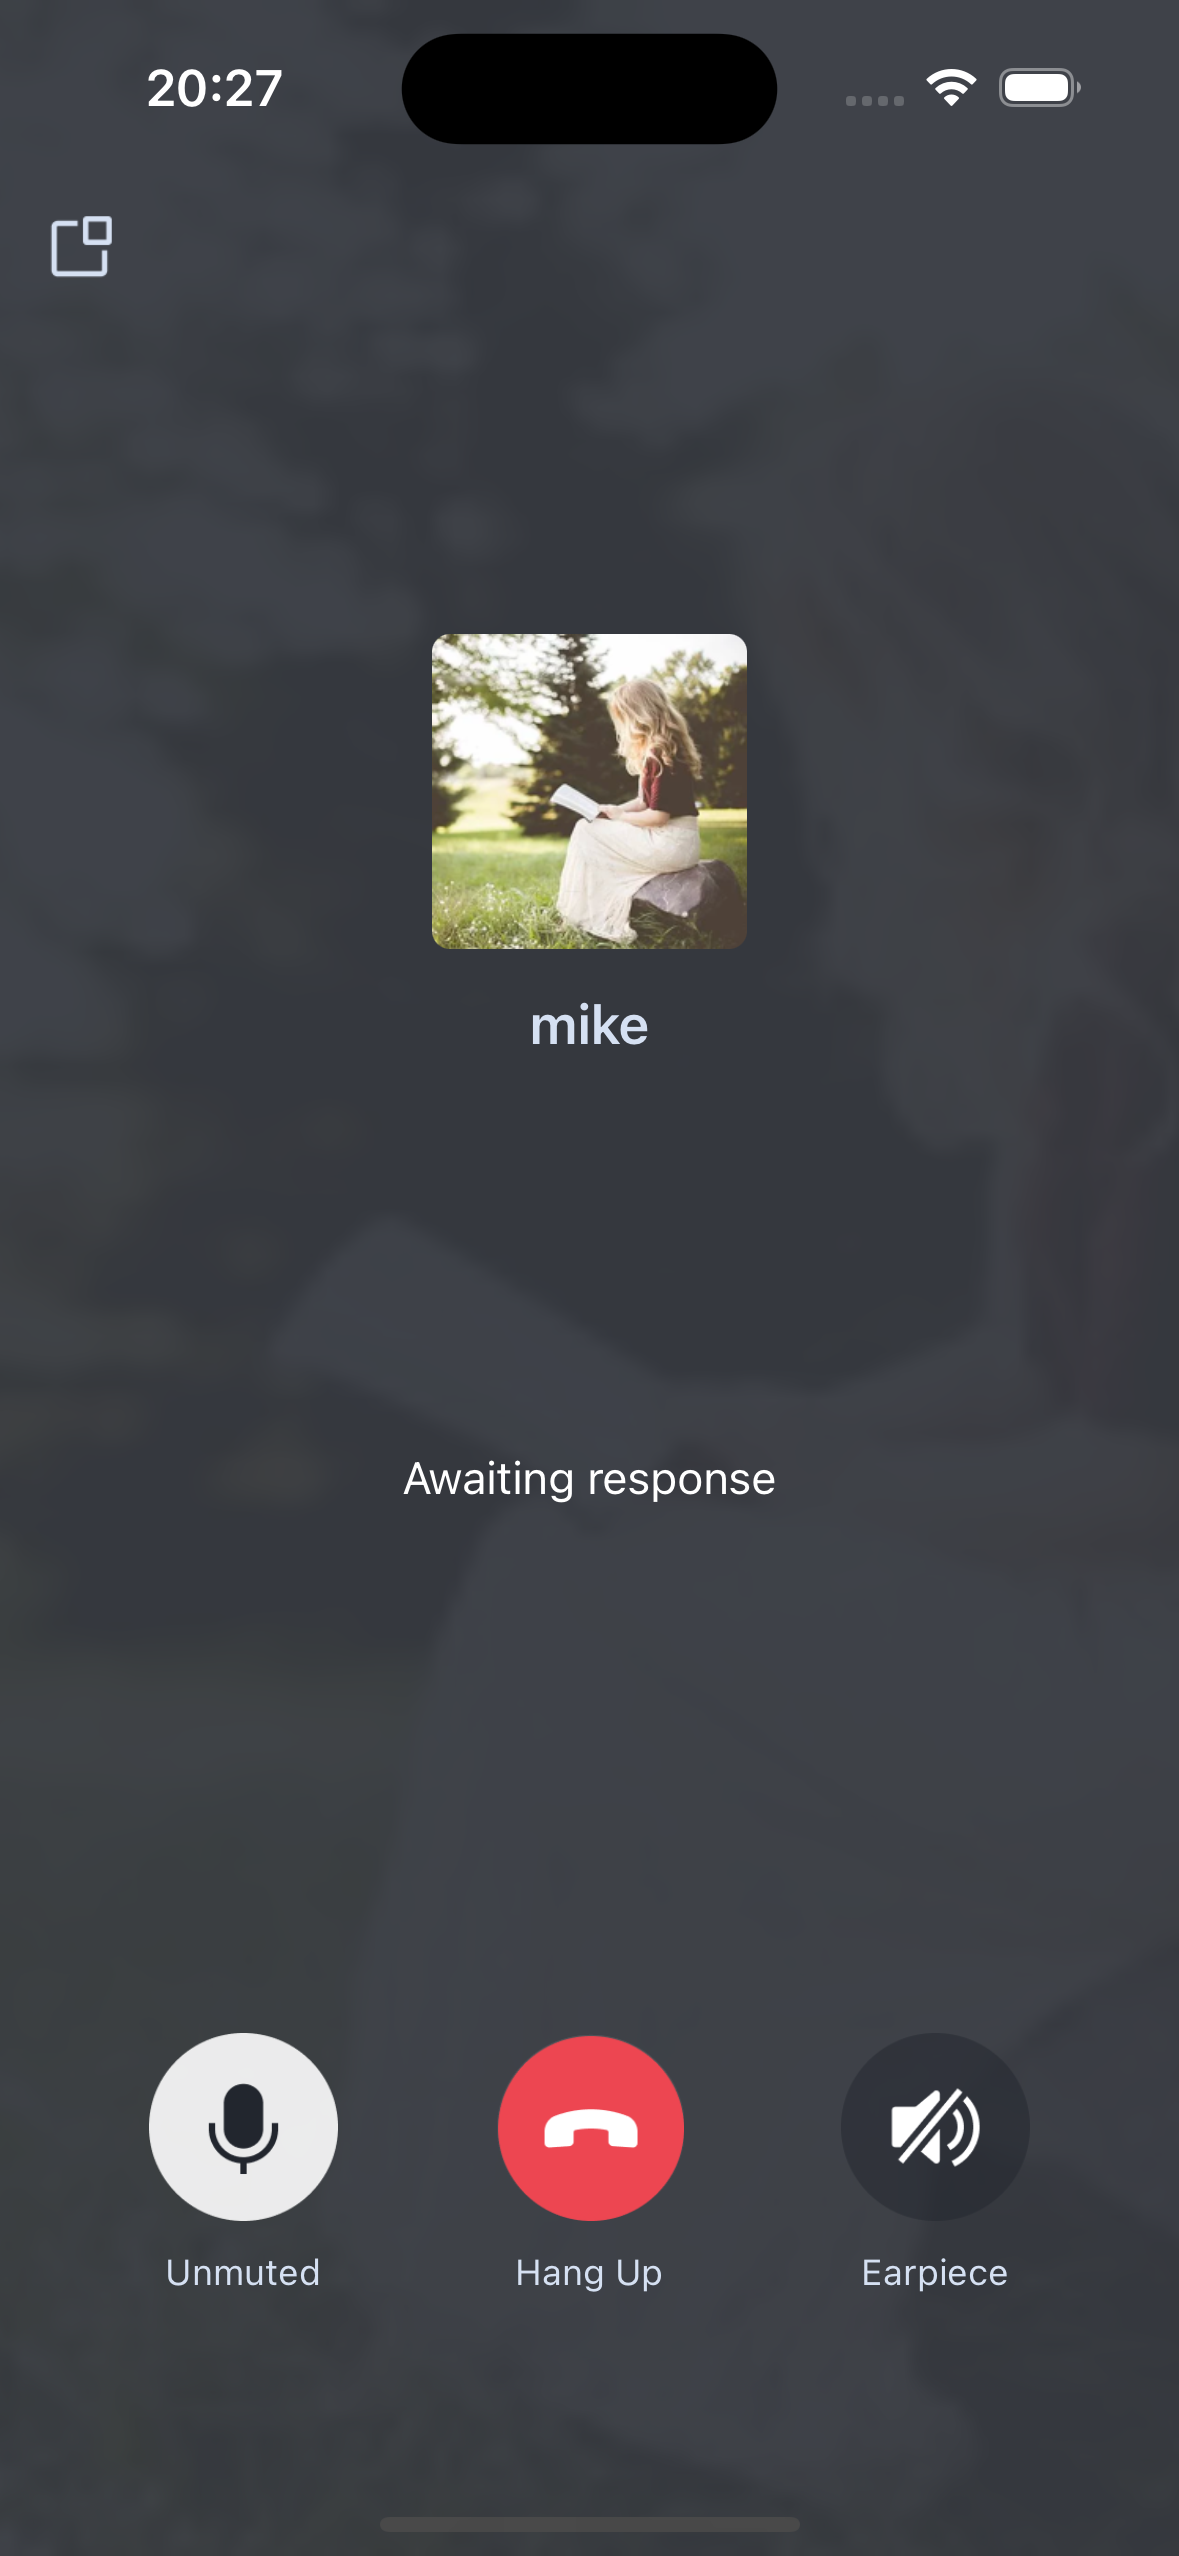
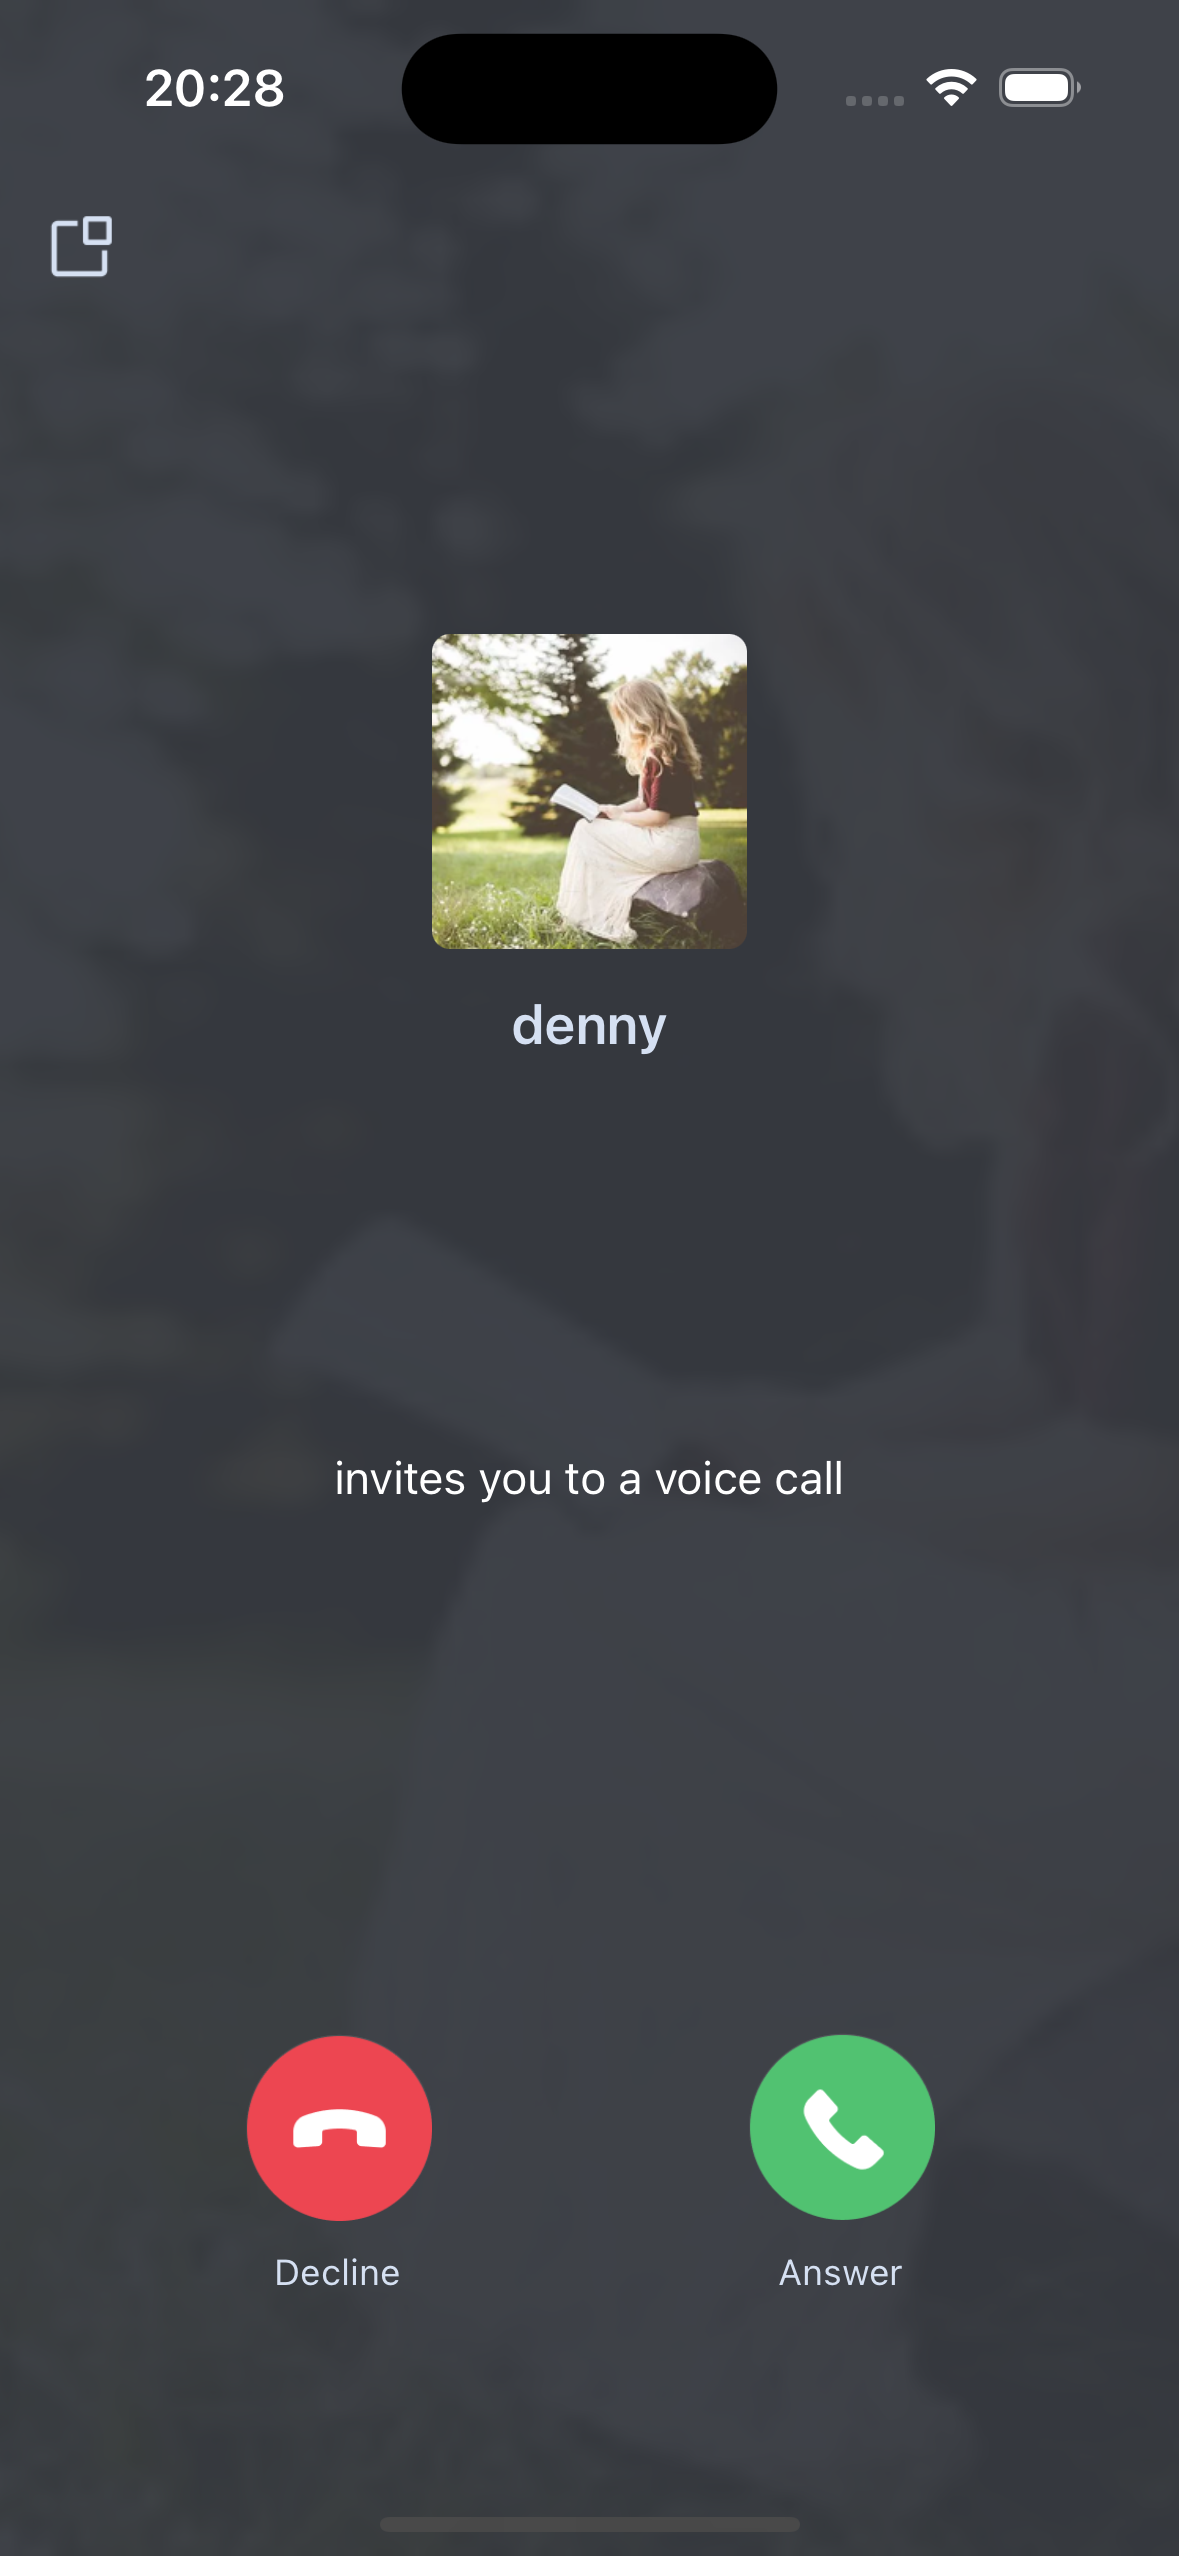
    This article will guide you through the quick integration of the TUICallKit component. You will complete several key steps within 10 minutes, ultimately obtaining a video call feature with a complete UI interface.
    1v1 Video Call
    Group call


    Environment Preparations

    Xcode 13 or later.
    iOS 13.0 or later.
    CocoaPods environment installation, Click to view.
    If you experience any issues with access or usage, please consult the FAQs.

    Step 1. Activate the service

    Refer to Activate the Service to obtain SDKAppID, SDKSecretKey, which will be used as Mandatory Parameters in Step 4: Log in to the TUICallKit component.

    Step 2. Import the component

    Use CocoaPods to import the component. If you encounter any issues, please refer to Environment Preparation first. Detailed steps for importing the component are as follows:
    1. Please add the dependency pod 'TUICallKit_Swift' to your Podfile. If you encounter any problems, please refer to the Example project.
    target 'xxxx' do
    ...
    pod 'TUICallKit_Swift'
    end
    Note:
    If your project lacks a Podfile, you need to cd into the xxxx.xcodeproj directory in Terminal, and then create a Podfile by executing the following command:
    pod init
    2. In Terminal, first cd into the Podfile directory and then run the following command to install components.
    pod install
    Note:
    If you cannot install the latest version of TUICallKit, you may first delete Podfile.lock and Pods. Then run the following command to update the local CocoaPods repository list.
    pod repo update
    Then, run the following command to update the Pod version of the component library.
    pod update
    3. We suggest you compile and run once. If you encounter any problems, you can refer to our FAQs. If the problem remains unresolved, you may try running our Example project. If you encounter any issues during integration and use, you are welcome to provide feedback to us.

    Step 3: Configure the Project

    To use audio and video features, you need to authorize the usage of the camera and microphone. Please set the required permissions according to the actual needs of the project.
    1. In Xcode, select TARGETS > Info > Custom iOS Target Properties" from the menu.


    2. Click the + button to add camera and microphone permissions.
    Privacy - Camera Usage Description
    Privacy - Microphone Usage Description


    Step 4: Log in to the TUICallKit component

    Add the following code to your project. It works by calling the relevant interfaces in TUICore to complete the login to TUI Component. This step is very important, only after successfully logging in, you can normally use the features offered by TUICallKit.
    Swift
    Objective-C
    import TUICore
    import TUICallKit_Swift
    
    func application(_ application: UIApplication, didFinishLaunchingWithOptions launchOptions: [UIApplication.LaunchOptionsKey: Any]?) -> Bool {
    let userID = "denny" // Please replace with your UserId
    let sdkAppID: Int32 = 0 // Please replace with the SDKAppID obtained from the console in the step 1
    let secretKey = "****" // Please replace with the SecretKey obtained from the console in the step 1
    
    let userSig = GenerateTestUserSig.genTestUserSig(userID: userID, sdkAppID: sdkAppID, secretKey: secretKey)
    
    TUILogin.login(sdkAppID, userID: userID, userSig: userSig) {
    print("login success")
    } fail: { code, message in
    print("login failed, code: \\(code), error: \\(message ?? "nil")")
    }
    
    return true
    }
    #import <TUICore/TUILogin.h>
    #import <TUICallKit_Swift/TUICallKit_Swift-Swift.h>
    
    - (BOOL)application:(UIApplication *)application didFinishLaunchingWithOptions:(NSDictionary *)launchOptions {
    NSString *userID = @"denny"; // Please replace with your UserId
    int sdkAppID = 0; // Please replace with the SDKAppID obtained from the console in the first step
    NSString *secretKey = @"****"; // Please replace with the SecretKey obtained from the console in the first step
    
    NSString *userSig = [GenerateTestUserSig genTestUserSigWithUserID:userID sdkAppID:sdkAppID secretKey:secretKey];
    
    [TUILogin login:sdkAppID
    userID:userID
    userSig:userSig
    succ:^{
    NSLog(@"login success");
    } fail:^(int code, NSString * _Nullable msg) {
    NSLog(@"login failed, code: %d, error: %@", code, msg);
    }];
    return YES;
    }
    Parameter
    Type
    Description
    userID
    String
    Your own User ID based on your business. It can only include letters (a-z, A-Z), digits (0-9), underscores, and hyphens.
    sdkAppID
    Int32
    The unique identifier SDKAppID for the audio and video application created in Tencent RTC Console.
    secretKey
    String
    SDKSecretKey for the audio and video application created in Tencent RTC Console.
    userSig
    String
    A security signature for user login to verify identity and prevent unauthorized access to cloud services.
    Note:
    Development Environment: During local development and debugging, use the local GenerateTestUserSig.genTestSig function to create a userSig. But be careful, the SDKSecretKey can be decompiled and reverse-engineered. If leaked, it could allow theft of your Tencent Cloud traffic.
    Production Environment: For project launch, use the Server-side Generation of UserSig method.

    Step Five: Make your first call

    By calling the call function of TUICallKit and specifying the call type and callee's userId, you can initiate an audio or video call.
    Swift
    Objective-C
    import TUICallKit_Swift
    
    // Initiating a 1-to-1 audio call (assuming userId is mike)
    TUICallKit.createInstance().call(userId: "mike", callMediaType: .audio)
    #import <TUICallKit_Swift/TUICallKit_Swift-Swift.h>
    
    // Initiating a 1-to-1 audio call (assuming userId is mike)
    [[TUICallKit createInstance] callWithUserId:@"mike" callMediaType:TUICallMediaTypeAudio];


    Caller
    Callee

    Additional Features

    FAQs

    If you encounter any issues during integration and use, please refer to Frequently Asked Questions.

    Suggestions and Feedback

    If you have any suggestions or feedback, please contact info_rtc@tencent.com.
    Contact Us

    Contact our sales team or business advisors to help your business.

    Technical Support

    Open a ticket if you're looking for further assistance. Our Ticket is 7x24 avaliable.

    7x24 Phone Support