A Cloud Access Management (CAM) role is a virtual identity with a collection of permissions. It is used to grant the role entity the permissions to access services and resources and perform operations in Tencent Cloud. You can associate the CAM role with a CVM instance to call other Tencent Cloud APIs from the instance using the periodically updated temporary Security Token Service (STS) key. This ensures the security of your SecretKey and helps you implement refined permission control, avoiding the security risks from using persistent keys.
This document describes how to bind, modify, and delete a role.
Advantages
Binding a CAM role to instances comes with the following features and advantages.
You can use the STS temporary key to access other Tencent Cloud services.
You can grant roles associated with different access policies to instances so that the instances are given different access permissions to Tencent Cloud resources, which helps you implement refined permission control.
You don’t need to save SecretKey in an instance. Instead, you can easily control the access permissions of the instance by changing the role authorization.
Notes
The instance only allows the role entity that contains cvm.qcloud.com to assume the role. For more information, see Concepts.
The instance must reside in a VPC.
An instance can only bind one CAM role at a time.
You can bind, modify or delete a role without paying extra fees.
Directions
Bind/modifying roles
Binding/Modifying one role
Batch binding/modifying roles
1. Log in to the CVM console and click Instances on the left sidebar.
2. On the instance management page, proceed according to the actually used view mode:
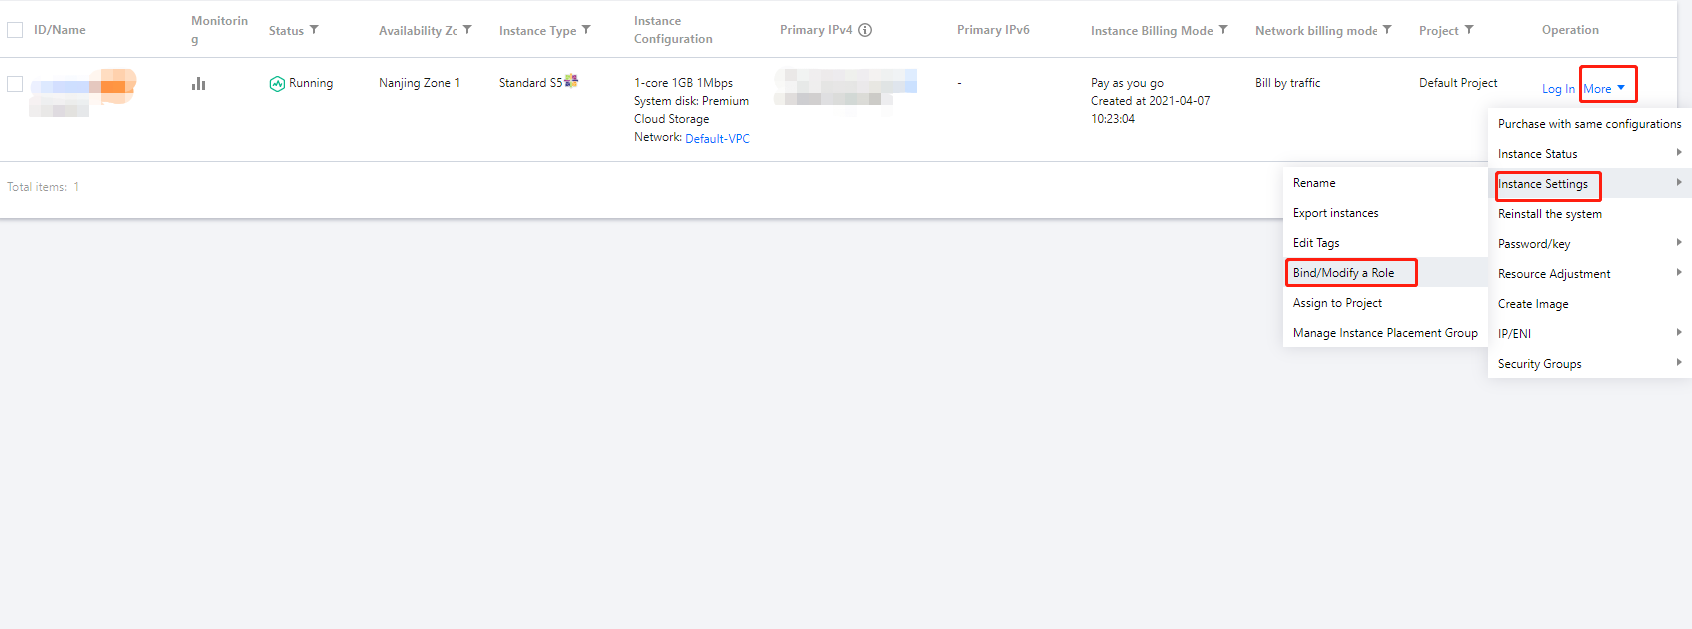
List view: in the row of the target instance, select More > Instance Settings > Bind/Modify a Role on the right as shown below:
Tab view: on the page of the target instance, select More > Instance Settings > Bind/Modify a Role in the top-right corner.
3. In the pop-up window, select the role you want to bind, and click OK.
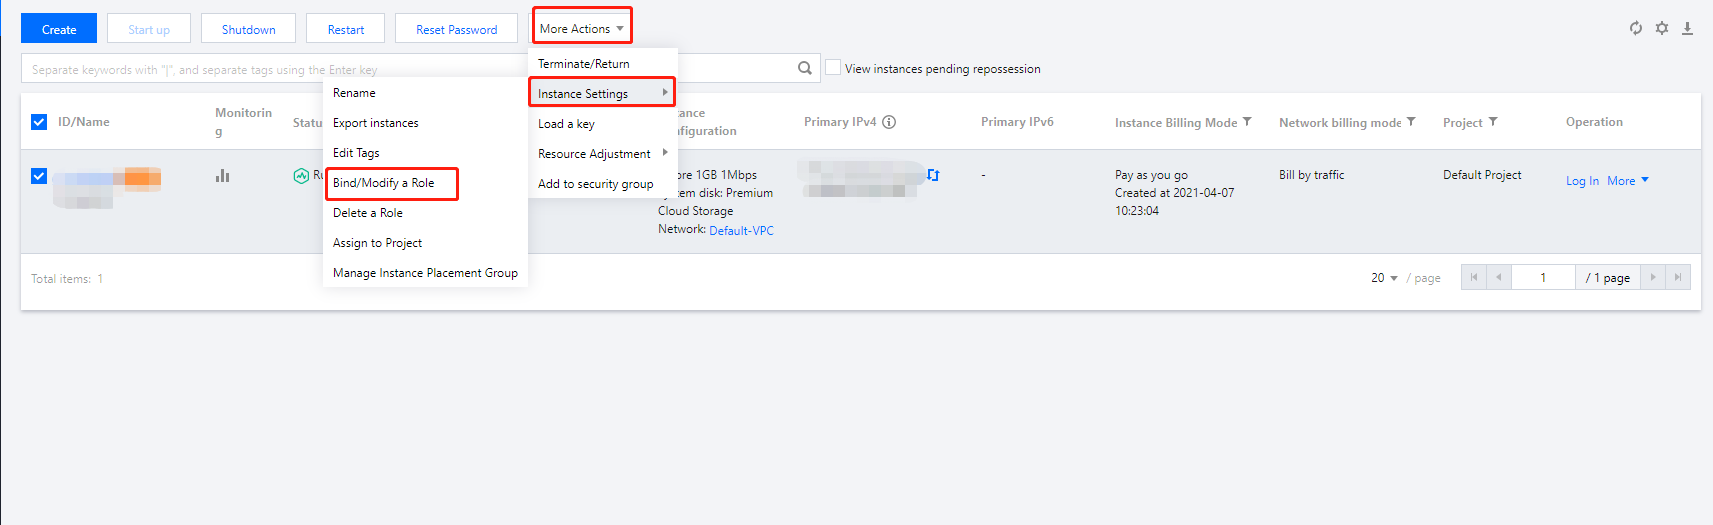
1. On the Instances page, select the CVM instances for which you want to bind or modify the roles, click More Actions > Instance Settings > Bind/Modify a Role at the top of list, as shown below.
2. In the pop-up window, select the role you want to bind, and click OK.
Note:
CVMs modified using this method will have the same role name.
Deleting roles
Deleting one role
Batch deleting roles
1. Log in to the CVM console and click Instances on the left sidebar.
2. On the instance management page, proceed according to the actually used view mode:
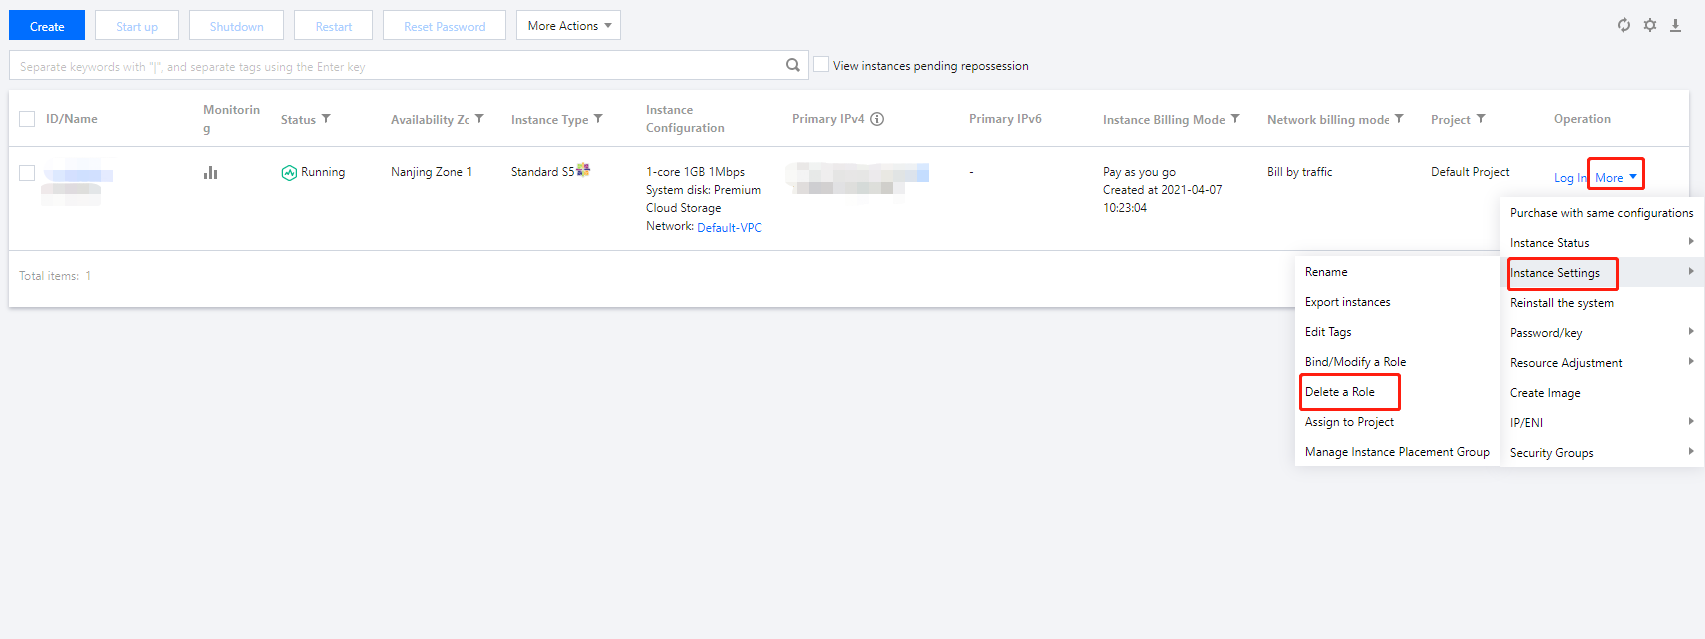
List view: in the row of the target instance, select More > Instance Settings > Delete a Role on the right as shown below:
Tab view: on the page of the target instance, select More Actions > Instance Settings > Delete a Role in the top-right corner .
3. Click OK in the pop-up window.
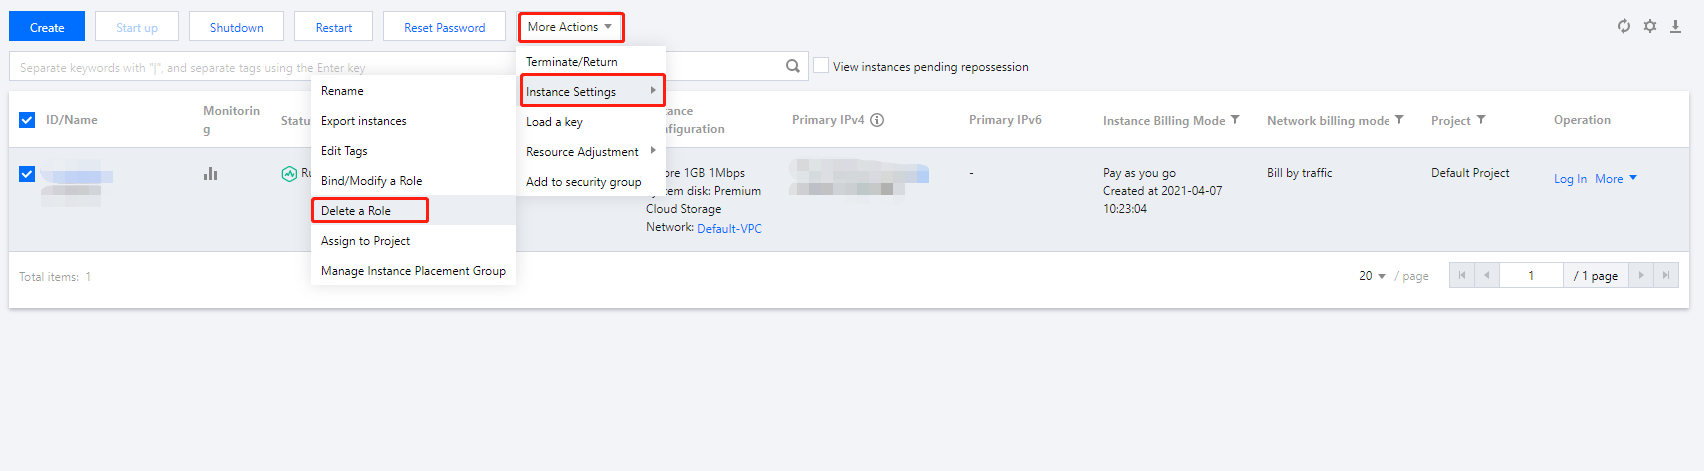
1. On the Instances page, select the CVM instances for which you want to delete the roles, click More Actions > Instance Settings > Delete a Role above the list, as shown below.