Admins can efficiently configure account roles and permissions to enhance the protection of sensitive data.
Create a Role
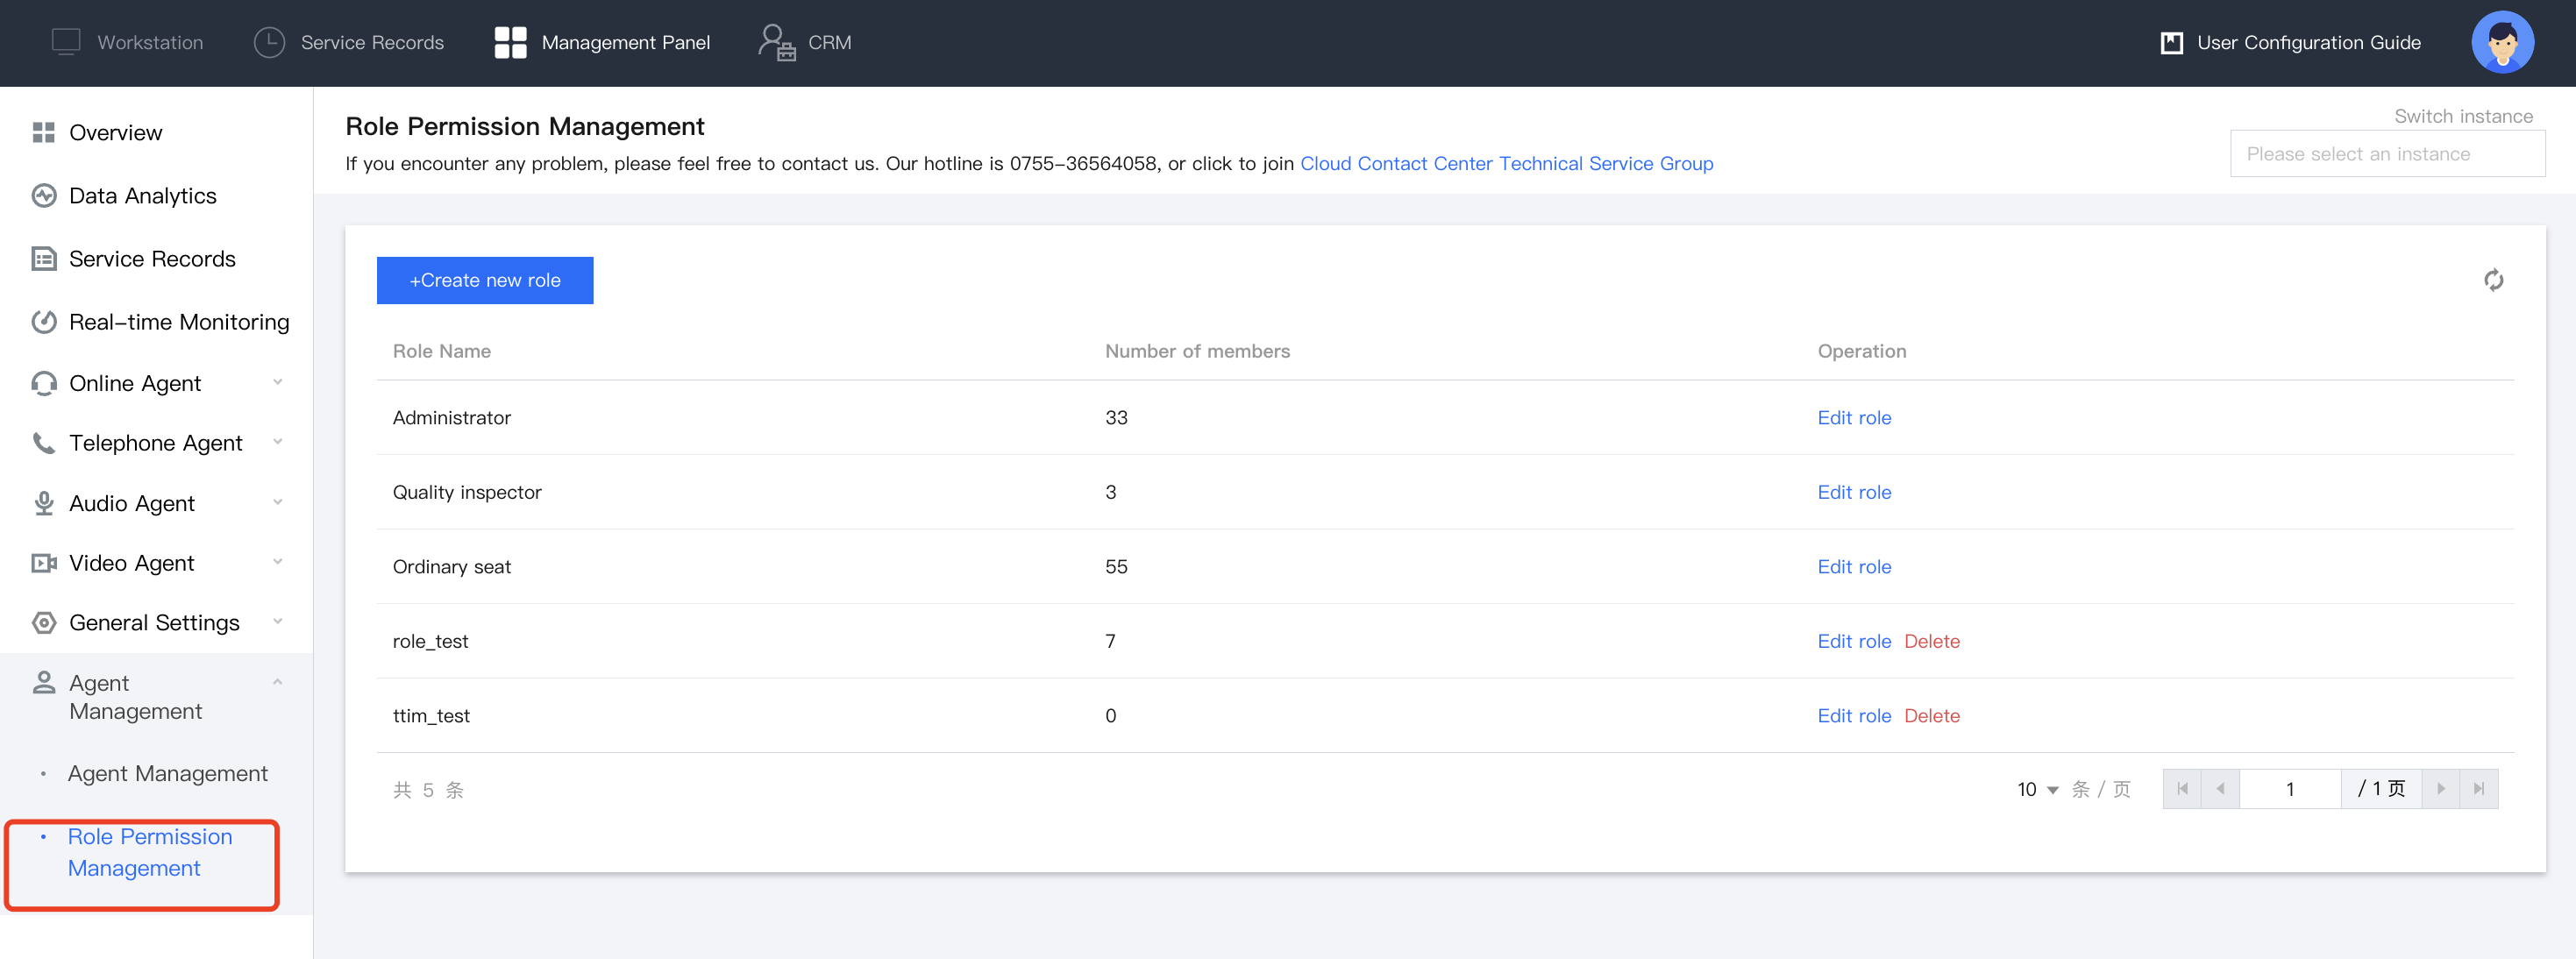
1. Go to the Cloud Contact Center management console, and choose Agent Management > Role Permission Management in the left navigation bar to go to the role permission management page. Click Create new role in the top left corner of the page.
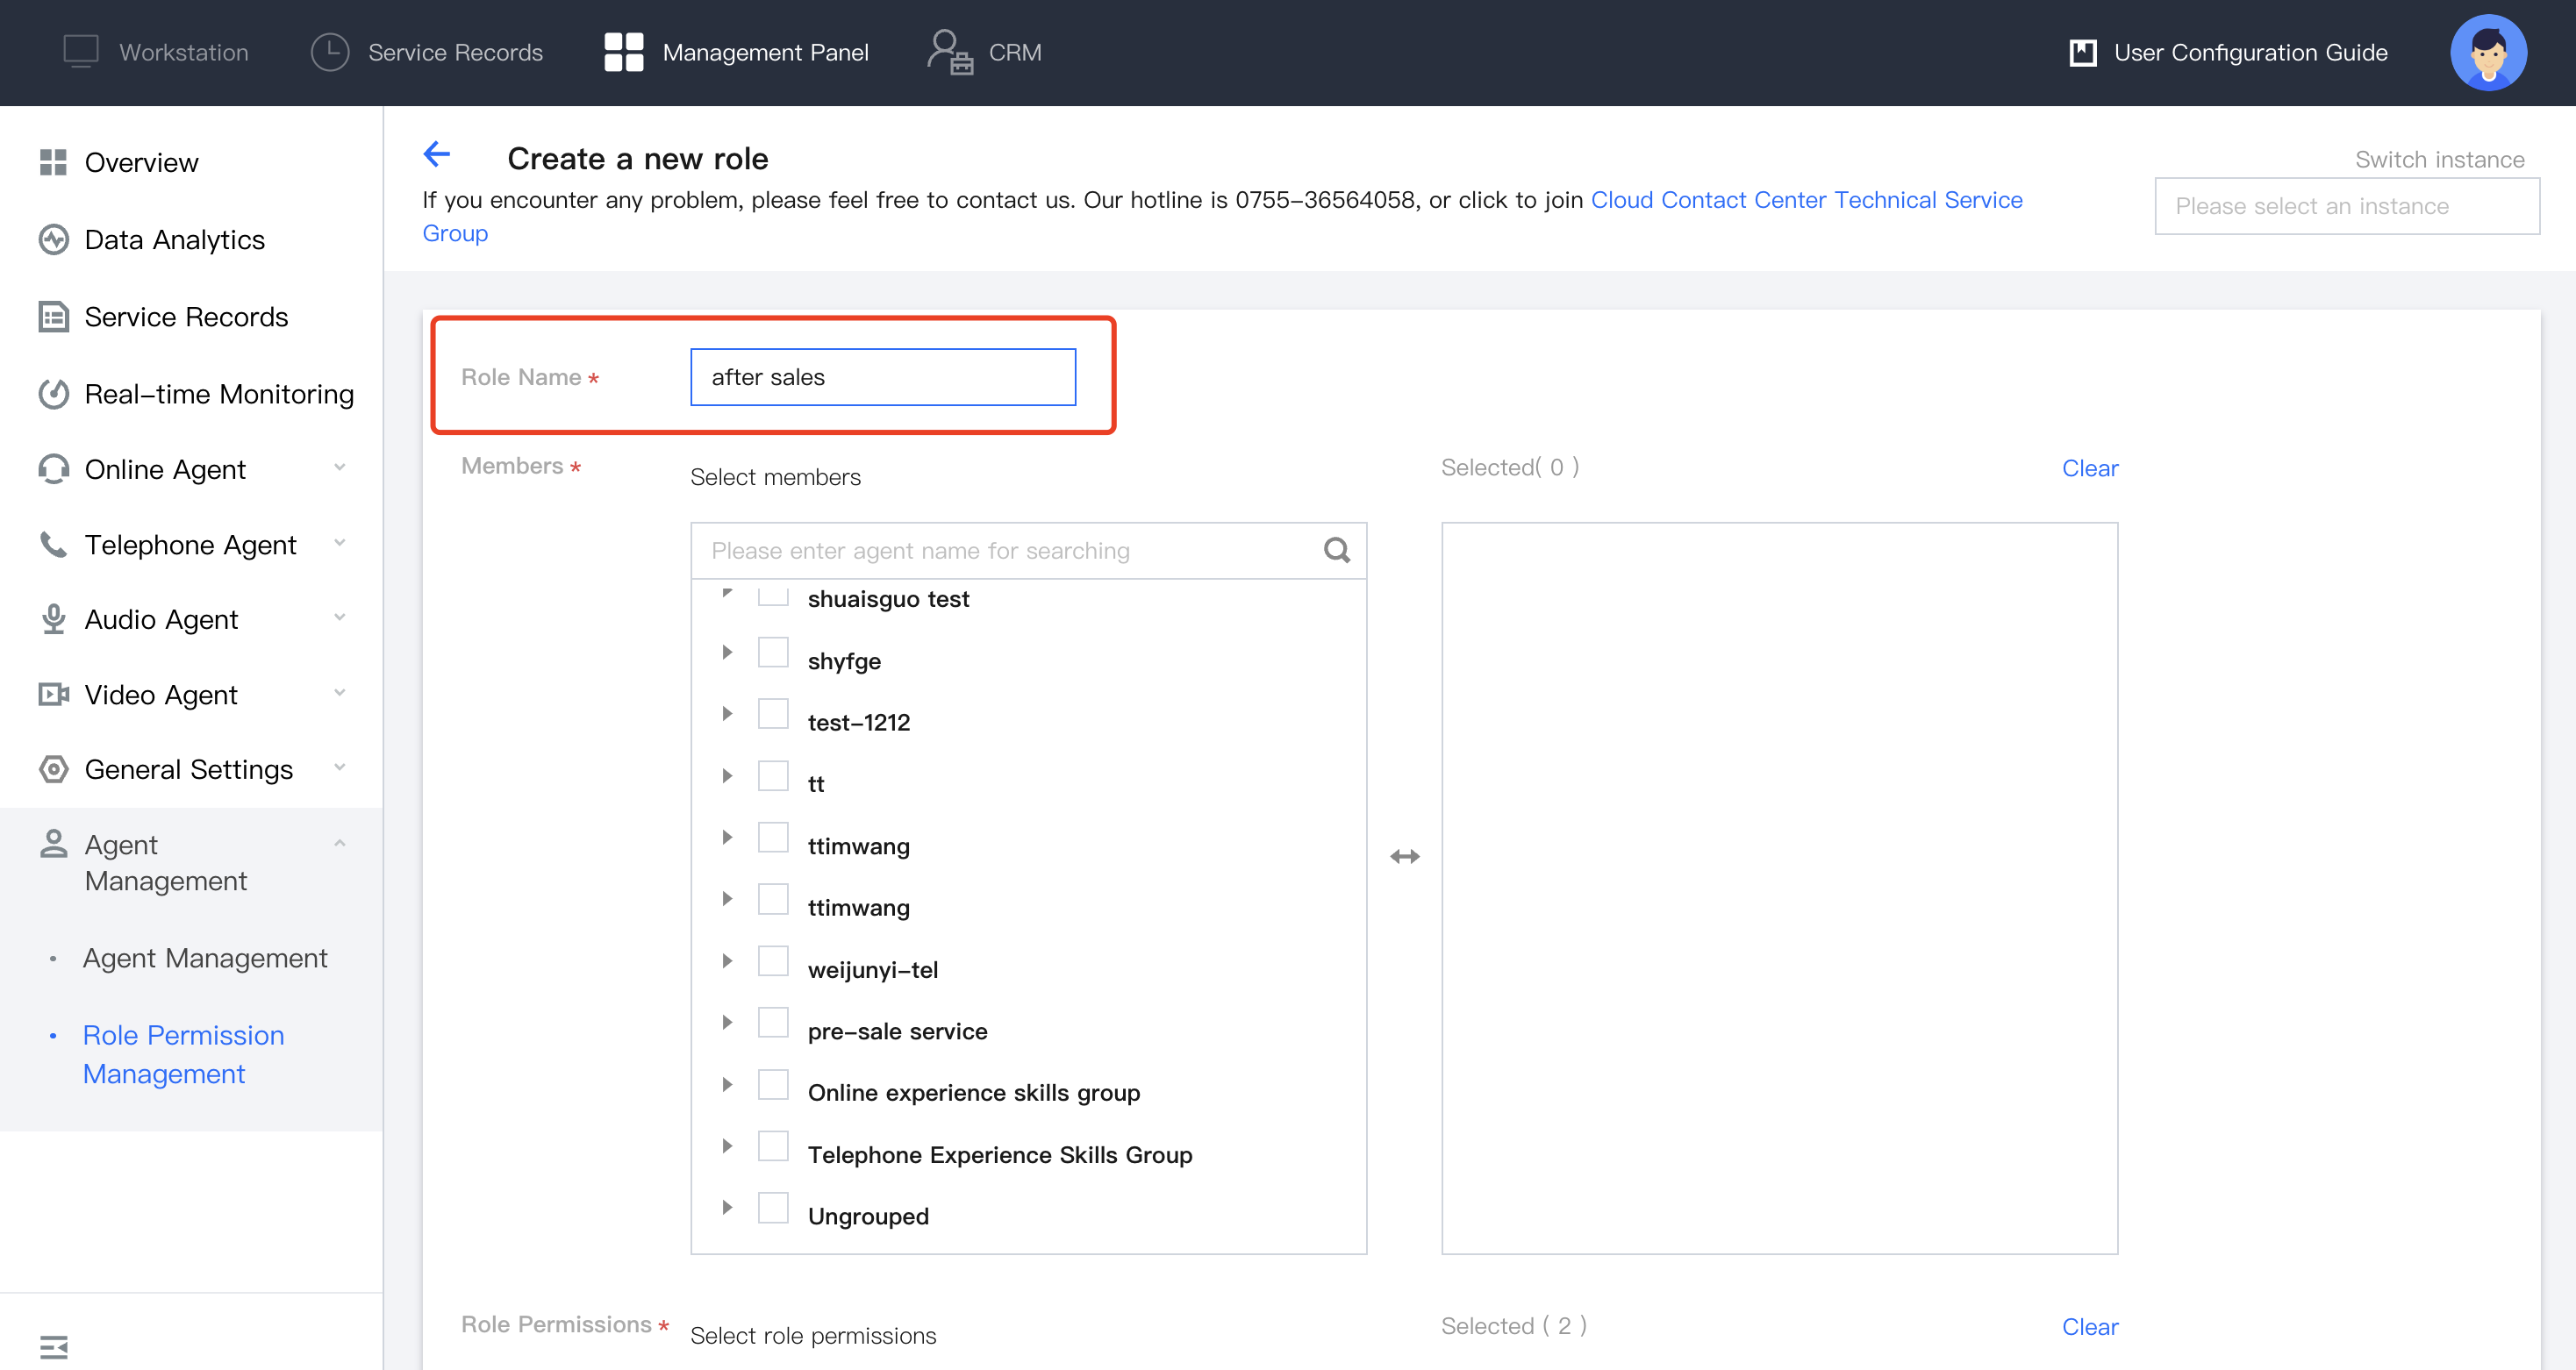
2. Name your role.
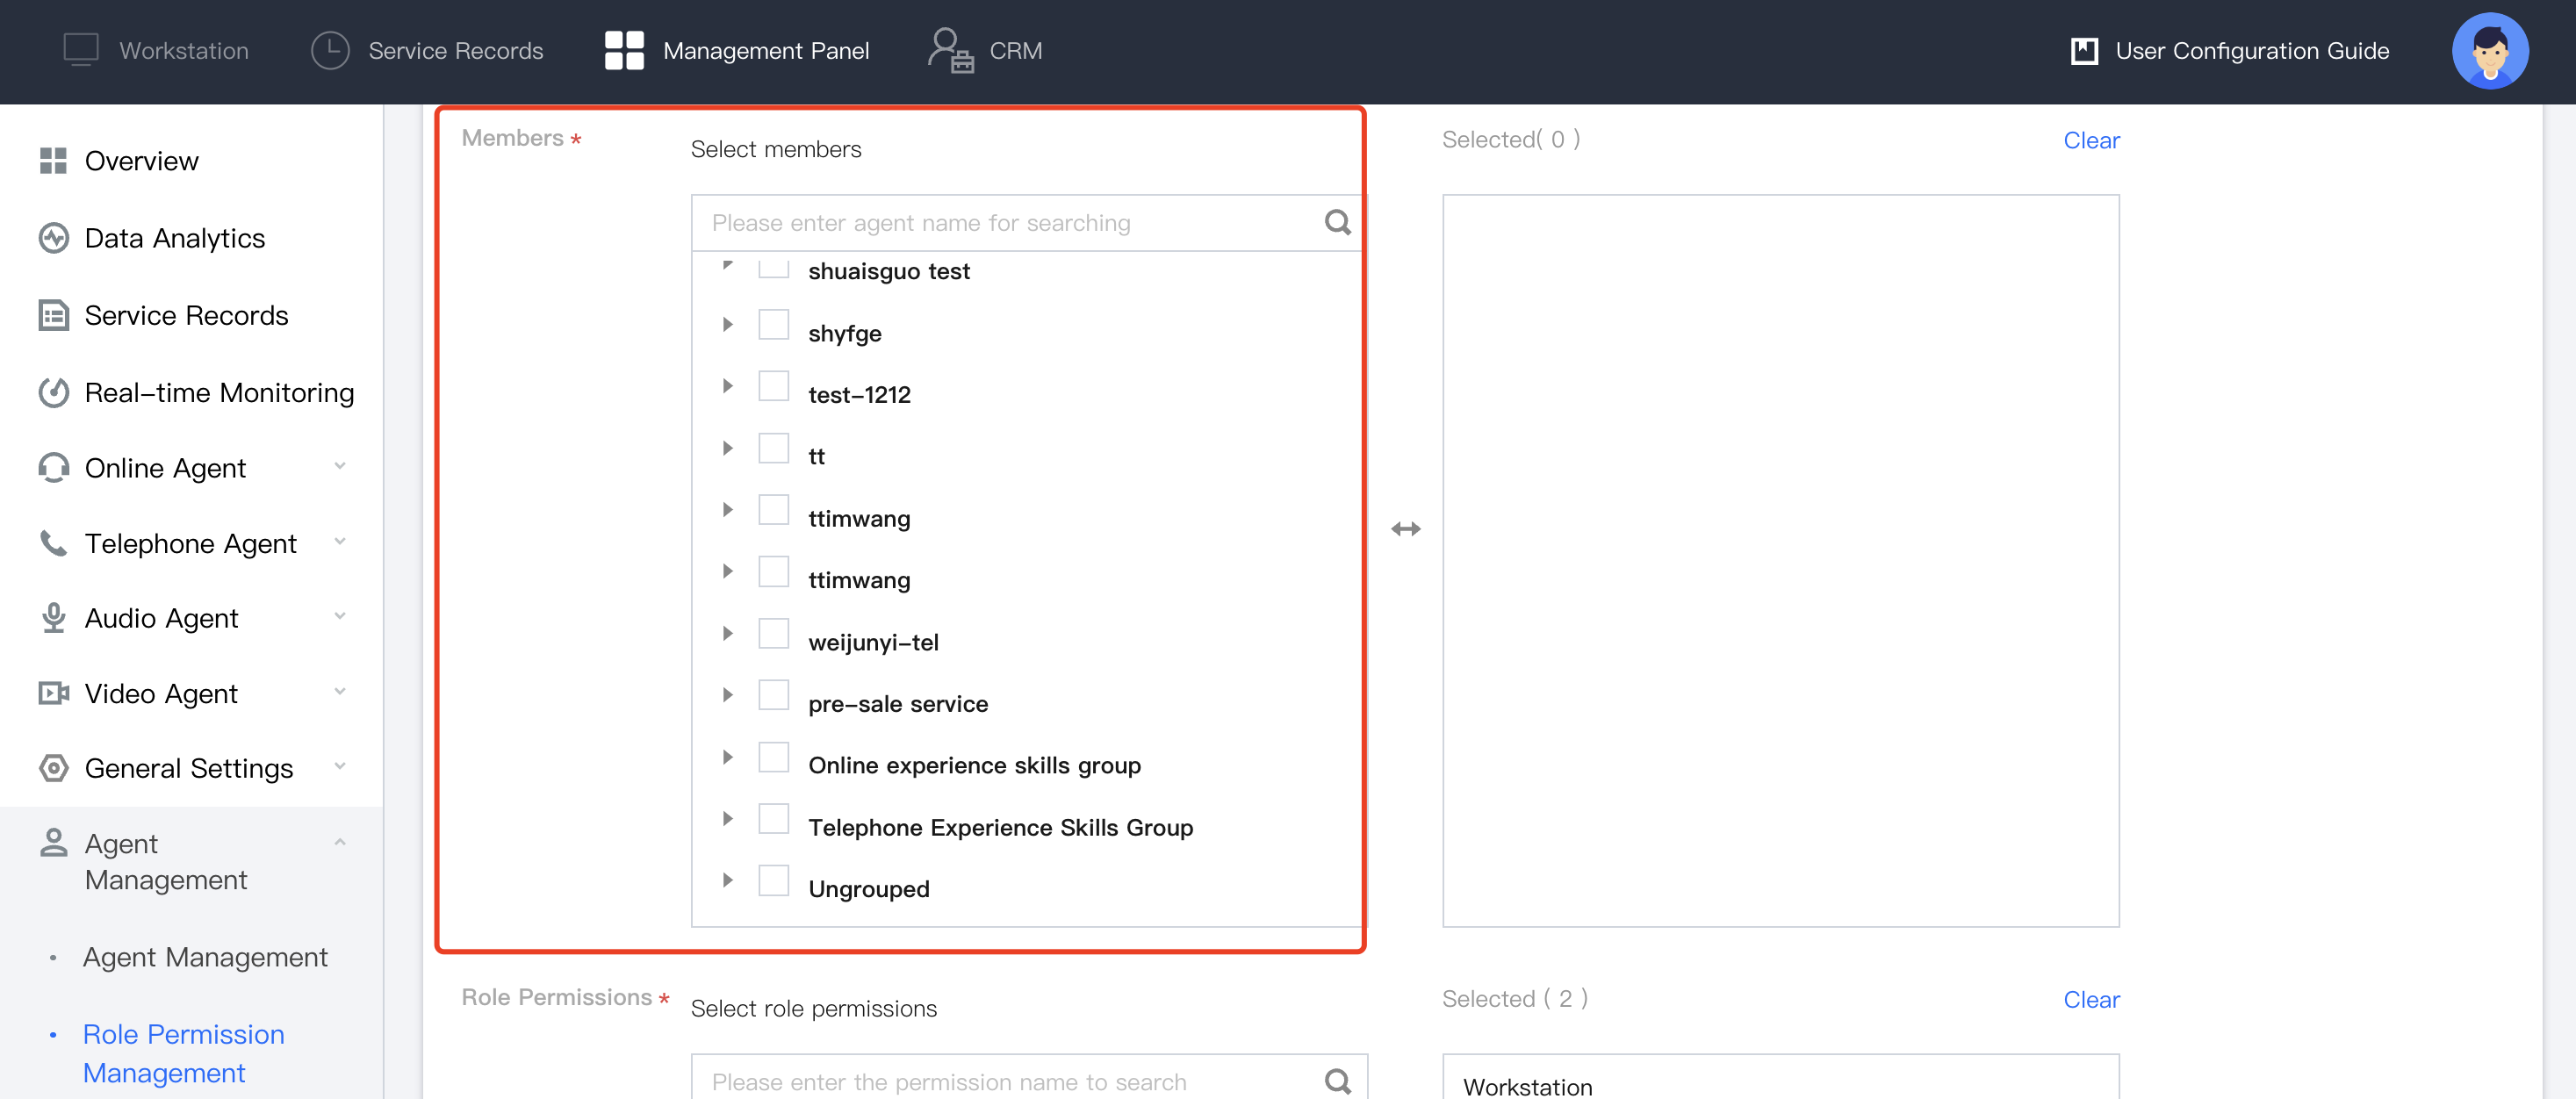
3. Select the members to assign new permissions.
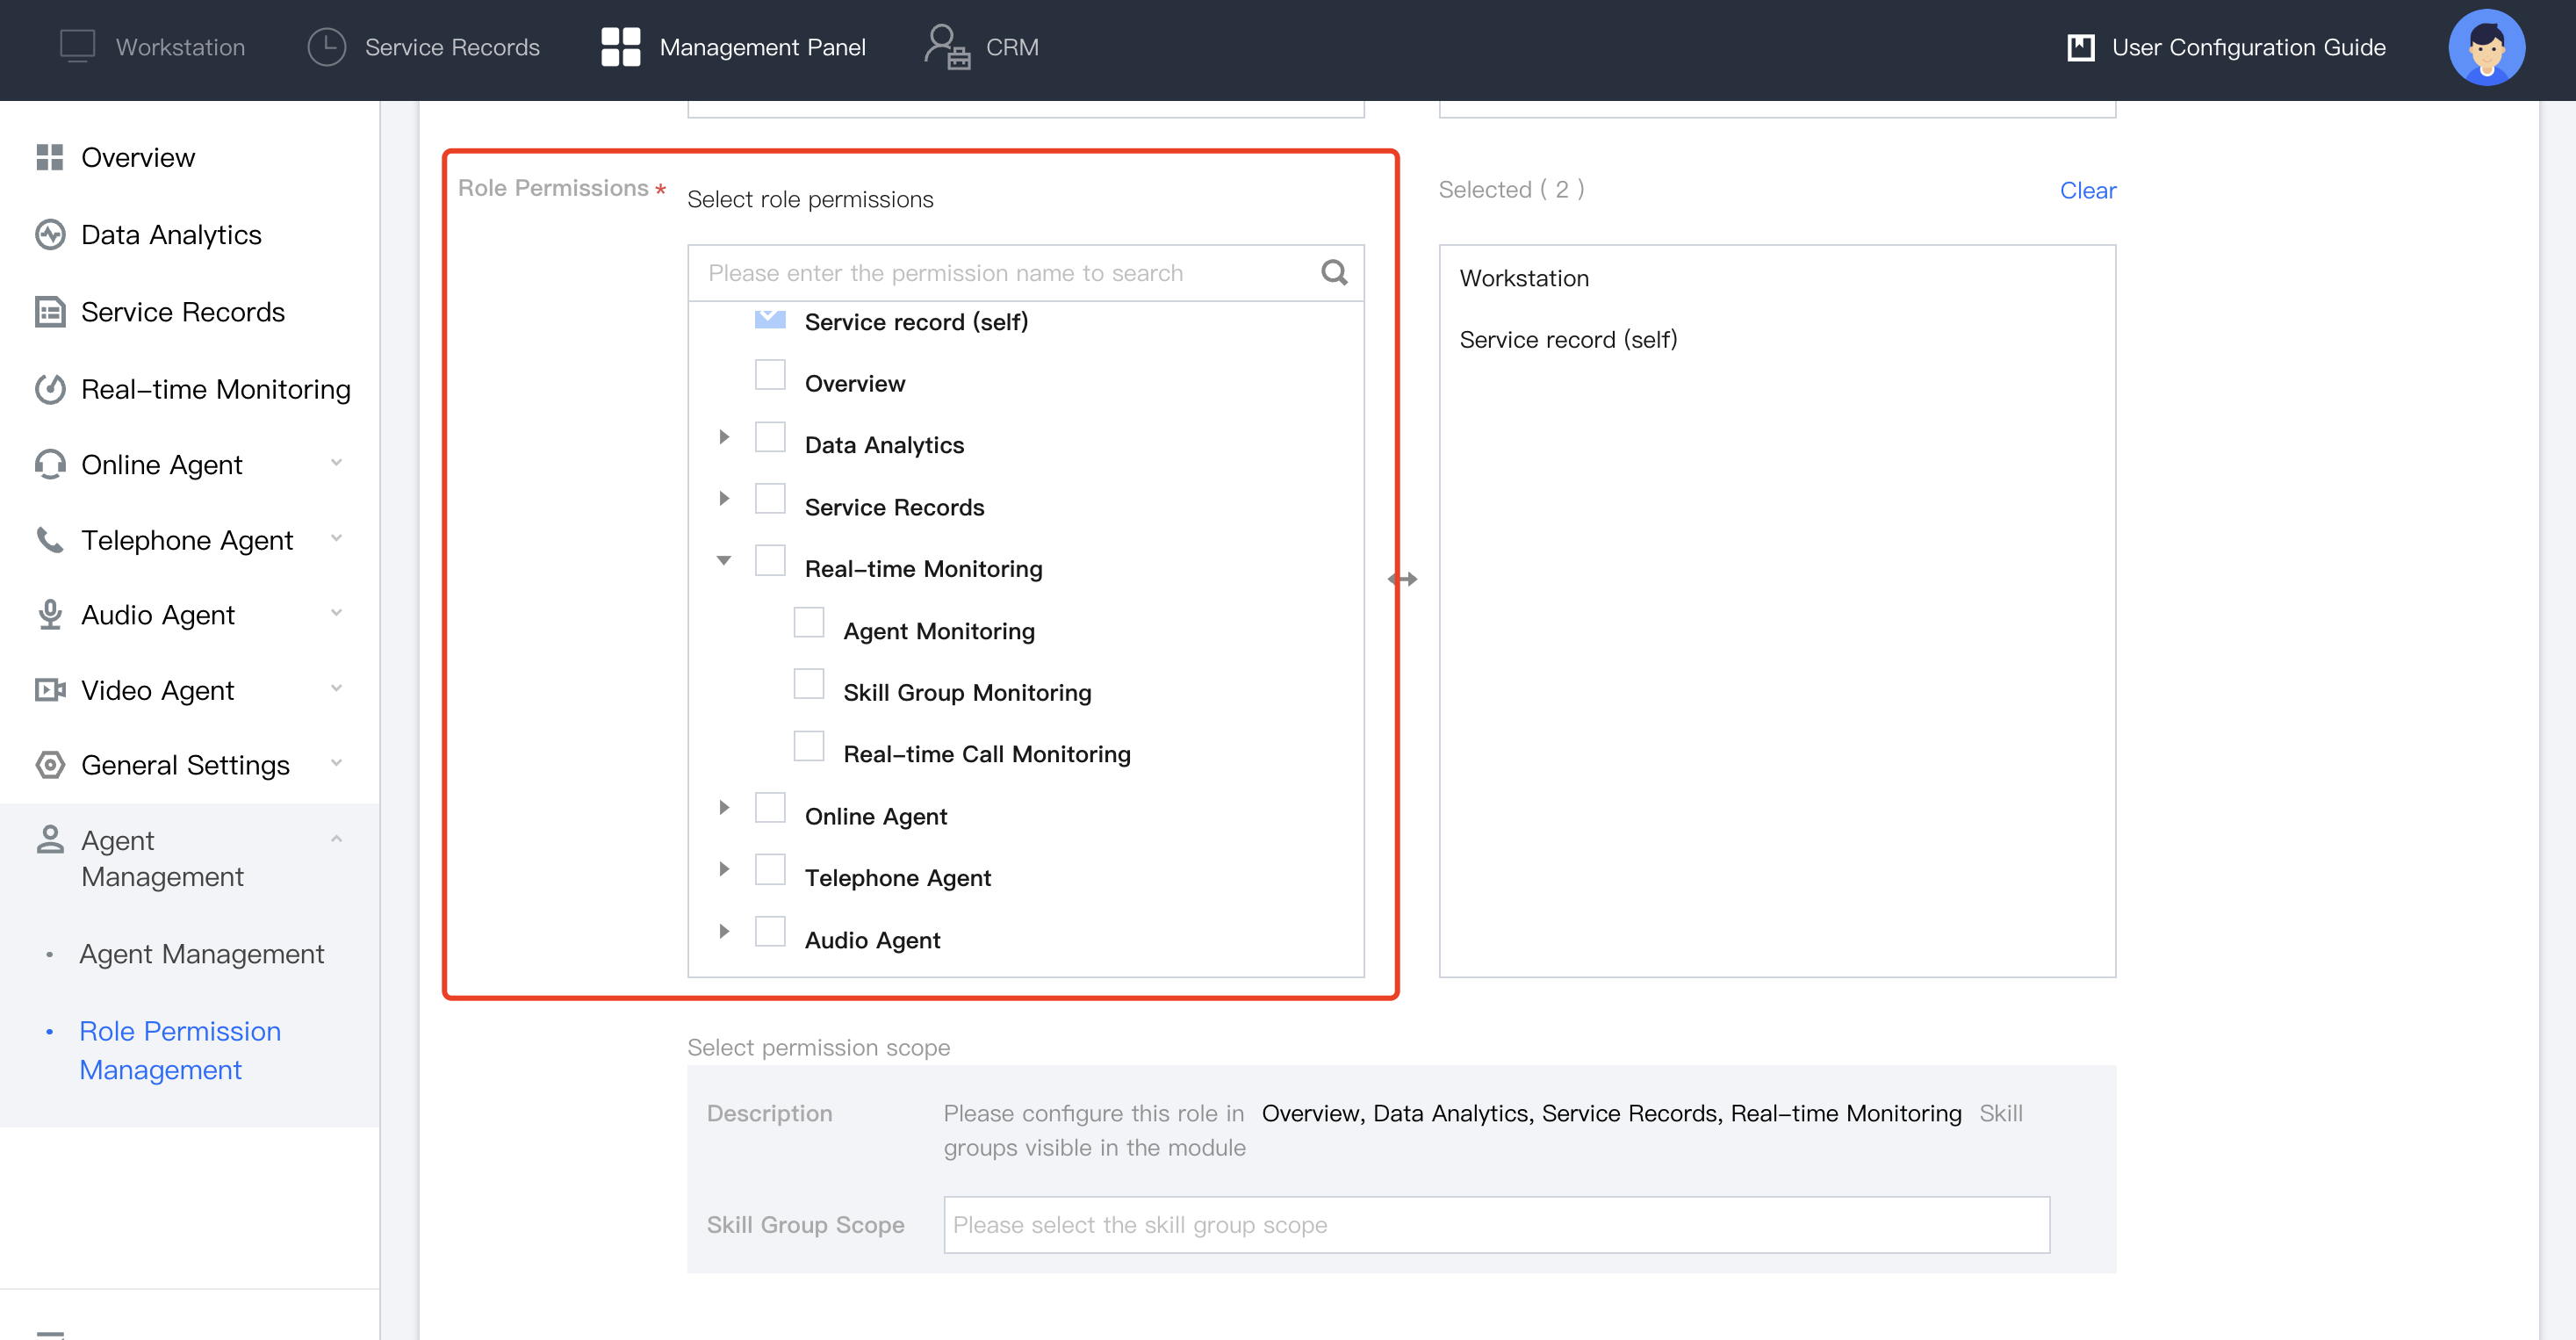
4. Select permission range for this role.
Set this role's visibility range on the management panel, including skill group scope for modules like data analysis, service records, and monitoring (for example, to grant this role full data visibility in Data Permission Management > Group Scope, you must select all available groups in the Group Scope section) . Click Save to proceed.
Update Role Setting
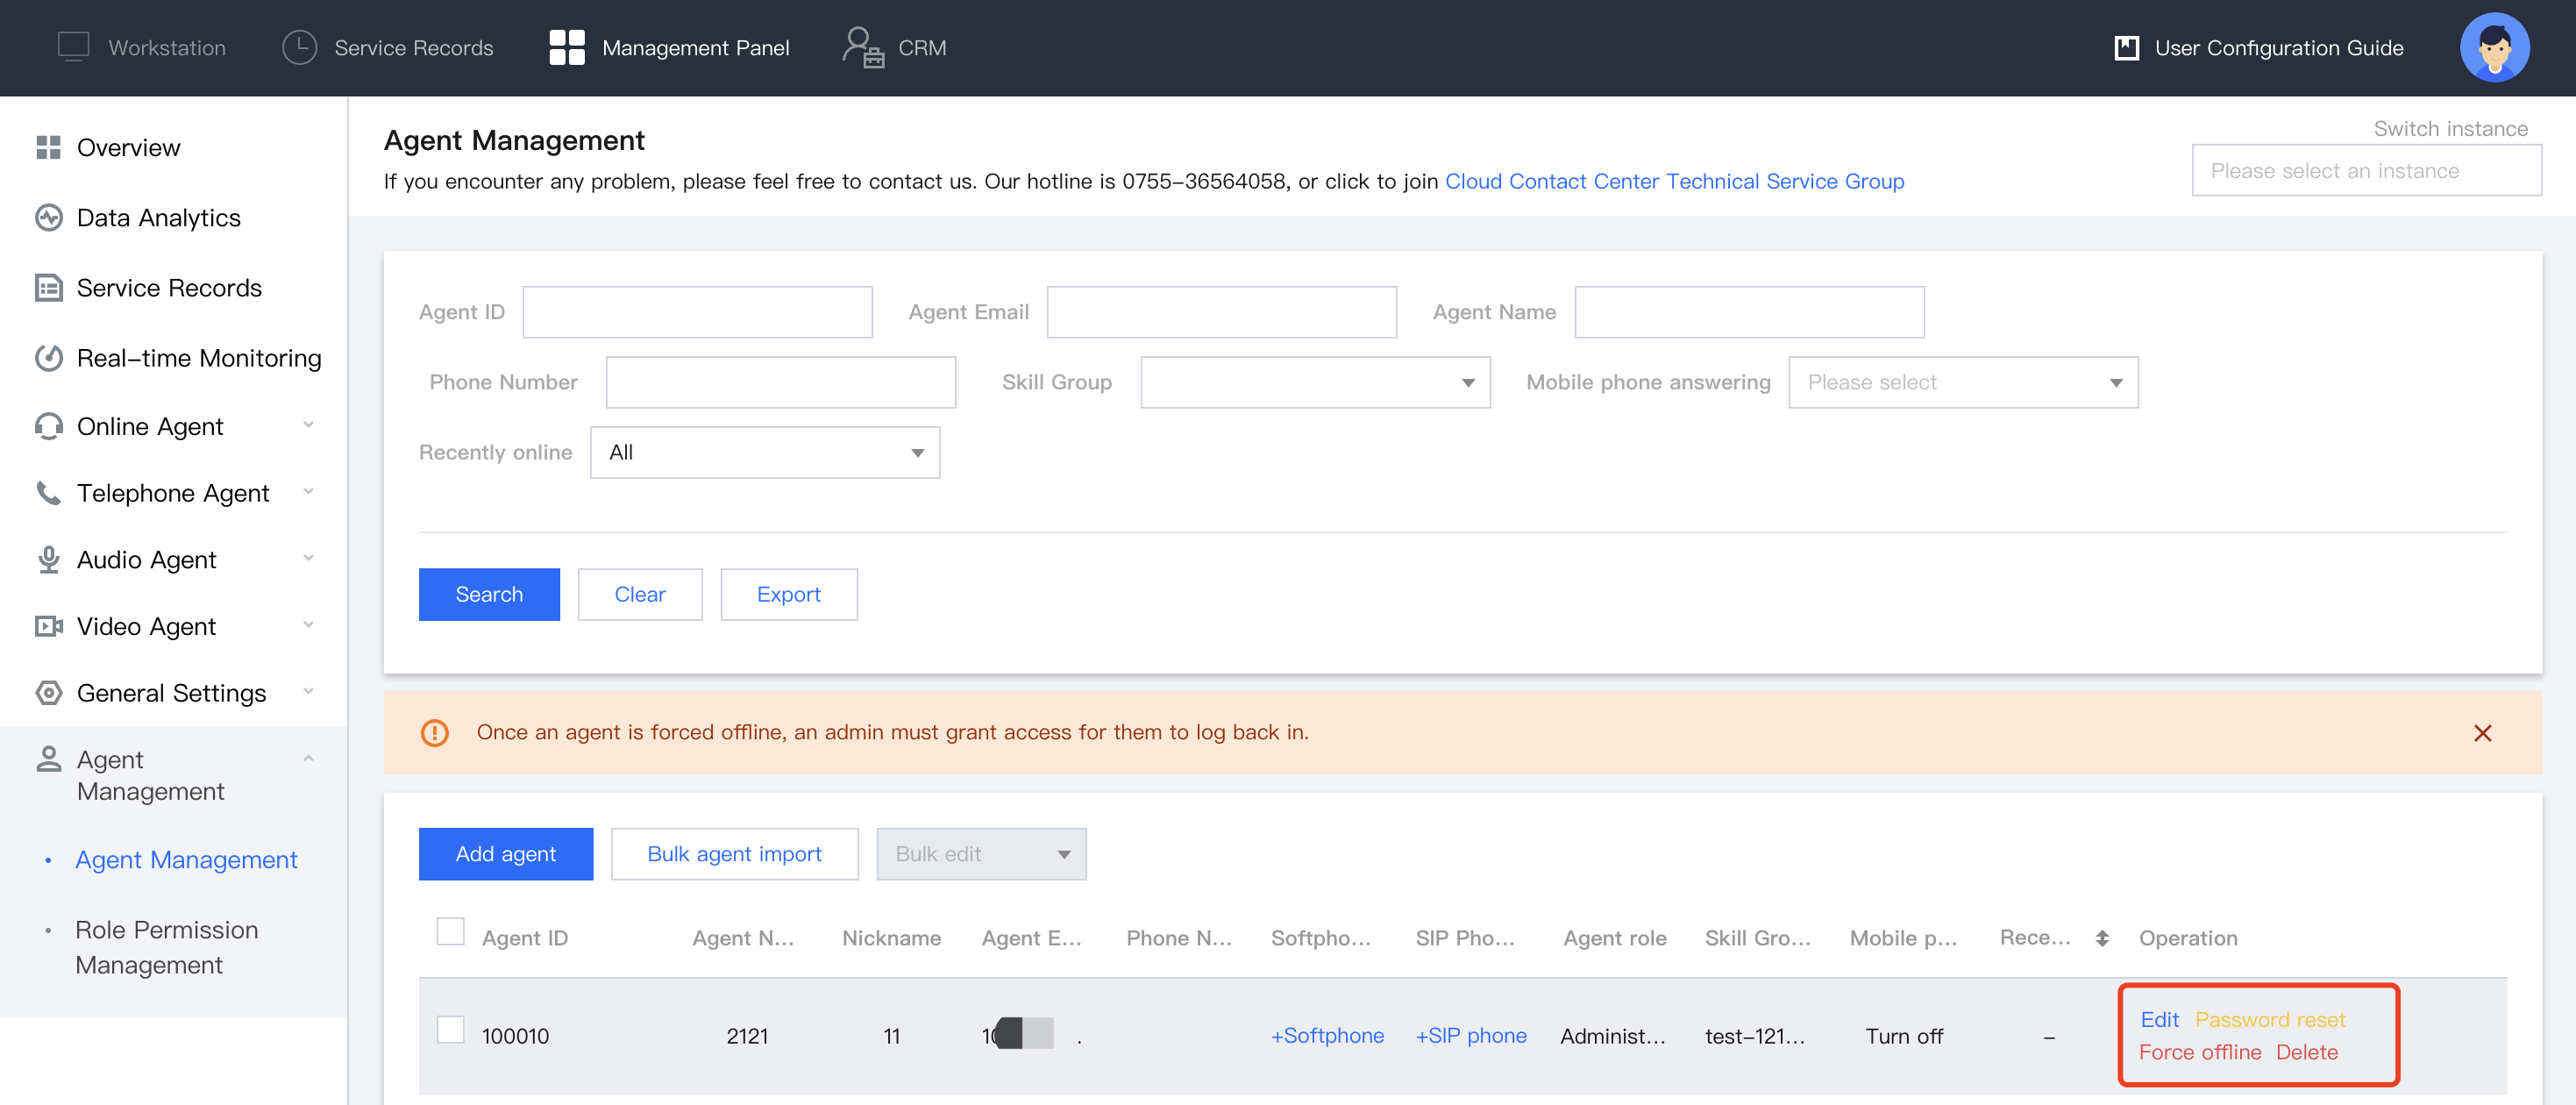
After creating a new role, you can assign it to other agents on the agent management page.
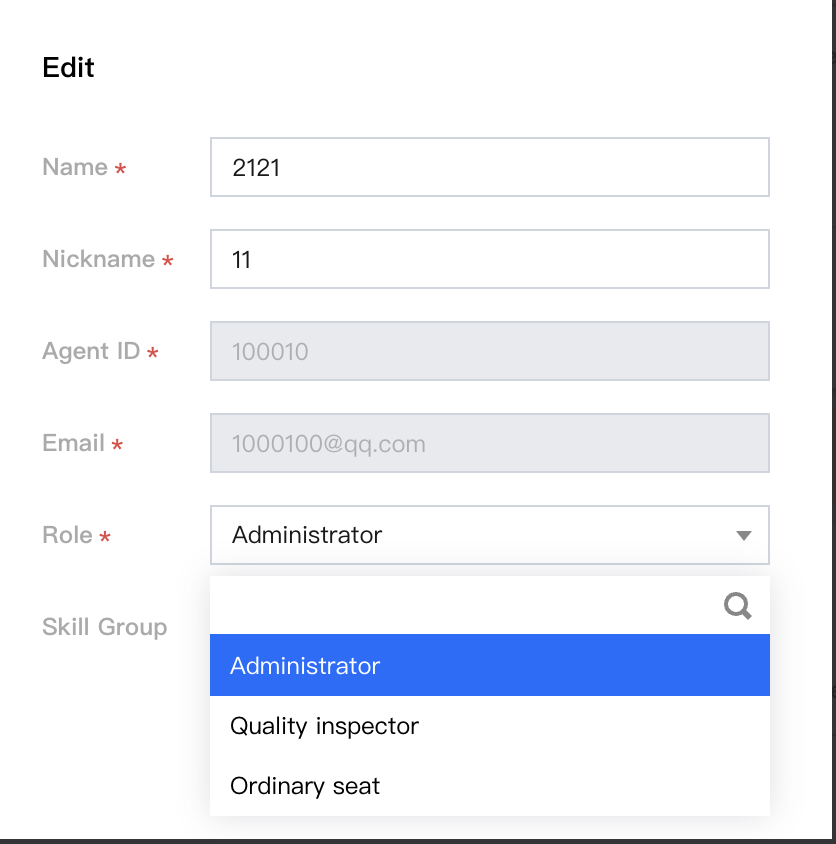
1. Select agent whose role needs to be changed and click Edit.