tencent cloud

Feedback

Last updated: 2024-02-01 10:05:00

Overview

Add-on description

The Kubernetes-csi-tencentcloud CFS-CSI plug-in allows you to use Tencent Cloud File Storage in your TKE cluster.
Note:
For clusters of version 1.12, you need to modify the kubelet configuration by adding \\--feature-gates=KubeletPluginsWatcher=false\\.

Kubernetes objects deployed in a cluster

Kubernetes Object Name
Type
Default Resource Occupation
Namespace
csi-provisioner-cfsplugin
StatefulSet
-
kube-system
csi-nodeplugin-cfsplugin
DaemonSet
-
kube-system
csi-provisioner-cfsplugin
Service
1C2G
kube-system

Use Cases

Cloud File Storage (CFS) provides a scalable shared file storage service that can be used with Tencent Cloud services such as CVM, TKE, and BatchCompute. CFS offers standard NFS and CIFS/SMB file system access protocols to provide shared data sources for multiple CVM instances or other computing services. It supports elastic capacity expansion and performance scaling. CFS can be mounted on existing applications without modification. As a highly available and reliable distributed file system, CFS is suitable for various scenarios such as big data analysis, media processing, and content management.
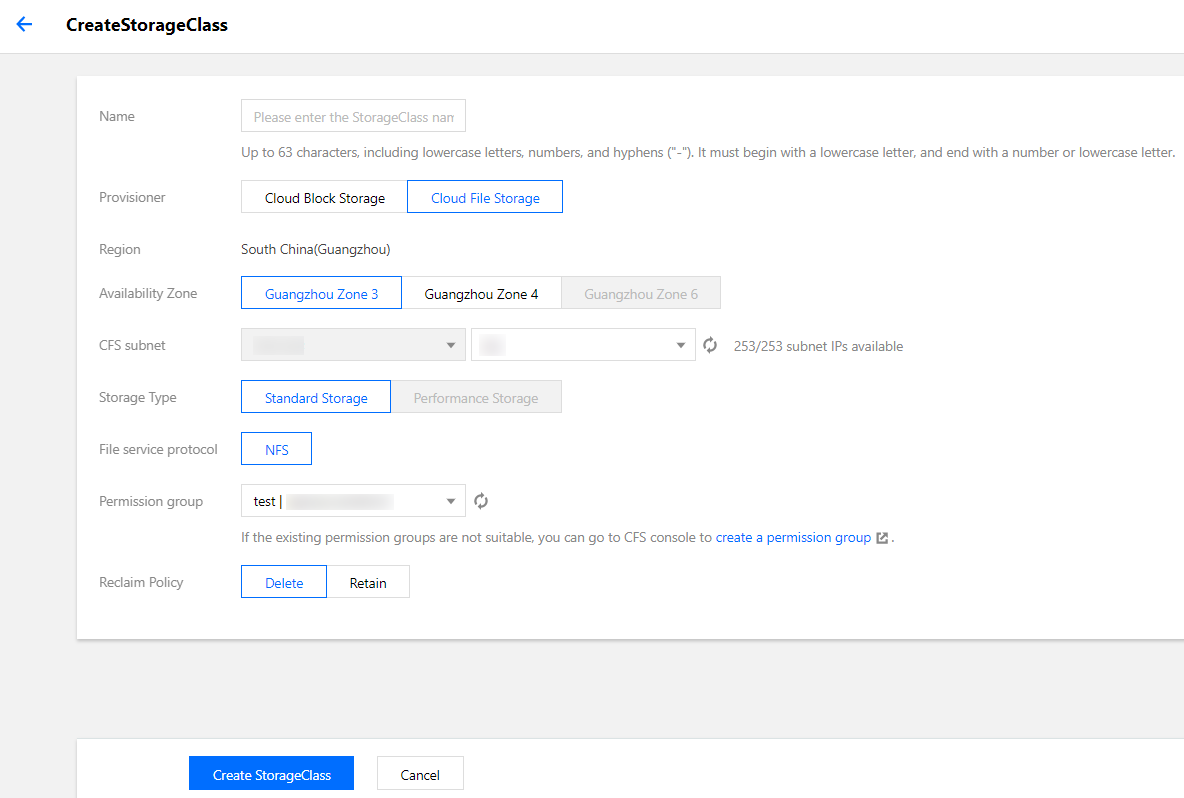
CFS is easy to integrate. You do not need to adjust your business structure or make complex configurations. You can integrate and use CFS in three steps: create a file system, launch a file system client on the server, and mount the created file system. With the CFS-CSI add-on, you can quickly use CFS through the standard native Kubernetes in your TKE cluster. For more information, see CFS Usage.

Limits

For the limits of CFS, see CFS System Limits.
To use CFS in TKE, you need to install this add-on in your cluster, which will occupy some system resources.

CFS-CSI Permission

Note:
The Permission Scenarios section only lists the permissions related to the core features of the components, for a complete permission list, please refer to the Permission Definition.

Permission Description

The permission of this component is the minimal dependency required for the current feature to operate.
The related directory /var/lib/kubelet on the host machine needs to be mounted to the container to accomplish volume mount/unmount, hence the activation of the privileged-level container is required.

Permission Scenarios

Feature
Involved Object
Involved Operation Permission
It is required to support the dynamic creation of CFS instances.
persistentvolumeclaims/persistentvolumes
All operations
storageclasses
get/list/watch
Supporting the cfs instance under the shared pattern
tcfs
get/list/watch/create/update/delete/patch
deployment
get/list/watch/create/update/delete
node
get/list

Permission Definition

kind: ClusterRole
apiVersion: rbac.authorization.k8s.io/v1
metadata:
name: csi-cfs-controller-role
rules:
- apiGroups: [""]
resources: ["nodes"]
verbs: ["get", "list"]
- apiGroups: [""]
resources: ["services", "events", "configmaps", "endpoints"]
verbs: ["get","list","create","update","patch","delete"]
- apiGroups: [""]
resources: ["services/status", "events/status"]
verbs: ["get"]
- apiGroups: [""]
resources: ["persistentvolumes"]
verbs: ["get", "list", "watch", "create", "delete", "update"]
- apiGroups: [""]
resources: ["persistentvolumeclaims"]
verbs: ["get", "list", "watch", "update", "patch", "create"]
- apiGroups: ["storage.k8s.io"]
resources: ["volumeattachments", "volumeattachments/status"]
verbs: ["get", "list", "watch", "update", "patch"]
- apiGroups: ["storage.k8s.io"]
resources: ["storageclasses"]
verbs: ["get", "list", "watch"]
- apiGroups: ["extensions"]
resources: ["ingresses"]
verbs: ["get", "list", "watch", "update", "patch", "create"]
- apiGroups: ["extensions"]
resources: ["ingresses/status"]
verbs: ["get"]
- apiGroups: ["apps"]
resources: ["deployments"]
verbs: ["get", "list", "delete", "update", "create", "watch"]
- apiGroups: ["apps"]
resources: ["deployments/status"]
verbs: ["get"]
- apiGroups: ["tcfsoperator.k8s.io"]
resources: ["tcfs", "tcfs/status"]
verbs: ["get", "list", "watch", "create", "delete", "update", "patch"]
---
apiVersion: rbac.authorization.k8s.io/v1
kind: ClusterRole
metadata:
name: tcfs-subdir-external-provisioner-runner
rules:
- apiGroups: [""]
resources: ["nodes"]
verbs: ["get", "list", "watch"]
- apiGroups: [""]
resources: ["persistentvolumes"]
verbs: ["get", "list", "watch", "create", "delete"]
- apiGroups: [""]
resources: ["persistentvolumeclaims"]
verbs: ["get", "list", "watch", "update"]
- apiGroups: ["storage.k8s.io"]
resources: ["storageclasses"]
verbs: ["get", "list", "watch"]
- apiGroups: [""]
resources: ["events"]
verbs: ["create", "update", "patch"]

Directions

Installing and setting the CFS add-on

1. Log in to the TKE Console and select Cluster in the left sidebar.
2. On the "Cluster Management" page, click the ID of the target cluster to go to the cluster details page.
3. In the left sidebar, click Add-on Management to go to the "Add-on List" page.
4. On the "Add-on List" page, click Create. On the displayed "Create an Add-on" page, select CFS.
5. Click Finish to create the add-on.

Creating a CFS-type StorageClass

1. On the "Cluster Management" page, click the ID of the cluster that uses CFS to go to the cluster details page.
2. In the left sidebar, choose Storage > StorageClass and click Create to go to the "Create a StorageClass" page.
3. Create a CFS-type StorageClass based on your actual requirements, as shown in the figure below:


4. Click Create a StorageClass to complete the creation.

Creating a PersistentVolumeClaim

1. On the "Cluster Management" page, click the ID of the cluster that uses CFS to go to the cluster details page.
2. In the left sidebar, choose Storage > PersistentVolumeClaim and click Create to go to the "Create a PersistentVolumeClaim" page.
3. Create a CFS-type PersistentVolumeClaim based on your actual requirements and select the StorageClass created above.
4. Click Create a PersistentVolumeClaim to complete the creation process.

Creating a workload

1. On the "Cluster Management" page, click the ID of the cluster that uses CFS to go to the cluster details page.
2. In the left sidebar, choose Workload > Deployment and click Create to go to the "Create a Workload" page.
3. Based on your actual requirements, select Use an existing PVC for volumes and select the PVC created above.
4. Mount the PVC to the specified container path and click Create a Workload to complete the creation process.
Contact Us

Contact our sales team or business advisors to help your business.

Technical Support

Open a ticket if you're looking for further assistance. Our Ticket is 7x24 avaliable.

7x24 Phone Support