
自定义响应页面

最后更新时间:2025-08-14 15:08:49
功能简介
当用户在访问站点出现异常问题并收到响应状态码时,为了能让用户更好地理解当前遇到的问题以及解决方案,EdgeOne 提供了自定义响应页面能力,能够帮助您使用指定的自定义响应页面告知用户当前的网站状态,避免用户在请求出错时无法确定具体的原因和处理方式。
EdgeOne 在站点加速、安全防护能力中均提供了自定义响应页面能力,您可以根据实际使用场景进行配置:
自定义站点回源错误响应的页面:可自定义回源 4xx、5xx 状态码时响应用户的页面内容,详情请参见 自定义错误页面。
自定义安全防护策略拦截时响应的响应页面:自定义用户在触发 Web 防护、Bot 防护拦截策略响应用户的状态码以及页面内容,详情请参见 在安全防护中配置自定义响应页面响应。
同时,为了方便管理和使用,EdgeOne 提供了 自定义响应页面模板 能力,可用于自定义管理响应页面内容,供不同功能模块引用。您可以通过编辑该响应页面模板,即可将响应页面内容修改同时下发生效到所有被引用的功能模块中。
配置自定义响应页面模板
您可以自定义响应页面需要响应的 Content-Type 和包含的内容信息。参考如下步骤配置:
1. 登录 边缘安全加速平台 EO 控制台,在左侧菜单栏中,进入服务总览,单击网站安全加速内需配置的站点。
2. 在站点详情页面,单击自定义响应页面。
3. 单击添加自定义响应页面,配置自定义响应页面内容。相关参数说明如下:
Content-Type:自定义响应页面响应时包含的 HTTP 响应头
Content-Type 取值,支持 application/html、application/json、text/plain、application/xml。例如:选择为 text/plain,则 EdgeOne 响应自定义响应页面时,将返回 HTTP 响应头 Content-Type: text/plain。页面内容:自定义响应页面的 Body,大小不超过 2KB。页面内容建议包含
{{ EO_REQ_ID }},该字段将在响应时自动获取用户请求 ID 信息,响应时该字段将替换为请求 ID,方便用于问题定位。 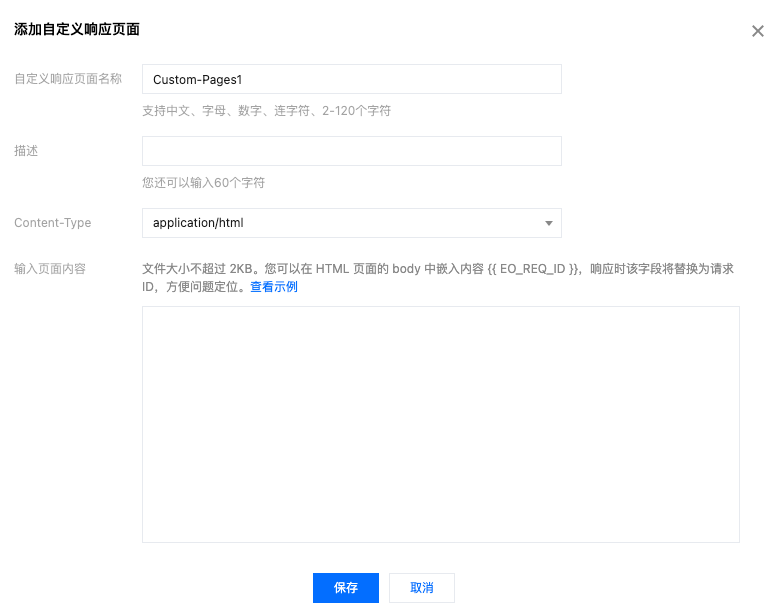
4. 单击保存,即可完成响应页面的创建。
注意:
若自定义响应页面已被其它功能模块引用,则不允许删除。如必须删除,请需要前往引用该页面的功能模块进行解除引用。
对已创建的自定义响应页面编辑保存后,引用该自定义响应页面的功能模块都将自动按照编辑后的页面生效。
在安全防护的自定义拦截页面中引用
假如当前站点域名
www.example.com 配置了 Web 防护自定义规则,用于管控仅允许中国大陆境内用户访问,对其它地区用户访问进行拦截。其它用户访问时,需要通过自定义响应页面告知用户拦截原因。您已参考 配置自定义响应页面模板 配置了一个名称为 Custom-Pages1 的自定义响应页面。接下来您可以参照如下步骤配置:1. 登录 边缘安全加速平台 EO 控制台,在左侧菜单栏中,进入服务总览,单击网站安全加速内需配置的站点。
2. 单击安全防护 > Web 防护。默认为站点级防护策略,若需为当前站点下特定域名配置差异化的防护策略,请进入域名级防护策略 Tab,单击相应域名进入域名级防护策略配置页,后续步骤一致。
3. 在自定义拦截页面分类下,选择需要配置的拦截页面模块,以示例场景为例,可选择安全防护(除托管规则外)拦截页面,单击编辑。
4. 在编辑页面中,配置自定义响应页面内容,选择使用文件页面拦截,并选择已配置好的名为 Custom-Pages1 的页面。配置项说明如下:
页面类型:支持使用默认页面、URL 页面、文件页面三种,其中文件页面即自定义响应页面内容;
自定义拦截页面状态码:支持配置200-299,400-599 作为自定义拦截页面状态码,不勾选时即使用默认的状态码。

5. 配置完成后,单击保存,即可完成配置。
文档反馈