
七牛云 KODO 迁移

最后更新时间:2025-02-13 17:25:08
本文将引导您如何将七牛云 KODO 的文件,通过云点播迁移工具,迁移到云点播专业版。
准备工作
1. 已有可用的专业版应用,创建专业版应用请参考 快速入门。
2. 已有可用的七牛云 KODO 存储桶。
3. 如您需要使用 CDN 加速域名来下载文件,请保证待迁移的七牛云 KODO 存储桶,已配置 CDN 加速域名。如您需要使用 S3 域名下载文件,则无需配置 CDN 加速域名。
操作步骤
步骤一:获取七牛云密钥
说明:
以下内容仅供参考,具体操作以七牛云实际展示及提供的服务内容为准。
1. 登录七牛云控制台,进入密钥管理页面,单击 SK 右侧的隐藏。
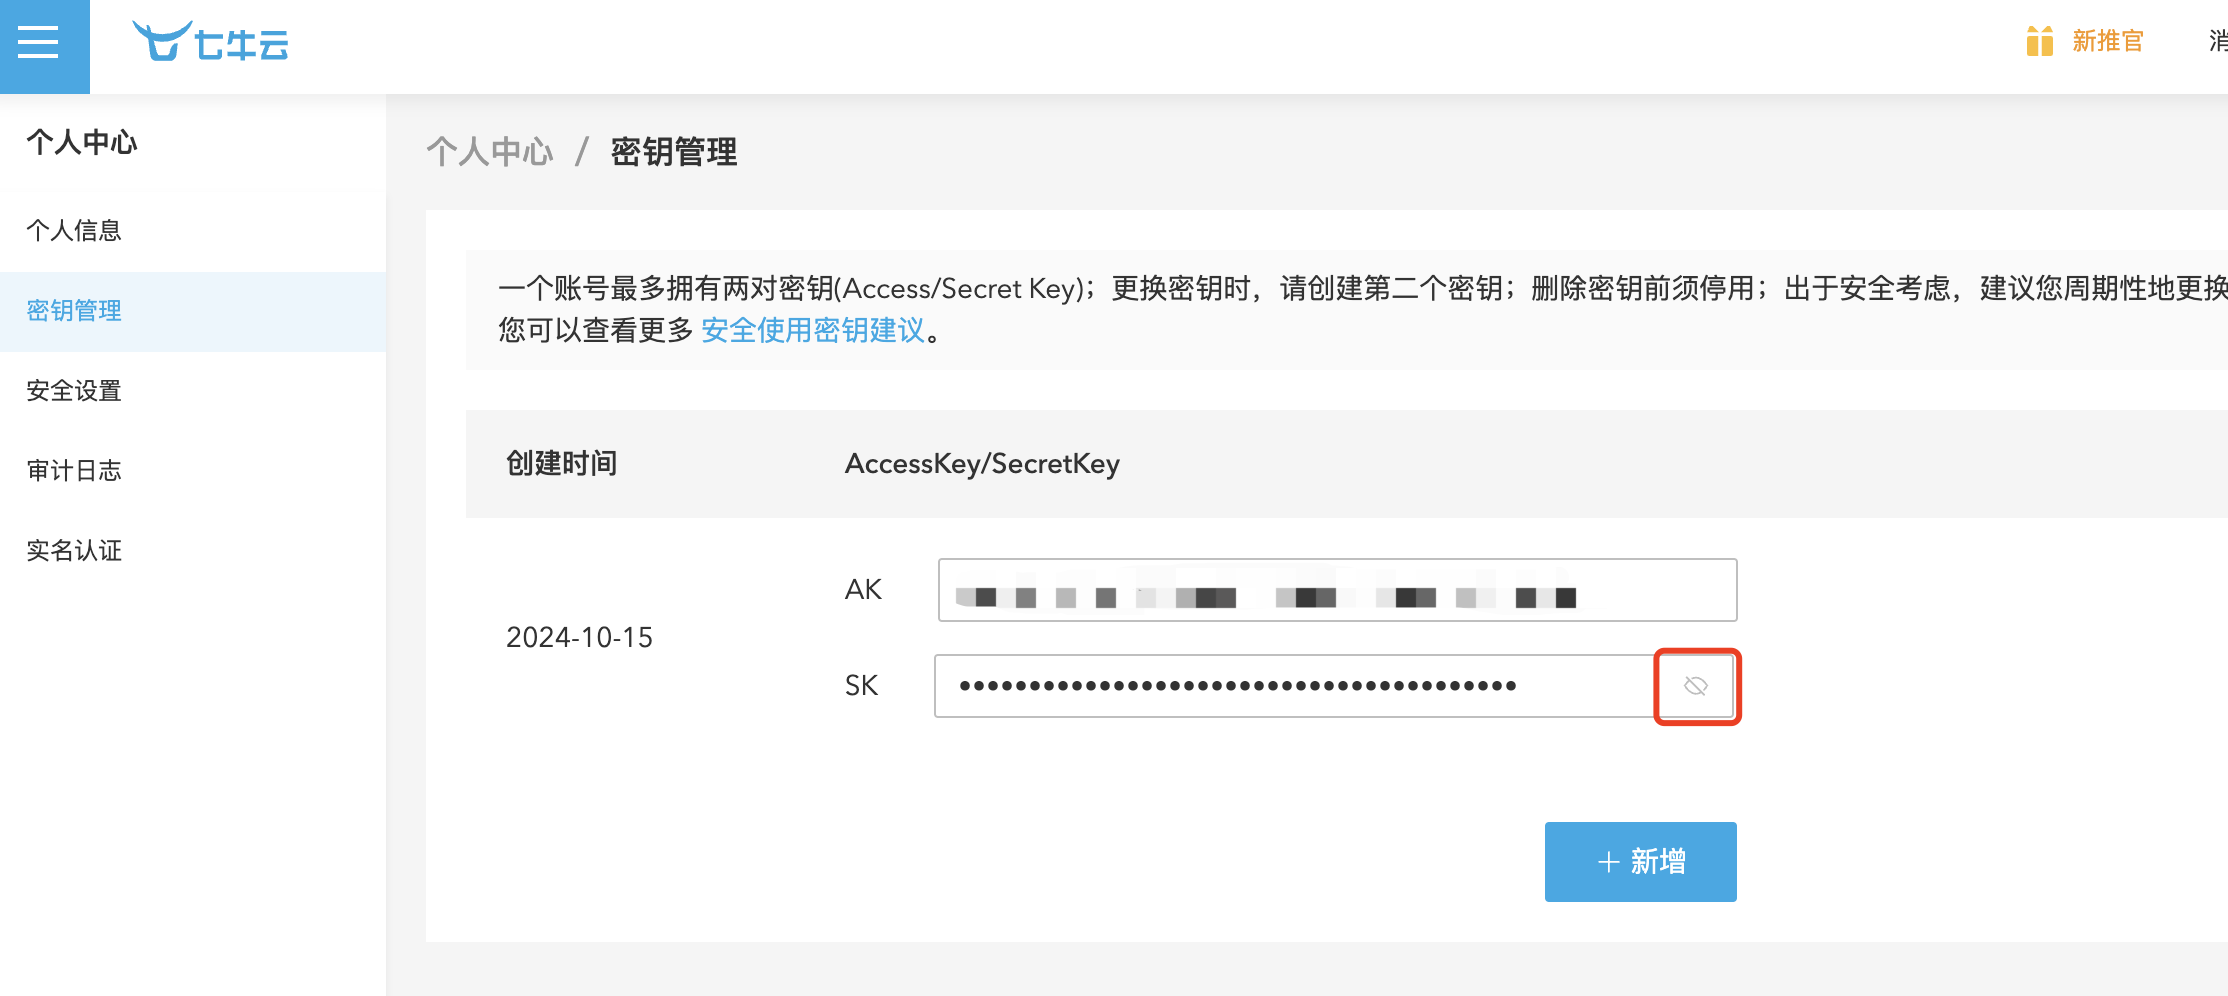
2. 身份验证通过后,保存七牛云的 AK、SK 信息。
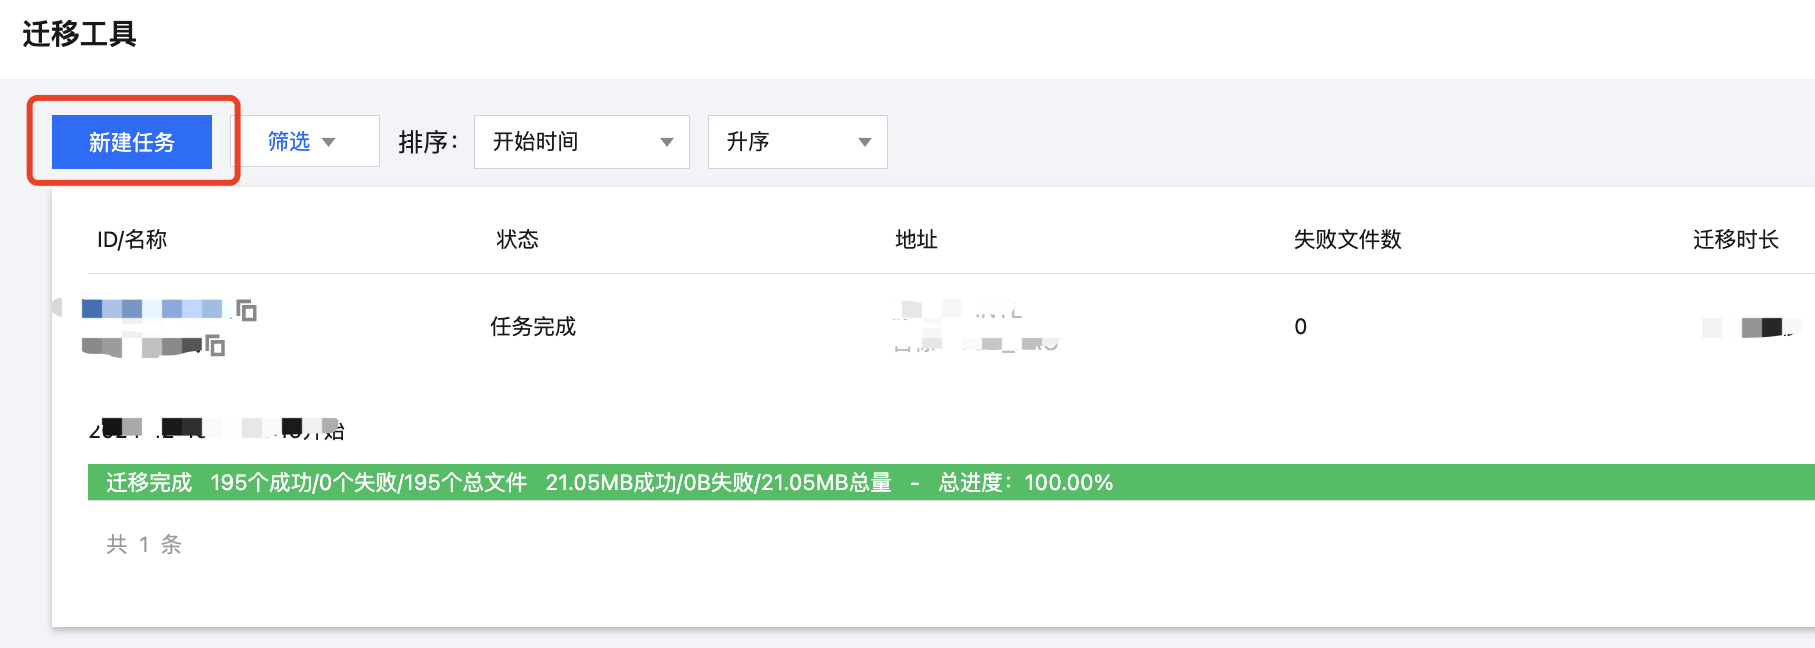
步骤二:创建迁移任务
1. 登录 云点播控制台,单击左侧导航栏迁移工具,进入迁移任务列表,并单击新建任务,进行迁移参数的设置。
2. 设置迁移任务名称。任务名称长度为1至60个字符,允许的字符为中文、英文、0-9、_、-。

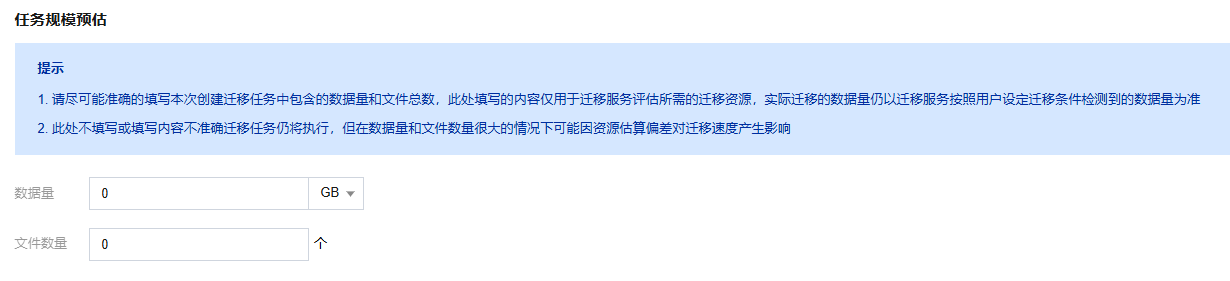
3. 预估任务规模。请准确的填写任务规模,以便我们更好的准备相关资源,非必填。
4. 设置要迁移的文件来源。
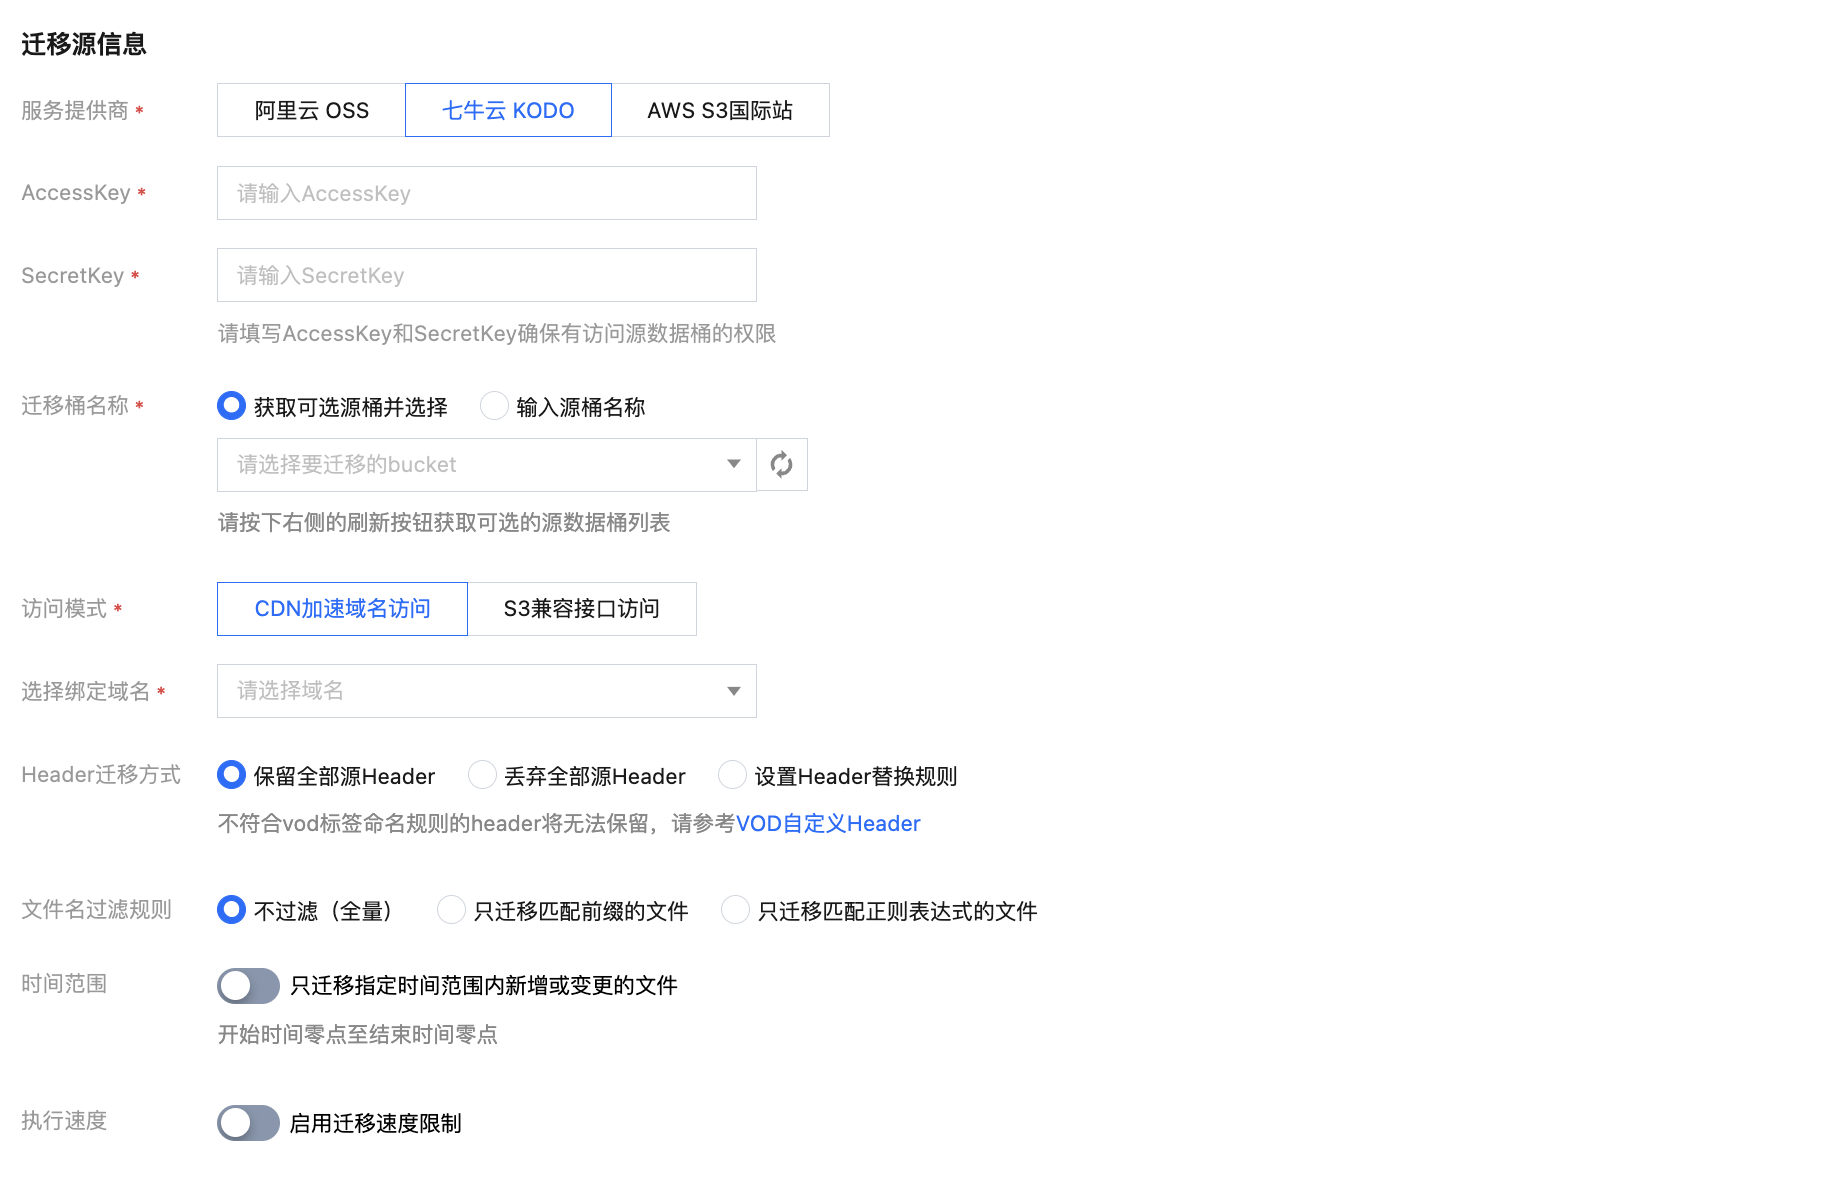
服务提供商:此处迁移源服务提供商应选择七牛云 KODO。
AccessKey、SecretKey:文本框中输入步骤一中保存的七牛云 AK、SK。
迁移桶名称:填入密钥后,单击“迁移桶名称”下拉框右侧的刷新,即可获取源对象存储桶列表。也可以选择手动输入源桶名称。
访问模式:
CDN 加速域名访问:上述迁移桶确认后,选择该项可以获取在七牛控制台中对应存储桶所绑定的 CDN 加速域名列表,在下拉列表中选择域名即可,任务运行会通过 CDN 加速域名访问待迁移文件。
S3兼容接口访问:通过七牛控制台获取到 S3兼容访问接口的空间域名,然后填入输入框,任务运行会通过空间域名直接访问待迁移文件。
Header迁移方式:如果源桶中的文件设定了 Header/Tag 并且需要在迁移后保留,请选择保留或设置替换规则。
文件名过滤规则:选择对指定桶中的全部文件进行迁移,或仅迁移指定前缀的文件。
时间范围:开启时间范围,只迁移指定时间范围内新增或变更的文件。
执行速度、限速方式:各公有云厂商的对象存储都有速度限制。为确保业务稳定,请在迁移前与源厂商确认并设置最高迁移可用 Mbps。
5. 选择要迁移到的目标位置。
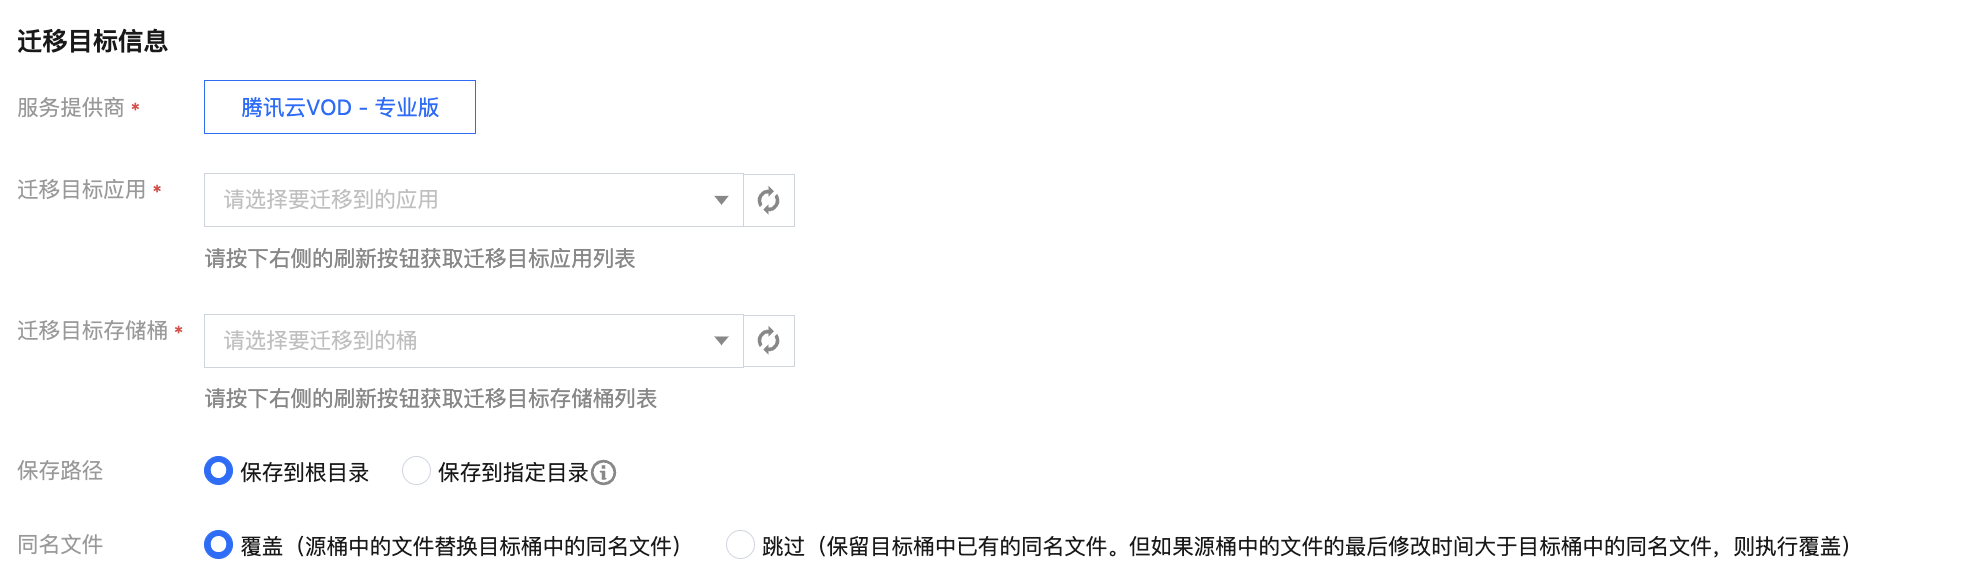
服务提供商:默认为腾讯云VOD - 专业版。
迁移目标应用:选择您要迁移到的目标应用,如果您有刚创建的应用,您可以单击应用选择框右侧的刷新,既可获得最新的专业版应用列表。
迁移目标存储桶:选择目标应用下的具体存储桶。
保存路径:指定迁移到目标桶的指定目录。
保存到根目录: 直接将源桶中的文件按原始相对路径保存到目标桶的根目录。
保存到指定目录:将源桶中的文件保持原始相对路径保存到指定目录中。例如:源桶中的文件
/testa.txt,/dir/testb.txt 两个文件,文本框中填写“migration”,那么迁移后这两个文件在目标桶中的路径为:/migration/testa.txt,/migration/dir/testb.txt。同名文件:指定同名文件的处理方式。
注意:
同名文件选择覆盖,则迁移时会直接覆盖掉同名文件。
若同名文件选择跳过,会基于文件最后修改时间 LastModified 判断,即:
如果源地址中文件的 LastModified 晚于或者等于目的地址中文件的 LastModified,则执行覆盖。
如果源地址中文件的 LastModified 早于目的地址中文件的 LastModified,则执行跳过。
若在迁移过程中对象(文件)内容有变化,需要进行二次迁移。
6. 单击新建并启动,即可启动迁移任务。迁移预估时间可参见文档 预估文件迁移时间。

步骤三:查看迁移状态和进度
在文件迁移工具主界面中,可以查看所有文件迁移任务的状态和进度:
“任务完成”状态,绿色是任务完成并且所有文件都迁移成功,黄色是迁移任务完成但部分文件迁移失败。
单击“重试失败任务”链接后,该任务中失败的文件将会重试迁移,已经成功迁移的文件不会重传。
单击“导出”链接可以导出迁移过程中失败的文件列表。
文档反馈