Tencent Cloud Super App as a Service
- Release Notes and Announcements
- Purchasing Guide
- Plan Management
- Branded Configurations
- Introduction to Platform Functions
- Commercialization
- Virtual Payment
- Guidelines for Code Integration
- Android
- Android SDK Description
- Android API
- Mini Program Management APIs
- Custom Mini Program Capabilities
- Custom SDK Capabilities
- iOS
- iOS SDK Description
- iOS API
- Mini Program Management APIs
- Customize Mini Program Capabilities
- Customised SDK Capabilities
- Flutter
- Flutter SDK Description
- Flutter API
- Mini Program Management API
- Mini Program Capabilities Customization
- Plugin Customization
- App Server
- Payment Development Notes
- Mini Program Payment: Parameter Application and Configuration
- Mini Program Payment: Signature and Verification
- Guildlines for Mini Program Development
- Mini Program Code Composition
- Guidance
- Learn About Mini Programs
- Configuring Mini Program
- Mini Program Framework
- Basic Competencies
- Open Capabilities
- Framework
- Mini Program Configuration
- Framework Interface
- WXML Syntax Reference
- WXS Syntax Reference
- Components
- API
- Interface
- Media
- Device
- JS SDK
- IDE Operation Instructions
- Guildlines for Mini Game Development
- Guide
- Game Engine
- Basic Capability
- Open Capabilities
- API
- Interface
- Rendering
- Device
- Practice Tutorial
- API Documentation
- Making API Requests
- User Management APIs
- Team Management APIs
- Sensitive API-Related APIs
- Role Management APIs
- Platform Management APIs
- Other Console APIs
- Mini Program APIs
- Management-Sensitive APIs
- Global Domain Management APIs
- Application APIs

DocumentationTencent Cloud Super App as a ServicePlan ManagementBranded ConfigurationsWindows App Icon ICO File Generation Guidelines
Windows App Icon ICO File Generation Guidelines

Last updated: 2024-11-21 17:18:57
Overview
Windows app icon (.ico) files are specialized formats used by Windows to display icons for applications, folders, and more. Creating an .ico file requires some basic image editing skills and tools. This guide will walk you through the steps to create a Windows icon.
Required tools
Before you start, you'll need the following tools:
Image editing software: Adobe Photoshop, GIMP, or any other software that supports editing transparent backgrounds.
Icon conversion tools: Online converters (ConvertICO and ICO Convert) or icon creation software (IcoFX or Greenfish Icon Editor).
Steps
1. Prepare image file
First, you need an image file that will serve as the base for your icon. A high-quality PNG file is recommended because it supports transparent backgrounds, making the icon look more polished.
1.1 Open your image file in your image editing software.
1.1 Ensure the image size is appropriate. Typically, 256 x 256 pixels or 512 x 512 pixels is recommended.
1.1 Make sure the image background is transparent (if needed).
2. Edit the image with image editing software
Next, you need to edit the image to meet icon requirements.
2.1 Resize the image to fit various icon sizes (e.g., 16 x 16, 32 x 32, 48 x 48, 64 x 64, 128 x 128 and 256 x 256 pixels). It's best to start with the largest size.
2.2 If the image background is not transparent, use the Magic Wand Tool or other selection tools to remove the background, ensuring smooth edges.
2.3 Save the edited image file in PNG format to maintain transparency and high quality.
3. Convert the image to .ico format
After editing, you need to convert the image file to .ico format. You can use online conversion tools or dedicated icon creation software for this step.
3.1 Use online conversion tools:
3.1.1 Open an online conversion website, for example, ConvertICO.
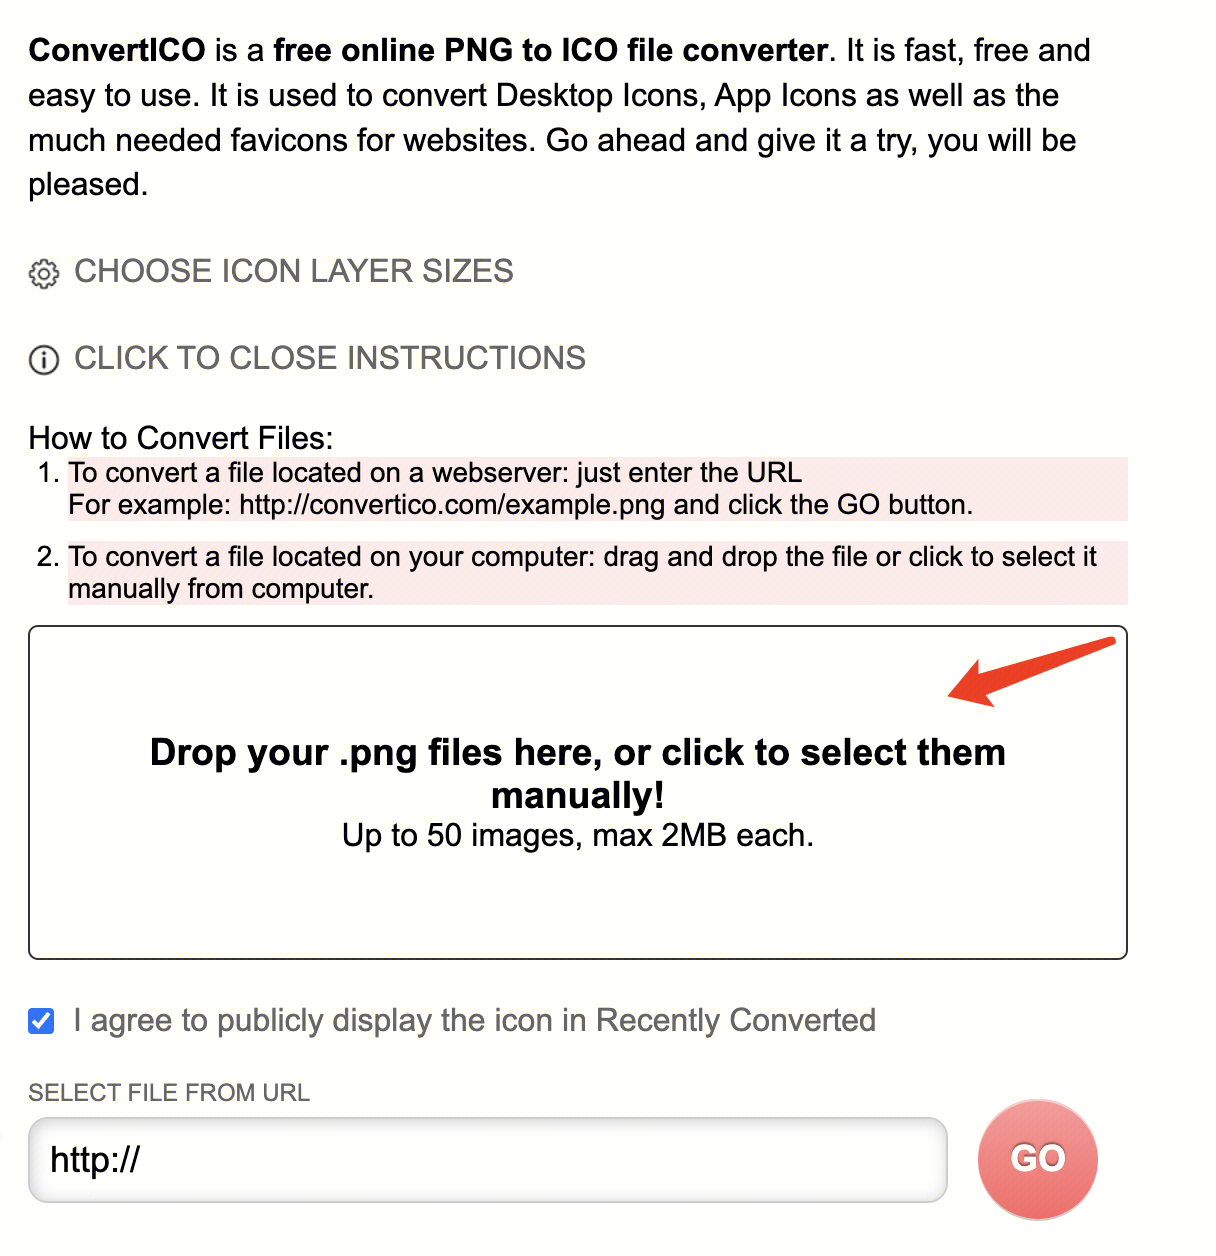
3.1.2 Upload your PNG image file.
3.1.3 Select the desired icon sizes for automatic conversion.
3.1.4 Click Download button to download the generated .ico file.

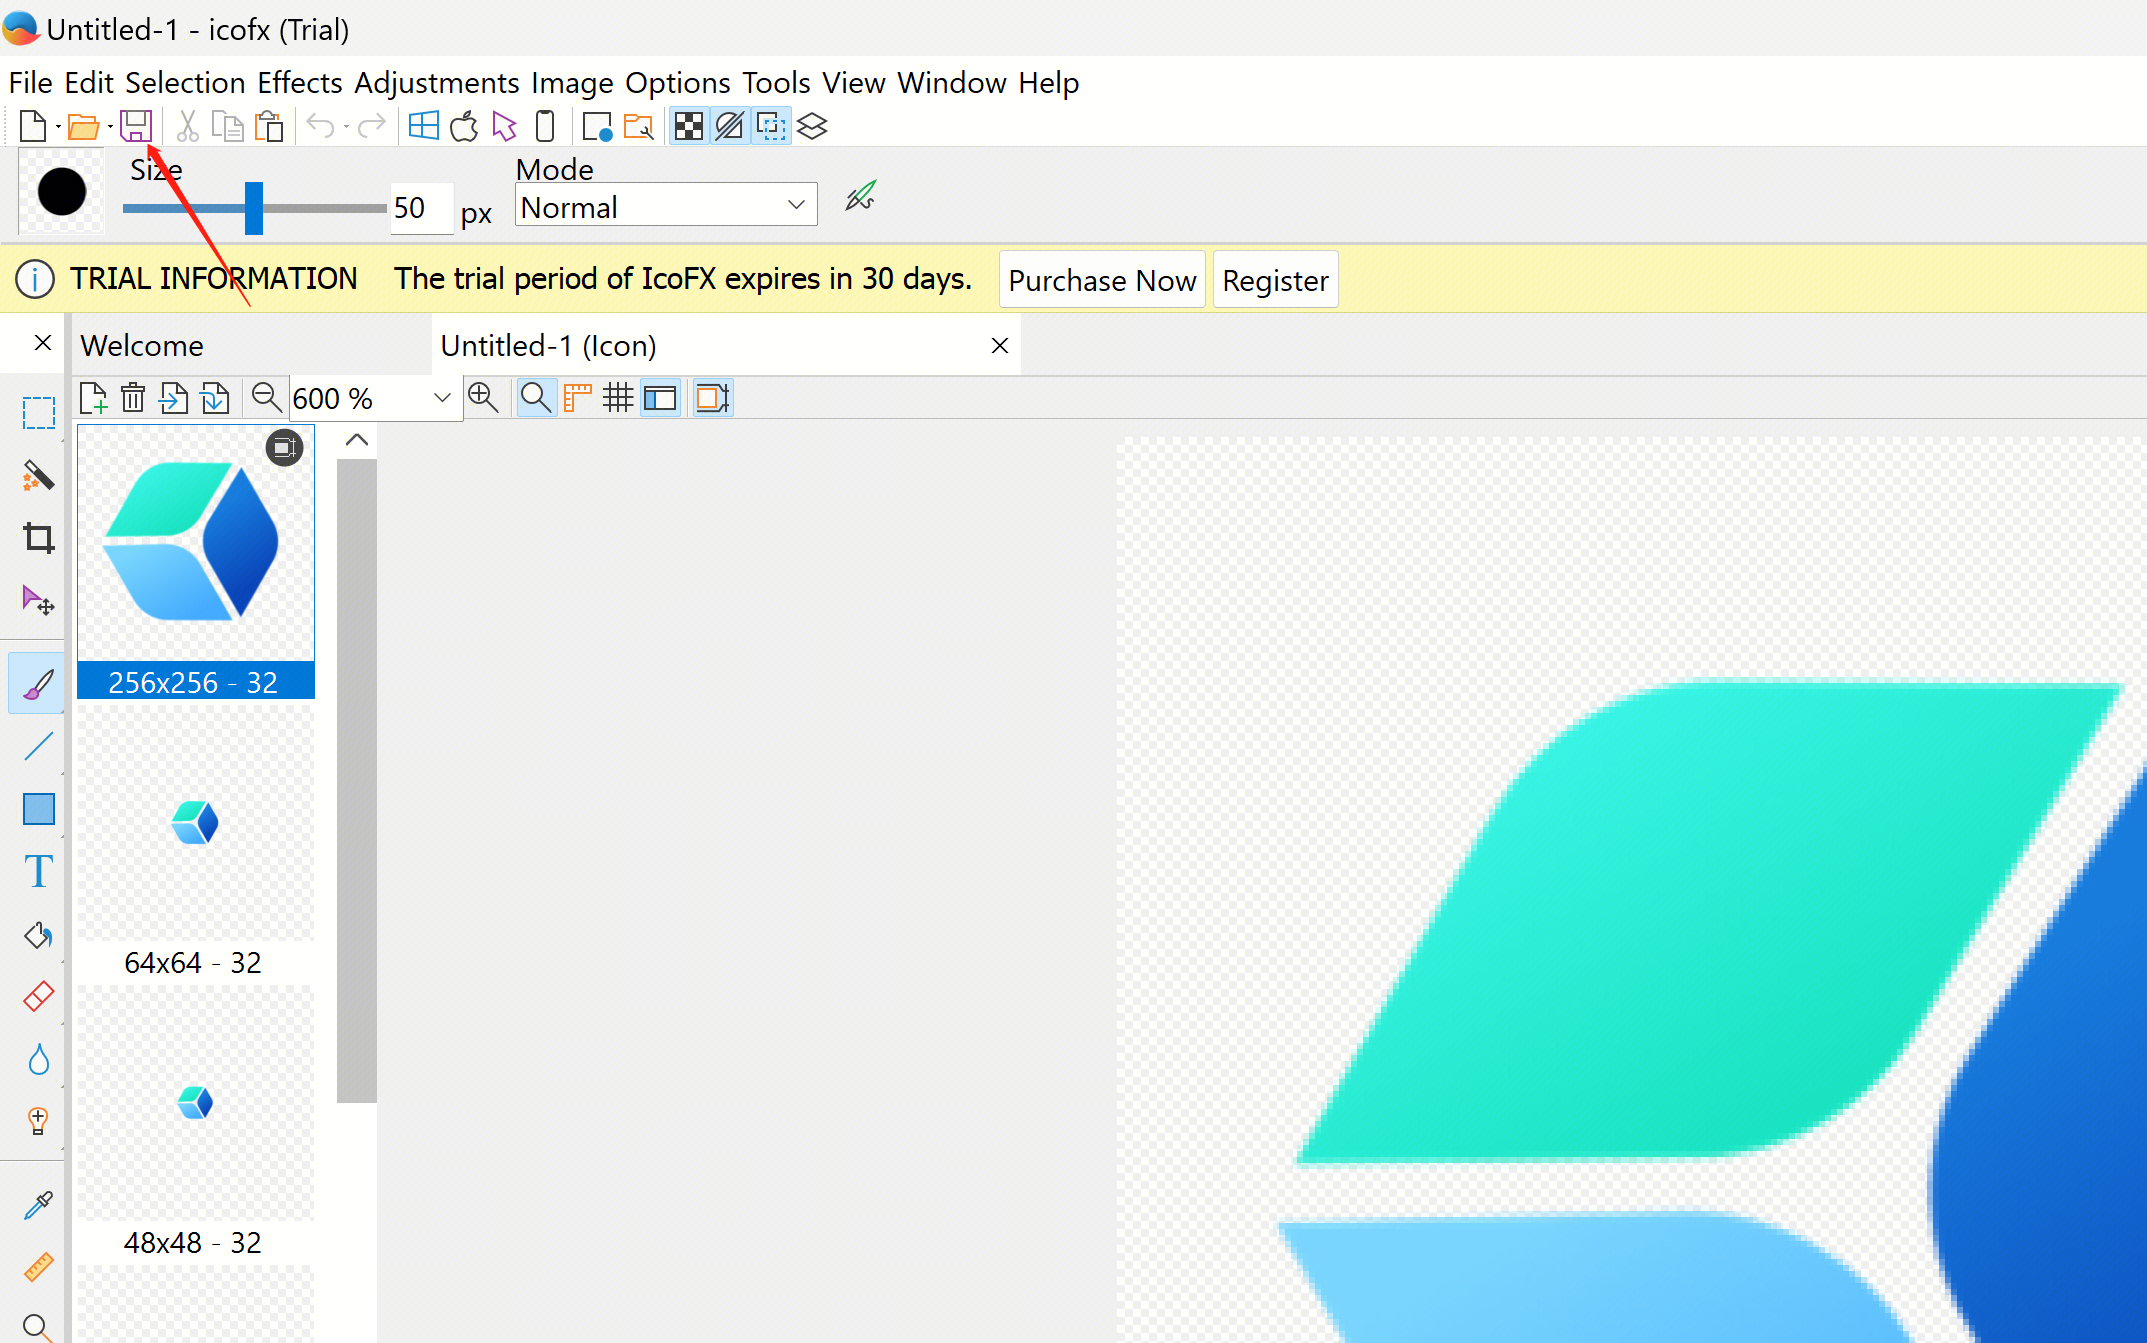
3.2 Use icon creator:
3.2.1 Open the icon creator, for example, IcoFX.

3.2.2 Import your PNG image files.
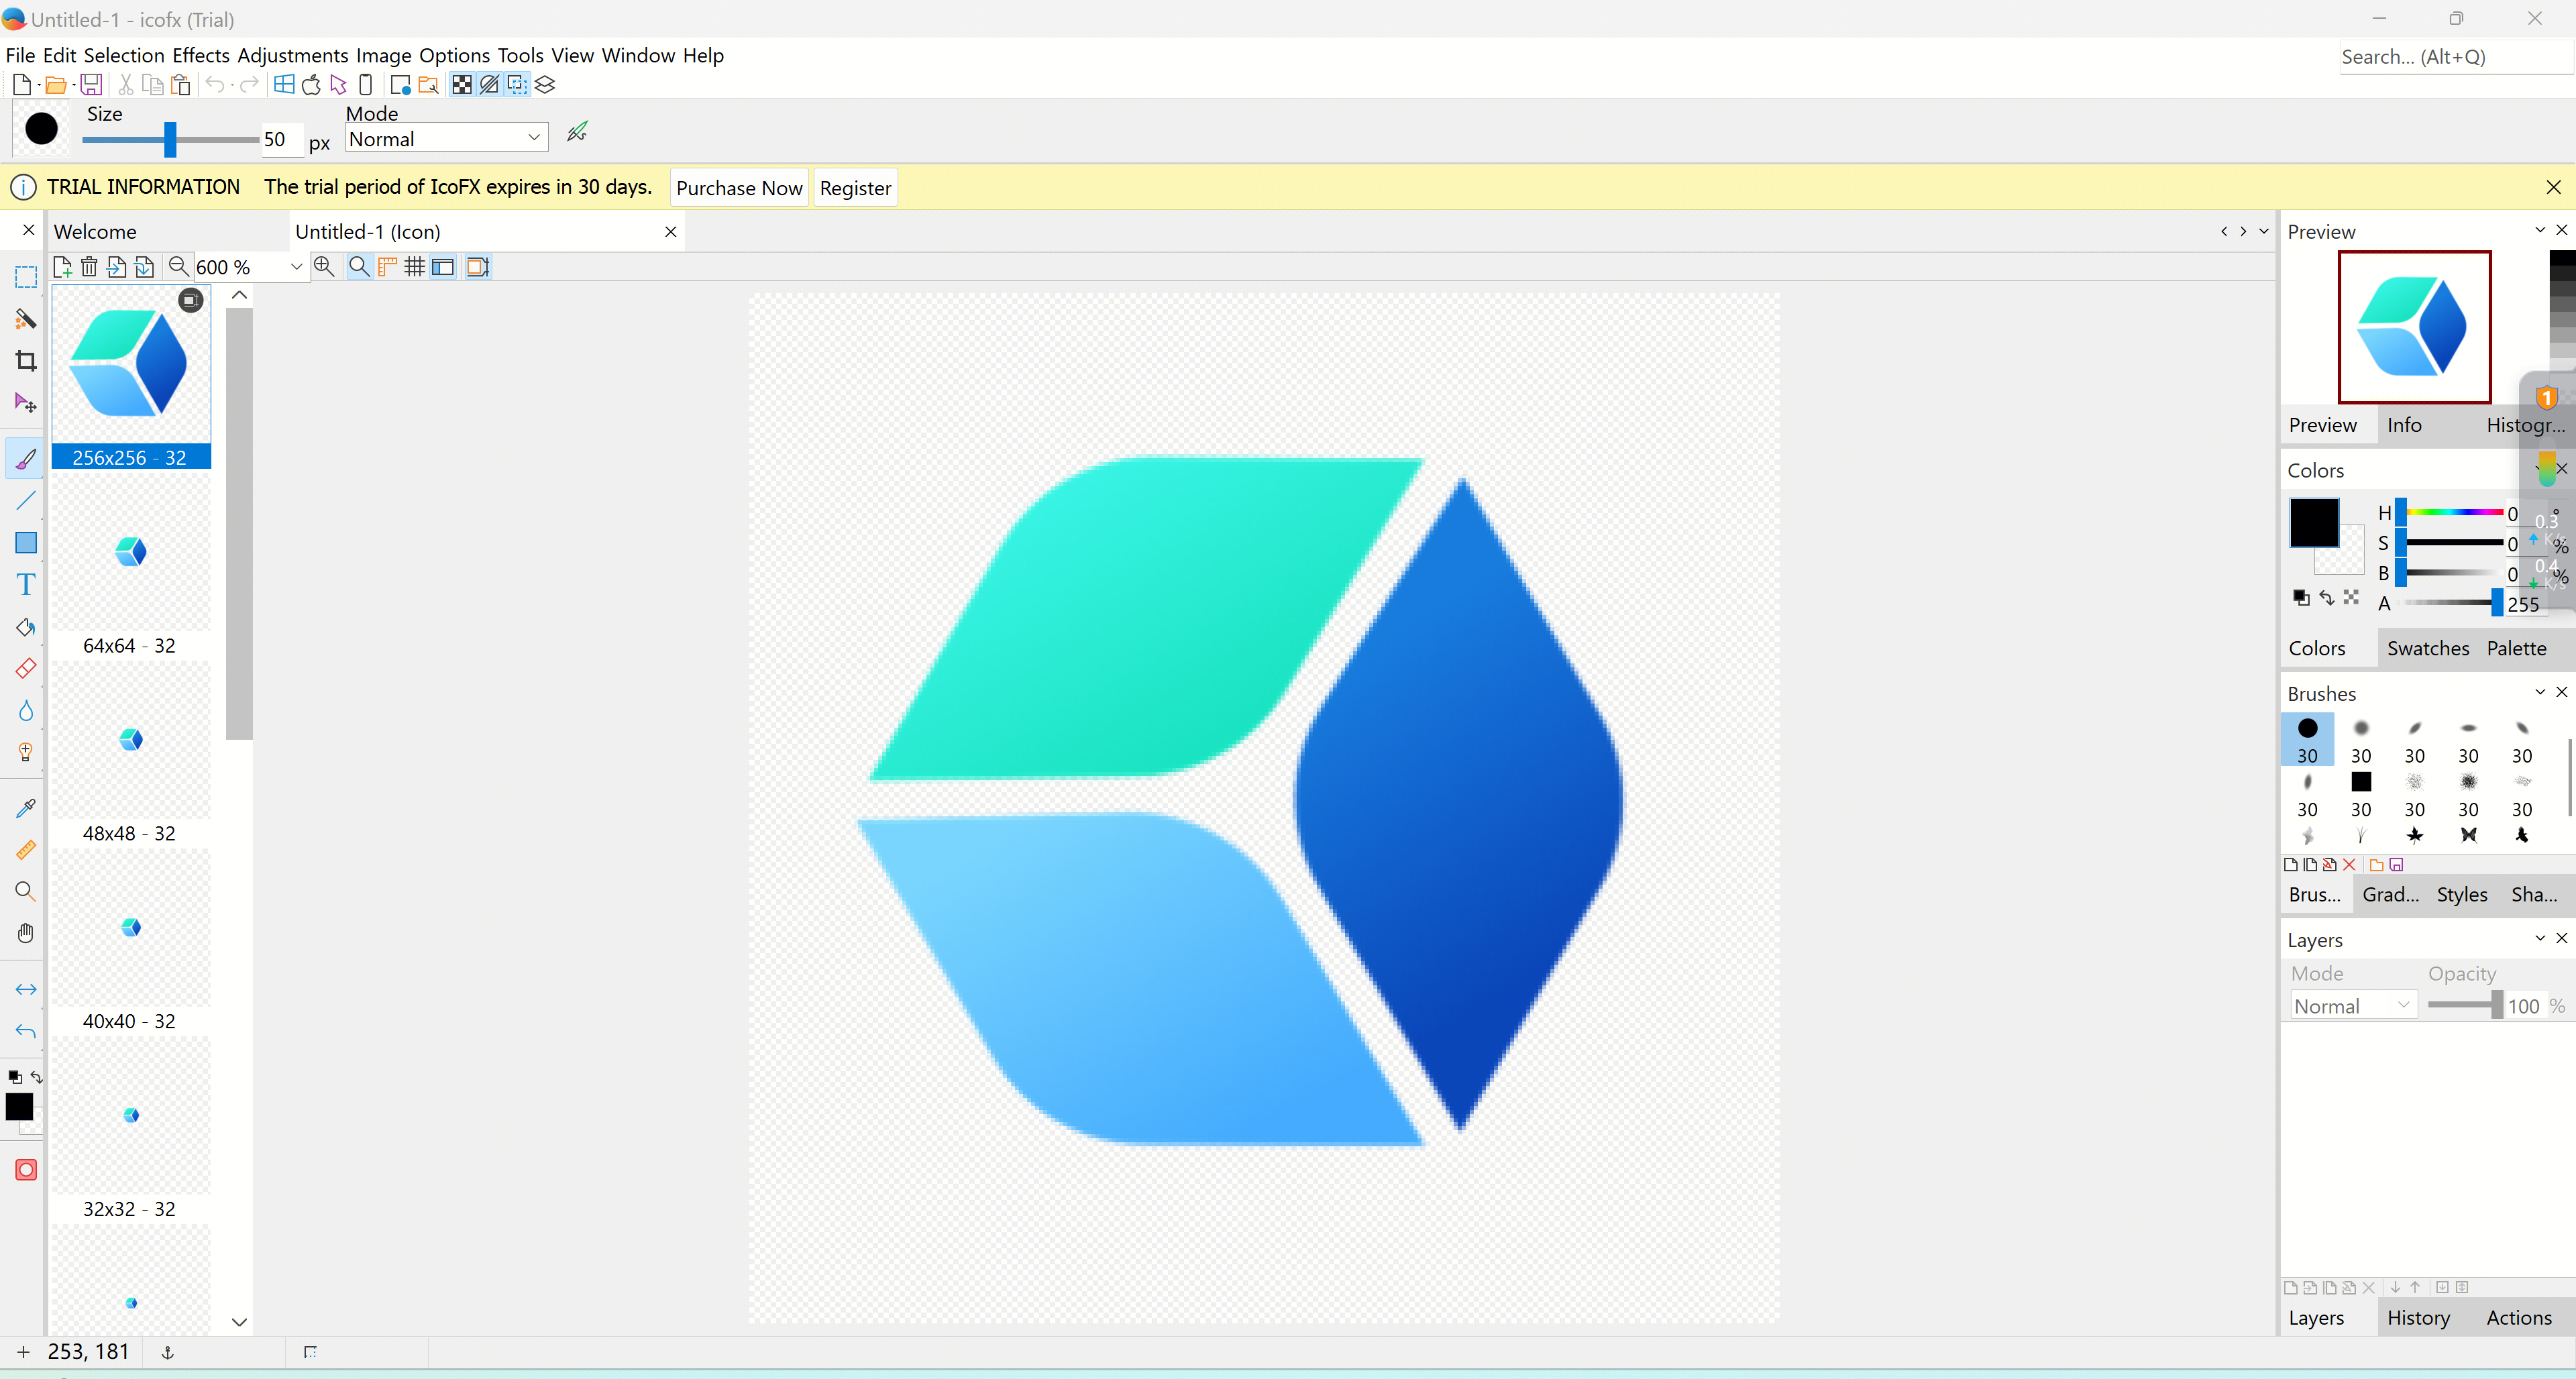
3.2.3 Adjust the icon sizes as needed.
3.2.4 Export the file as .ico.
Notes
mage clarity: Ensure that the image remains clear and not blurry at all size.
Color and transparency: Select appropriate colors and transparent backgrounds so the icon looks good on different backgrounds.
Copyright: Make sure the images you use are either not copyrighted or that you have permission to use them.
Conclusions
You need some basic image editing software and tools to create .ico files. By following the steps above, you can easily create the .ico file.
Was this page helpful?
You can also Contact Sales or Submit a Ticket for help.
Yes
No