
Android

Last updated: 2025-09-30 15:34:18
This article will guide you through creating a group on TUIKit.
Demo
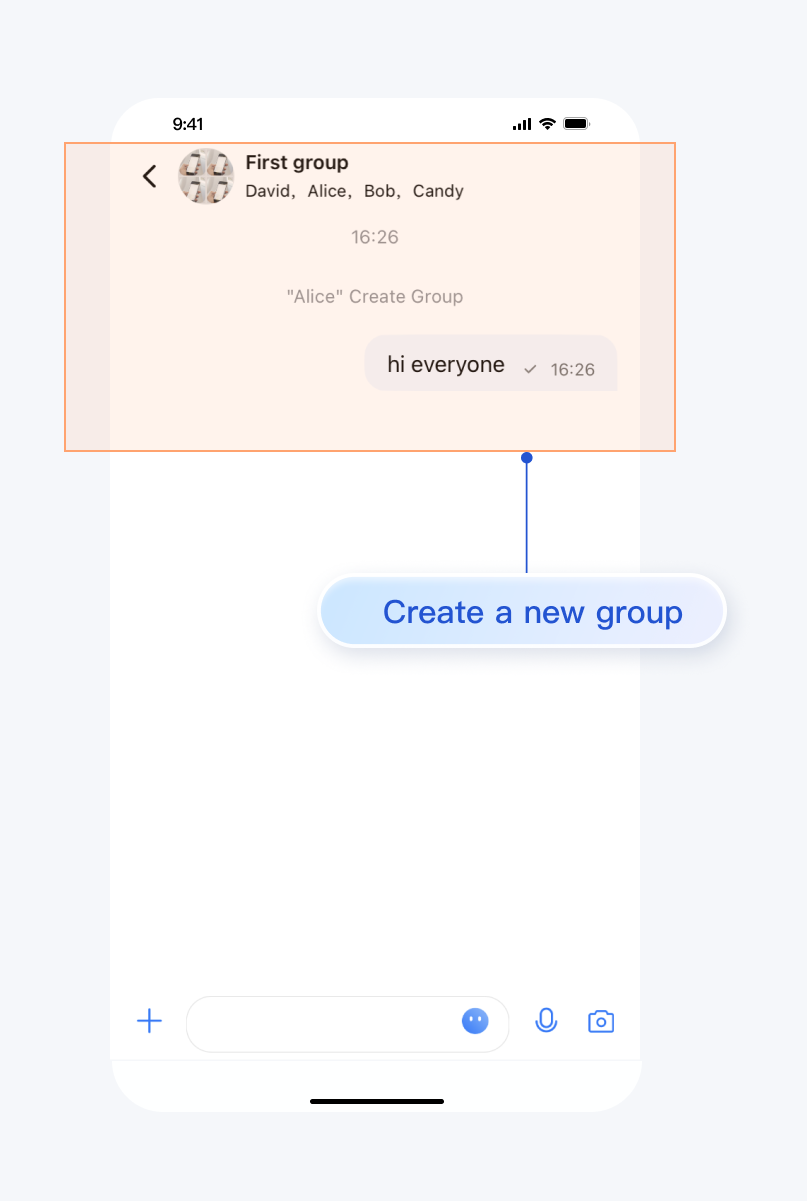
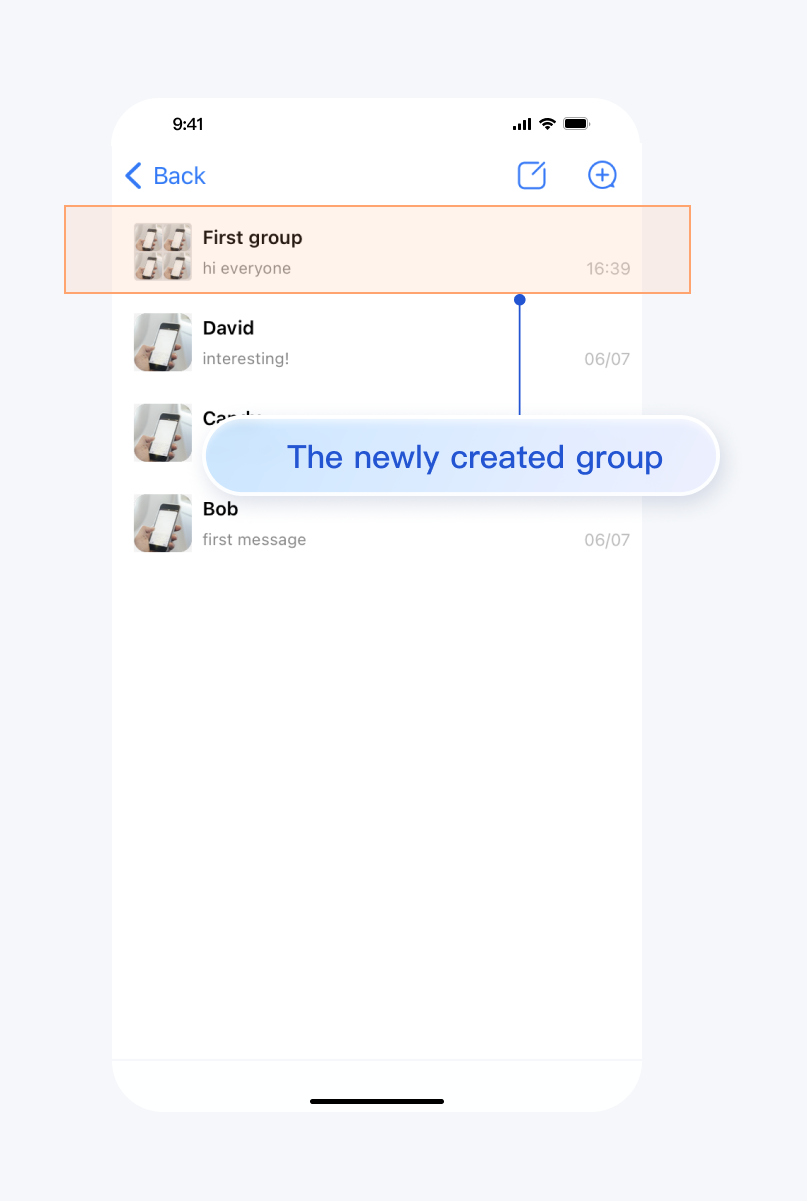
After creating the group, you can start sending messages and interacting in the group. If you go back to the Conversation List at this time, you will find the group you just created:
Group Created successfully | Conversation List updated |
 |  |
Development Environment Requirements
Android Studio-Giraffe
Gradle-7.2
Android Gradle Plugin Version-7.0.0
kotlin-gradle-plugin-1.5.31
Preconditions
Before building the interface, please ensure that you have completed the following 4 things:
1. Created an application in the console.
2. Created some user accounts in the console.
3. Integrated
TUIKit.4. Called the
TUILogin login API to log into the component.Note:
1. All components use this API to log in. You can log in once every time you start the application.
2. Please make sure that the login is successful, and we recommend that you do the following in the successful callback login.
If you haven't completed the above 4 steps, please refer to the corresponding steps in Getting Started first, otherwise you may encounter issues when implementing the following features.
If you have already completed them, please continue reading below.
Creates a group
There are two prerequisites for manually creating a group on TUIKit:
1. Loading the conversation list. Please refer to the document: Build Conversation List.
2. Added some contacts. Please refer to the document: Add Contacts.
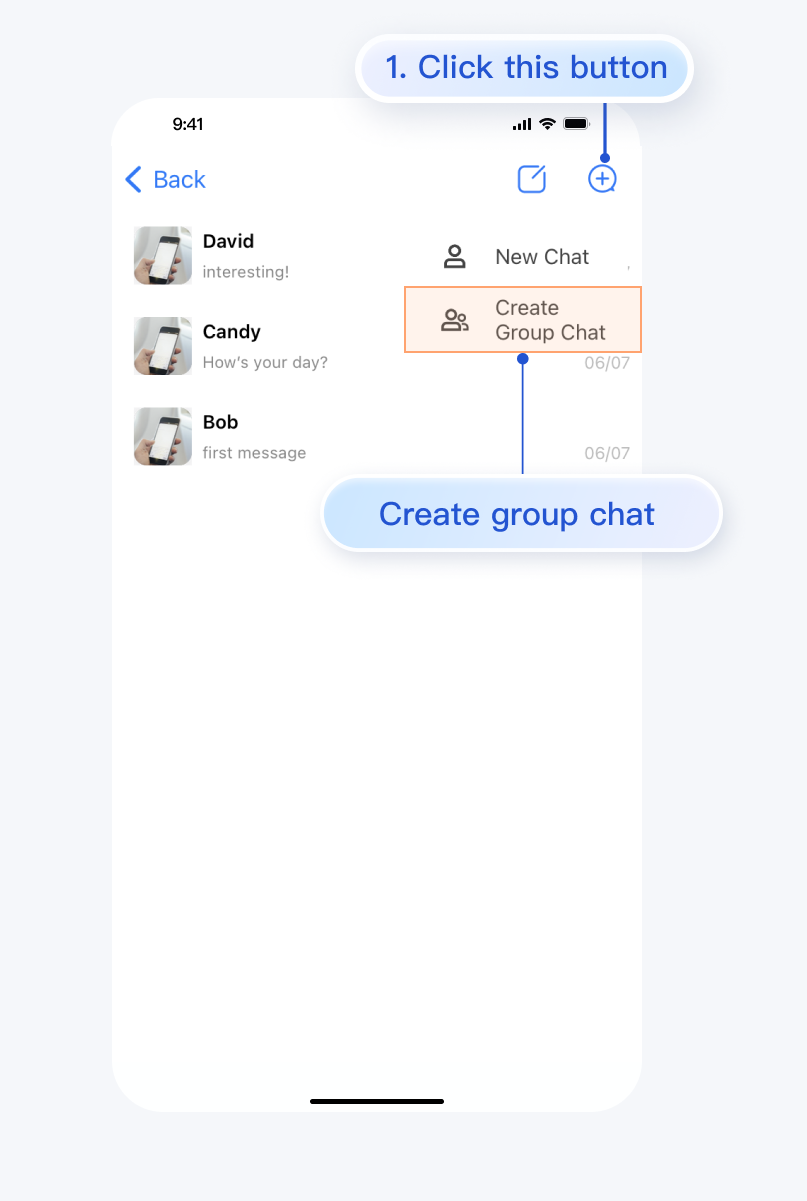
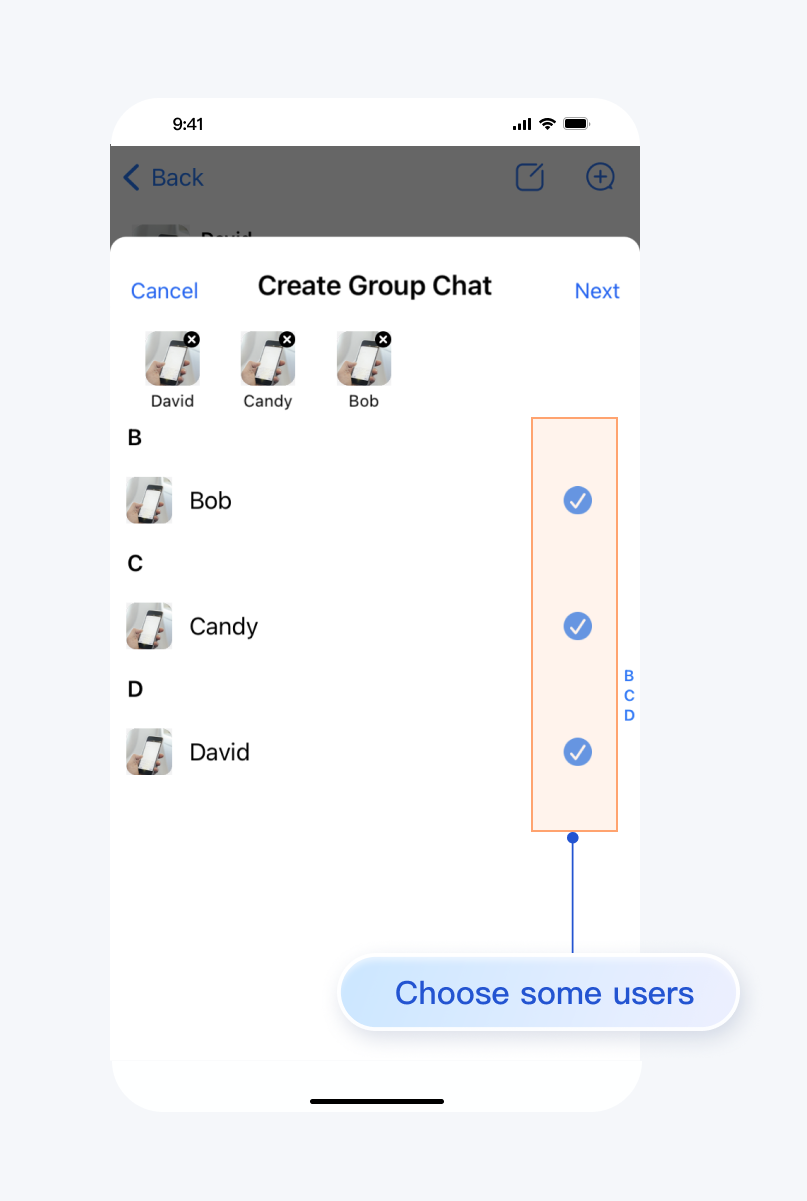
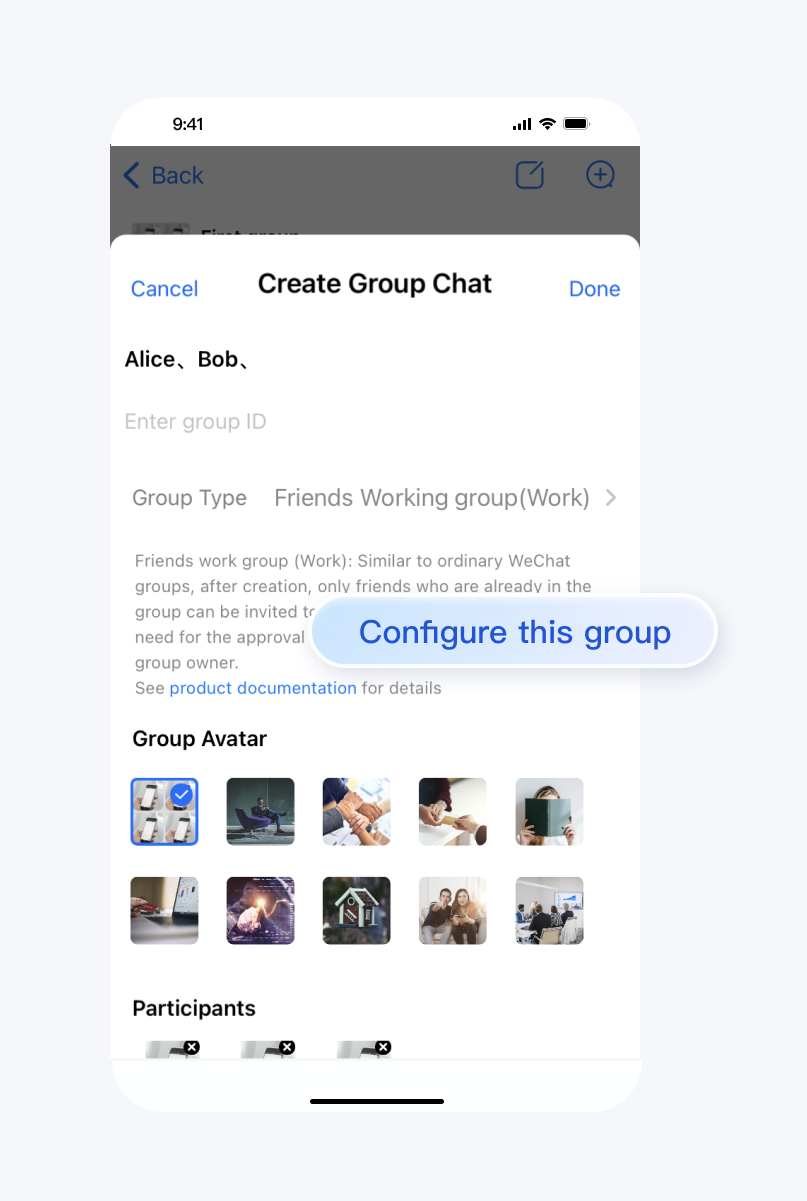
There are 3 more steps to follow:
1. On the conversation list screen after loading, click the
+ icon in the upper right corner to open a submenu and select Create Group Chat.2. Select several group members. These members are the contacts you have added. If you have not added any contacts before, no one will be selectable on this screen.
3. Set the group chat name, type, avatar, etc.
The effect is shown below:
Click [Create Group Chat] | Select Group Members | Group Settings |
 |  |  |
More Examples
Contact Us
If you have any questions about this article, feel free to join the Telegram Tech Support Group, where you will receive reliable technical support.
Was this page helpful?
You can also Contact Sales or Submit a Ticket for help.
Yes
No
Feedback